Trying to look like a million bucks? Then pay attention to the details! Follow this guide to learn how to shine your shoes and put your best foot forward.
Have you grown fond of your well-worn leather shoes? If so, they’ve certainly picked up some scuffs and scrapes throughout your escapades. We’ve already shared how to find and test out a cobbler; now, I’m paving the path to a perfectly polished pair of shoes.
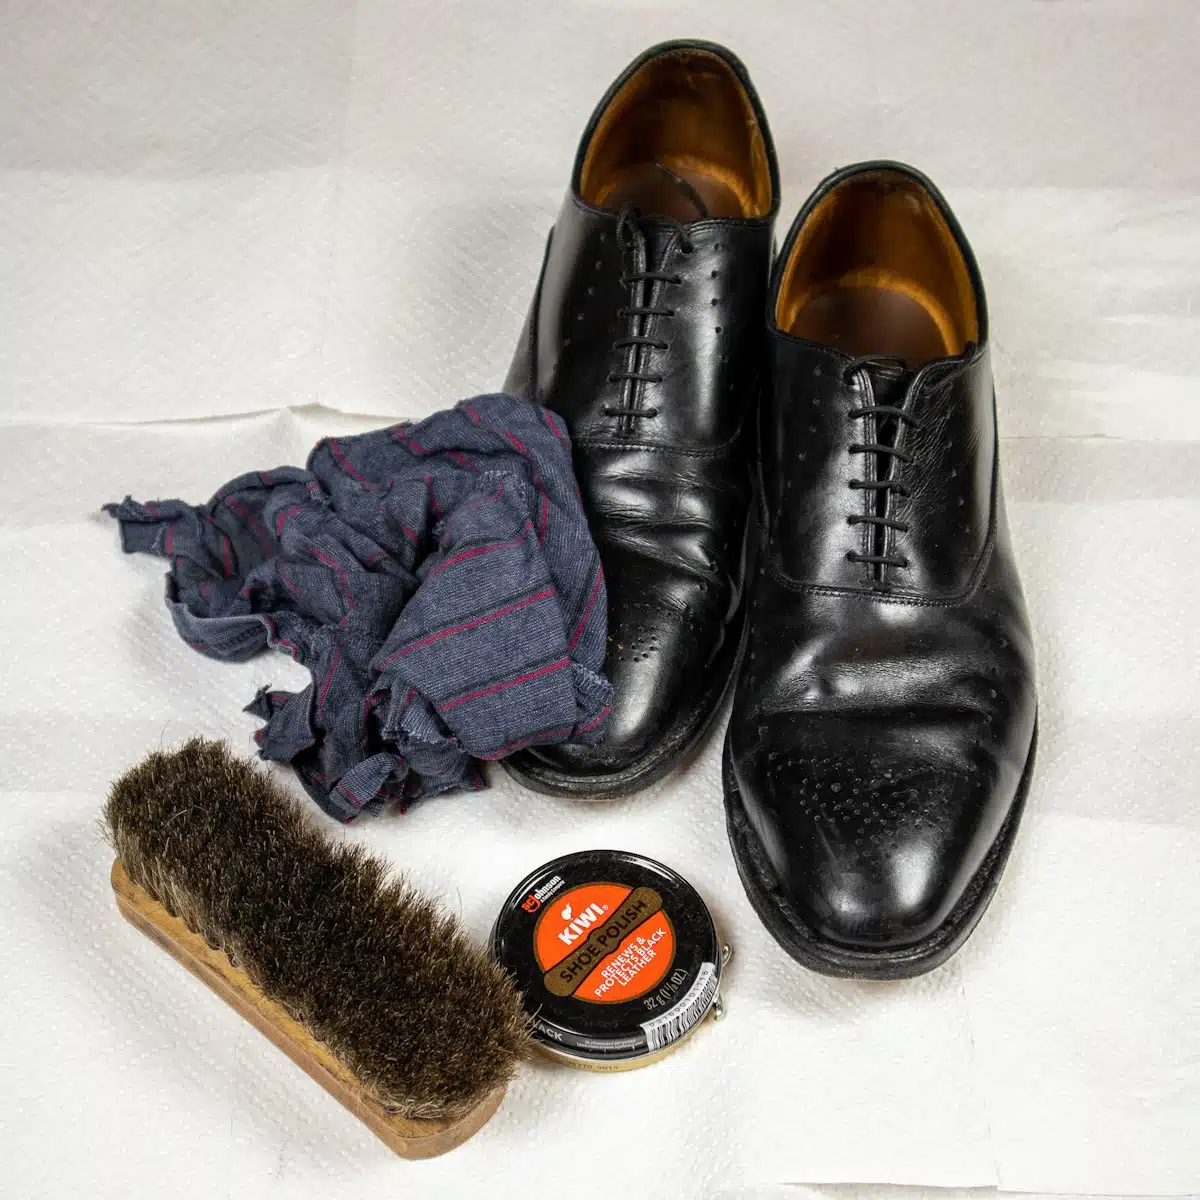
What You’ll Need
Before getting started, it’s best to make sure you have the basics on hand:
- Hard leather dress shoes or boots
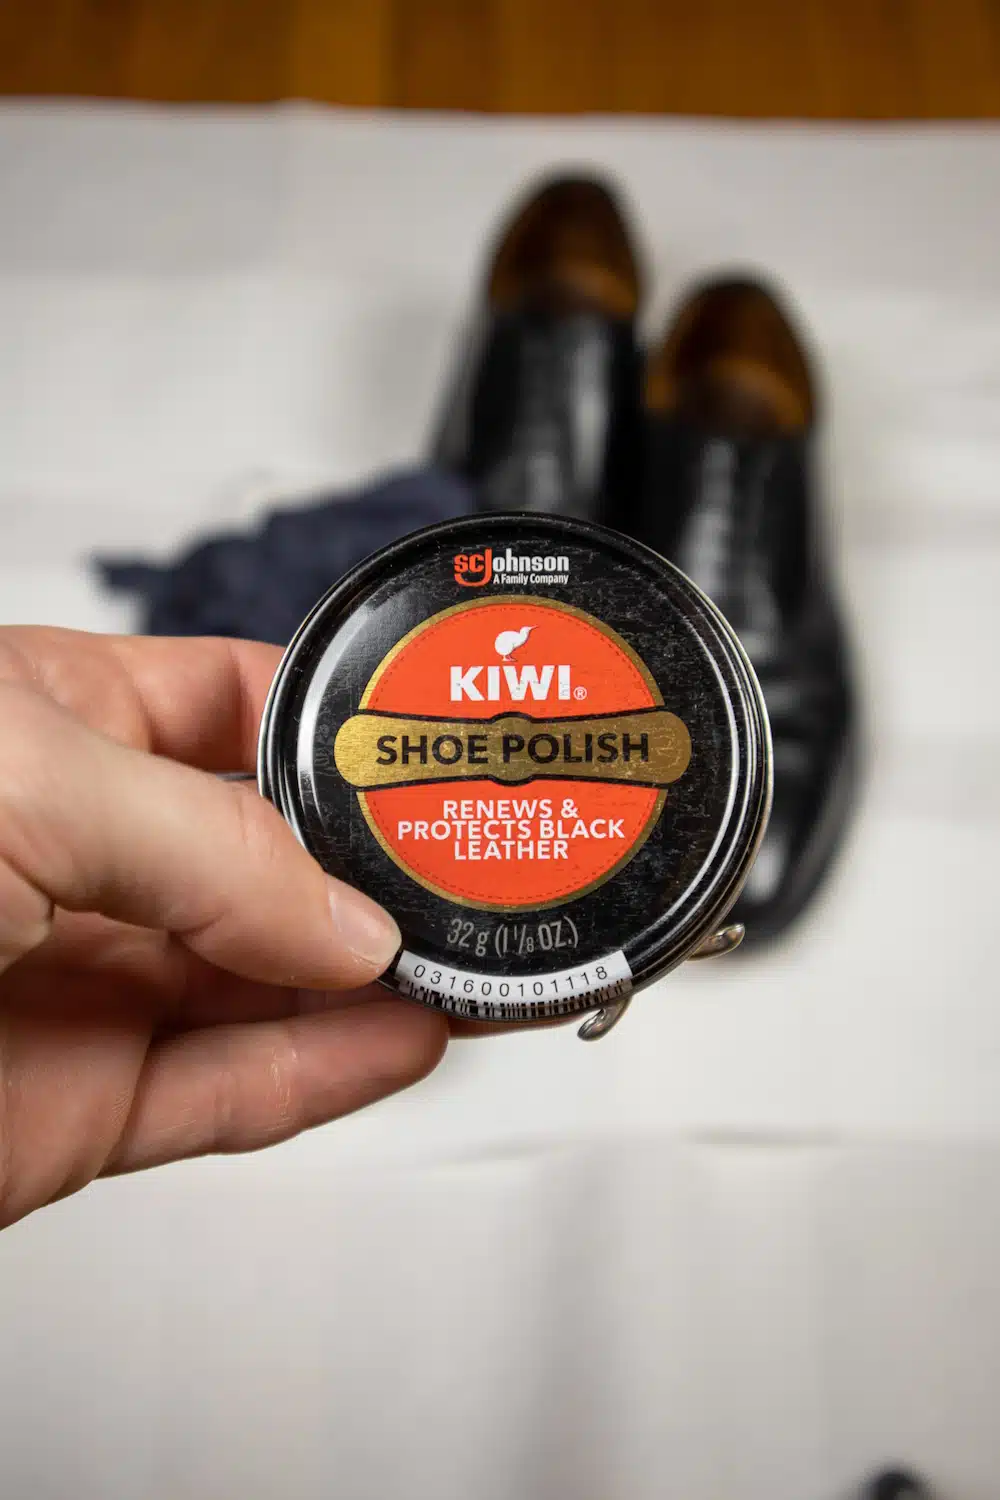
- Wax or cream polish that matches the color of your shoes
- Soft-bristle brush
- Microfiber cloth/rag/old t-shirt
- Nylon pantyhose/stockings (yes, seriously)
I’ve ruined my fair share of white dress shirts in my early days of shoe polishing. This guide will break down in detail how to shine your shoes without mishap.
Quick Guide to Shining Black Shoes
Woke up late for a meeting? Late for a hot date? If so, not to worry — you can still get a quick shine in before you rush out the door.
Using a pair of Oxfords from Allen Edmonds as an example, here’s how to shine your black shoes:
Shoe polishing is an artistic endeavor. Like any skilled craft, there are simple tricks of the trade that make your first few experiences far more pleasant.
This detailed yet brief walkthrough will pass down the secrets I learned from my military mother, including a nifty trick that gave her an edge over her male comrades.
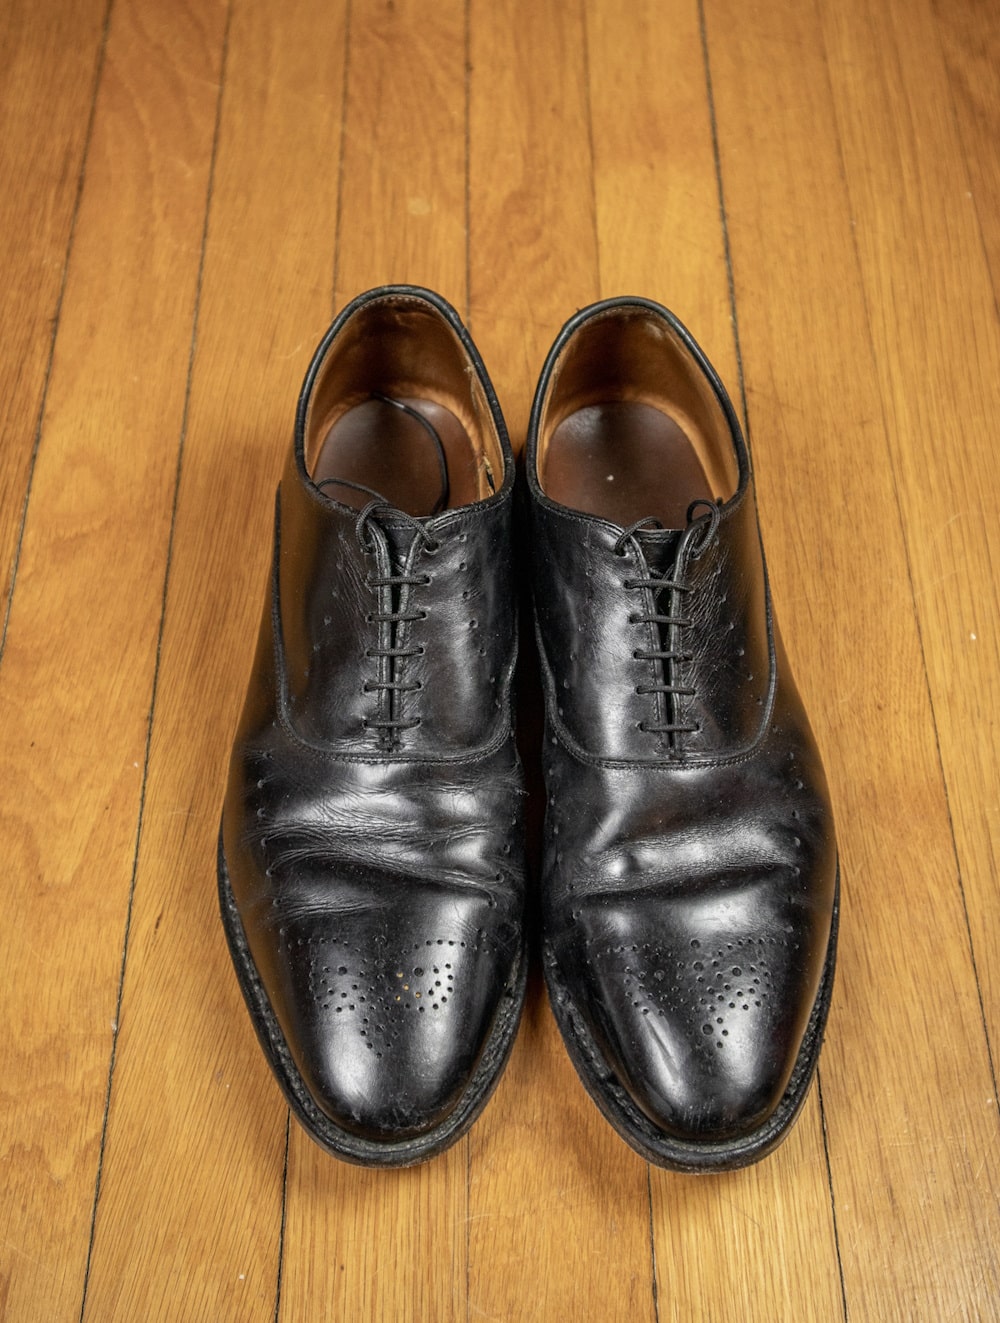
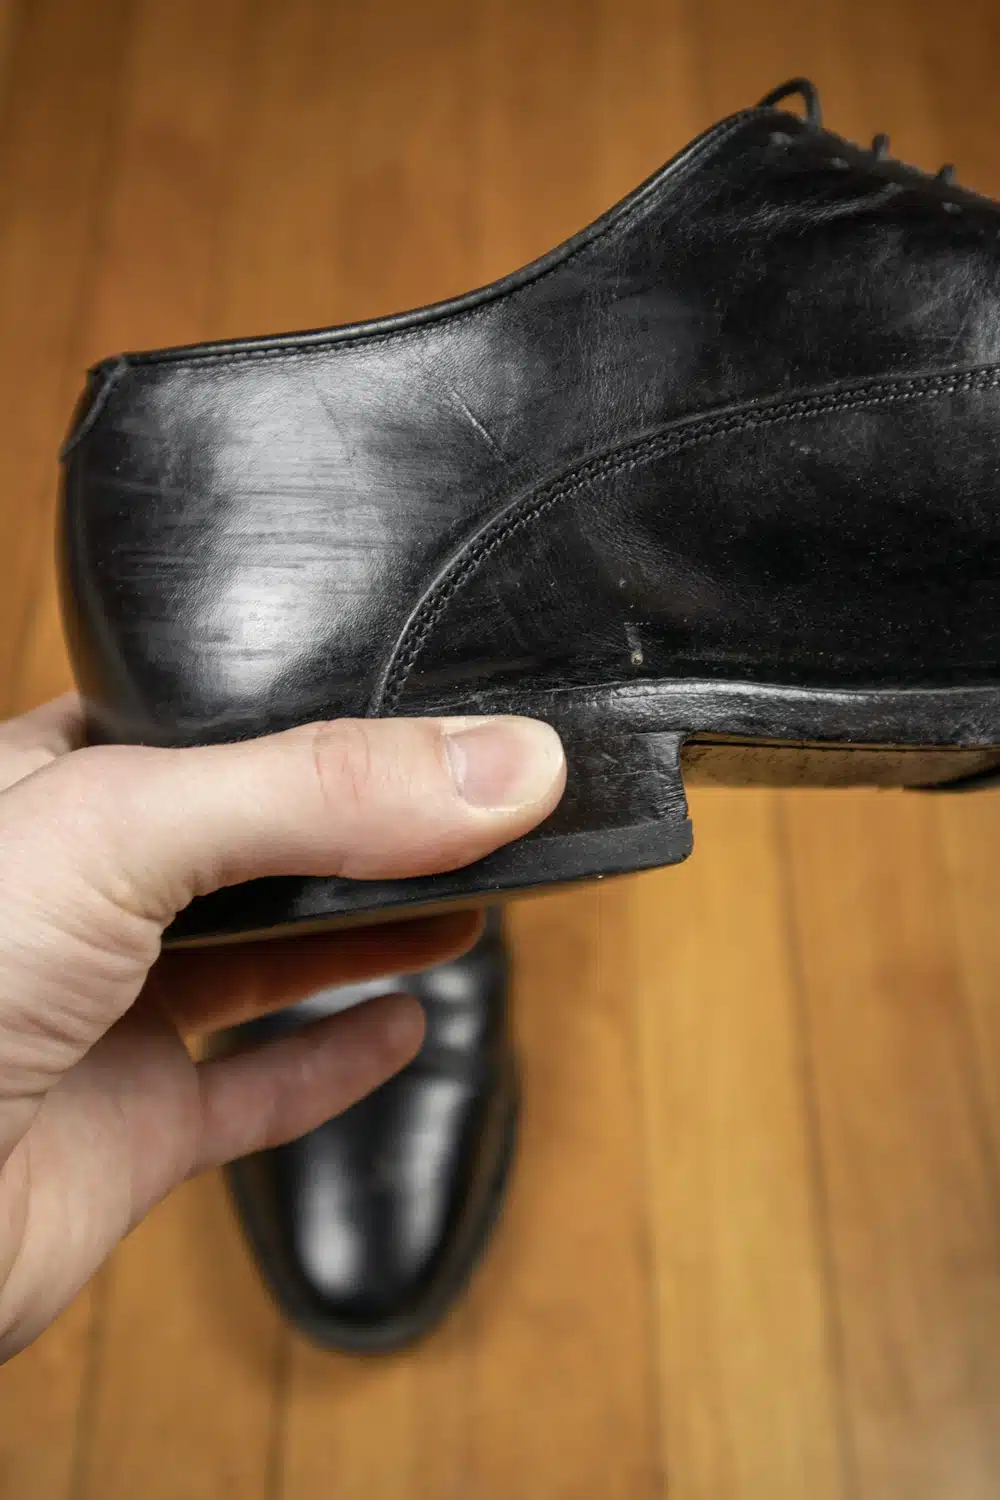
Here’s what I’m working with — my scuffed shoes:
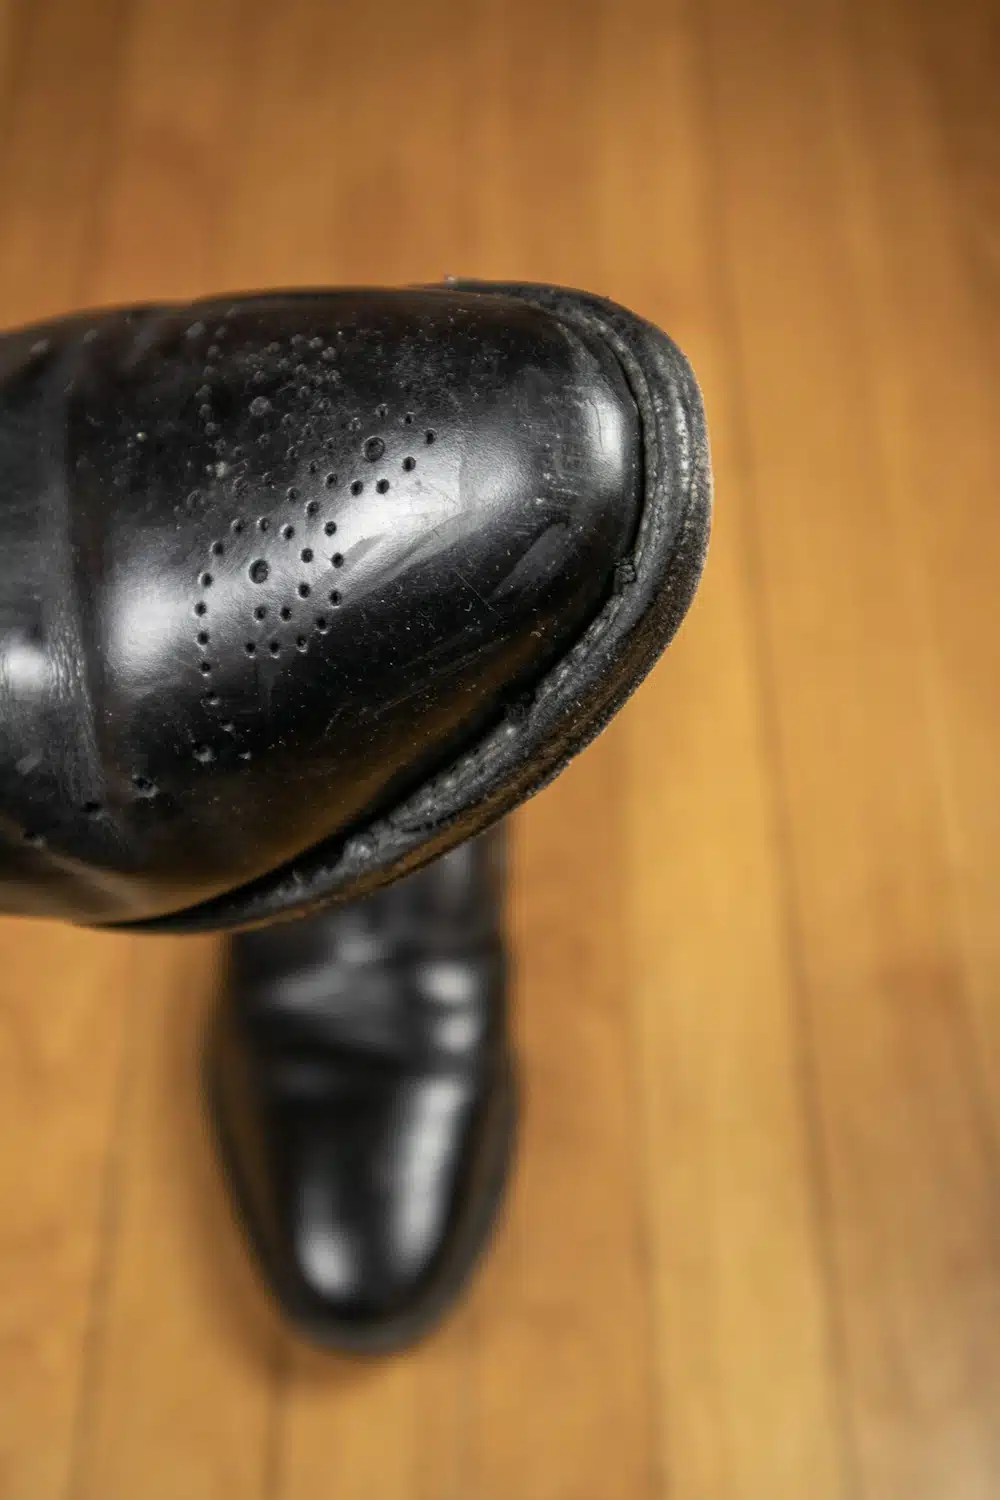
Now let’s get to work!
Step #1: Clean Off Dirt
First, clean off dirt and debris from your shoes with a brush or rag.
Step #2: Apply Polish
Now, apply polish to your shoes.
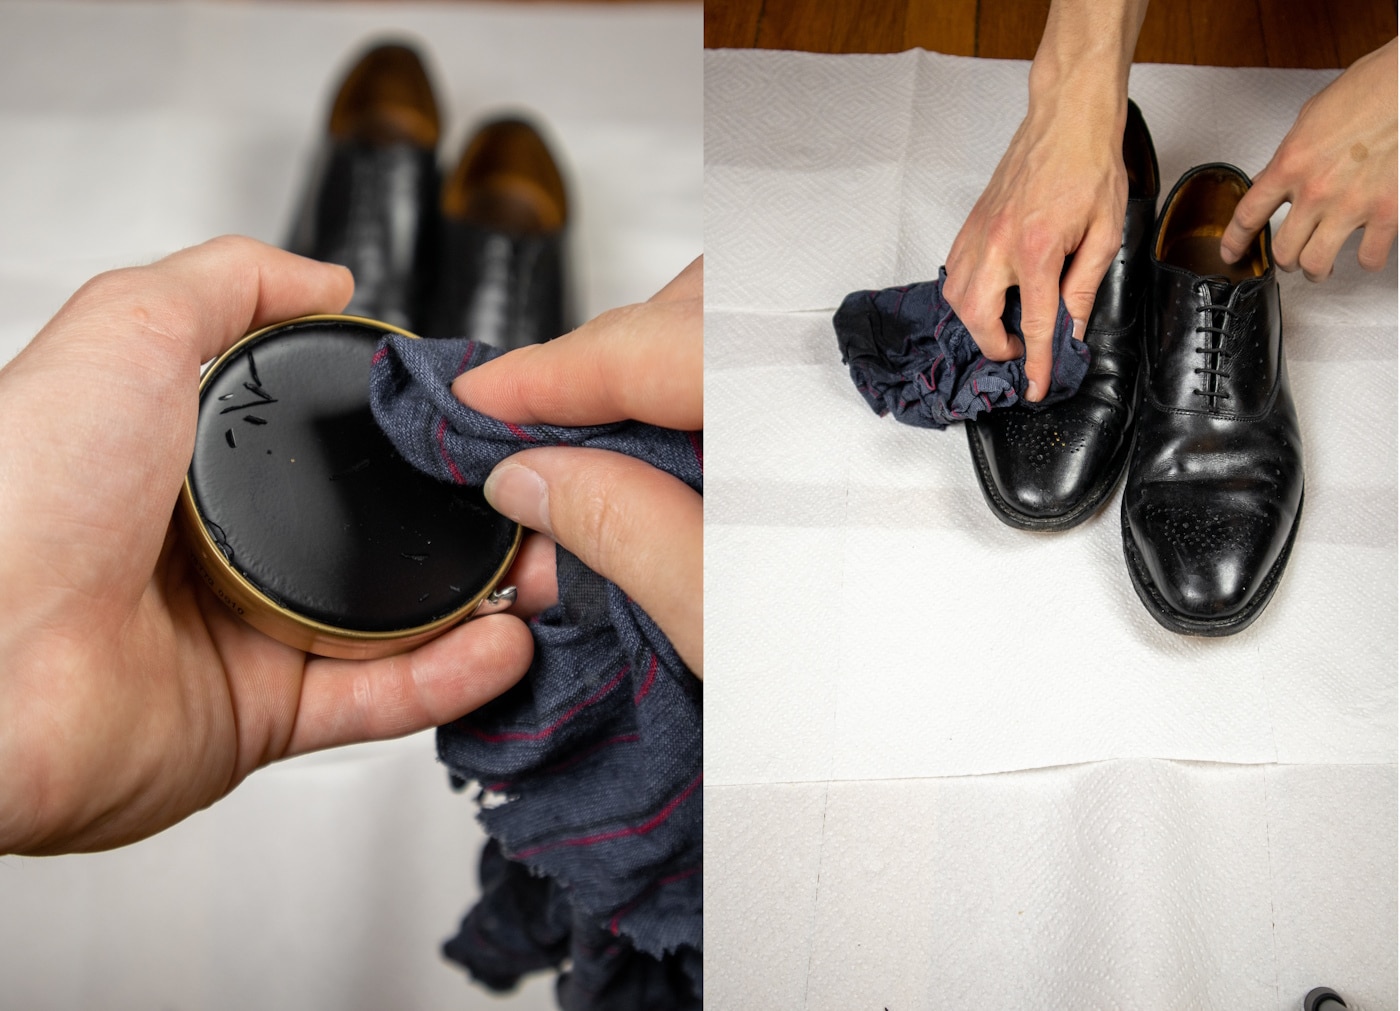
I like to dab it onto my shoes with an old t-shirt.
Step #3: Brush Your Shoes
Spread the polish with the brush for thin, even distribution.
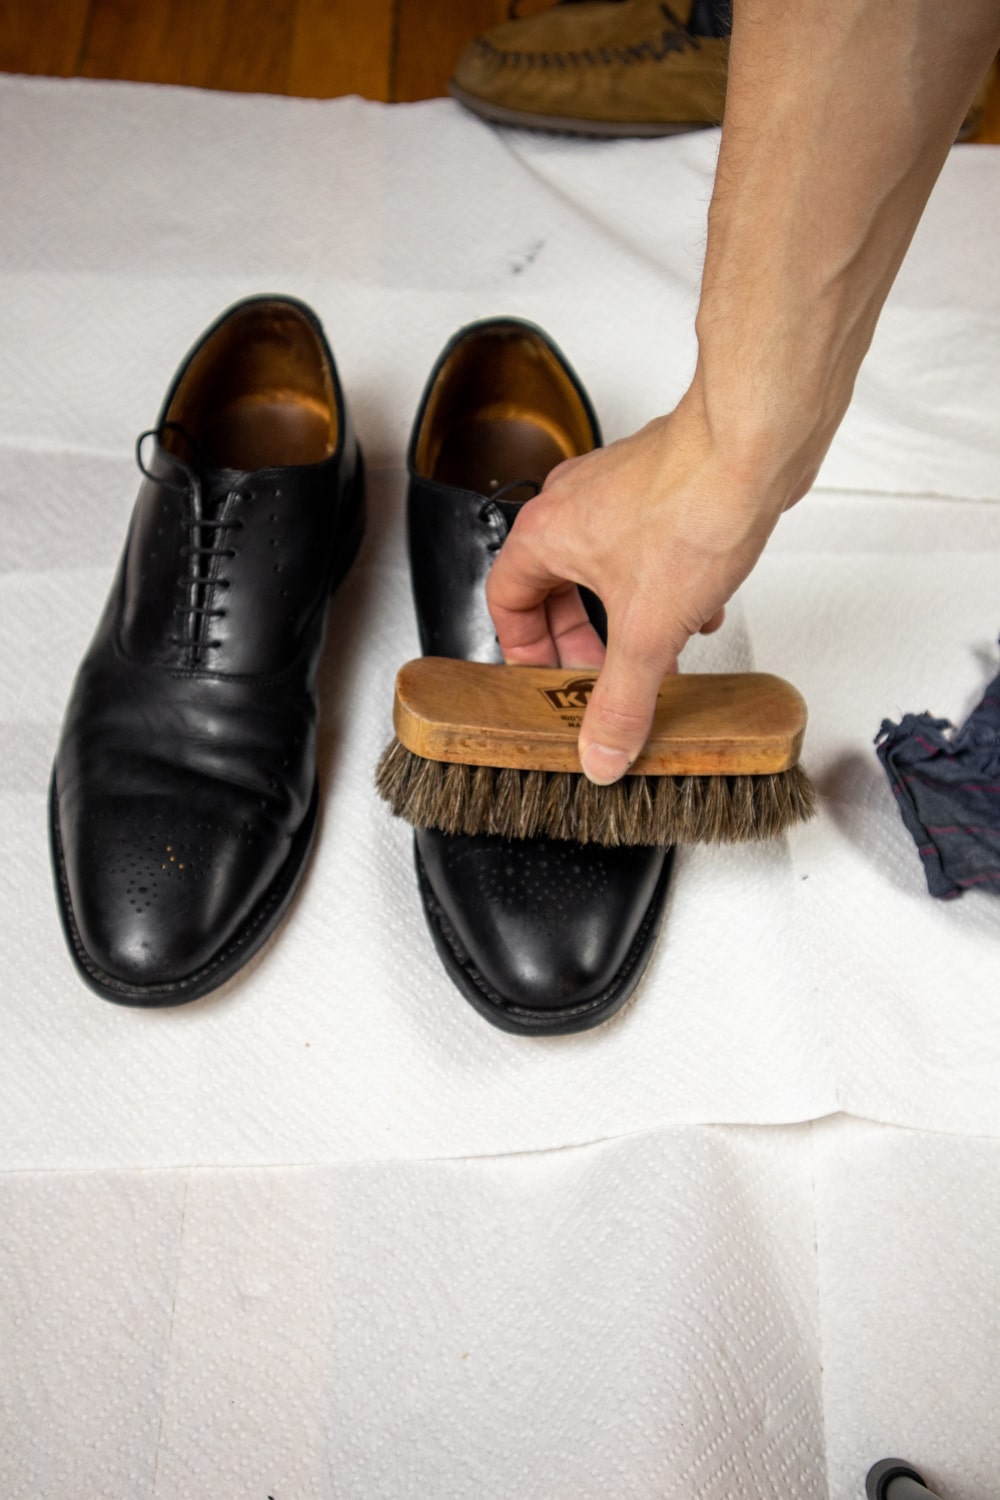
Don’t be afraid to use a bit of pressure. Also, brushing fast can create a bit of heat which helps to melt the polish, lending to a better shine.
Step #4: Repeat Steps 2 And 3 If Necessary
I find that if my shoes are in great need of shining, applying two layers of polish creates a better-finished product than one layer alone.
Step #5: Shine With Stockings
This is where my mom’s military know-how comes into play.
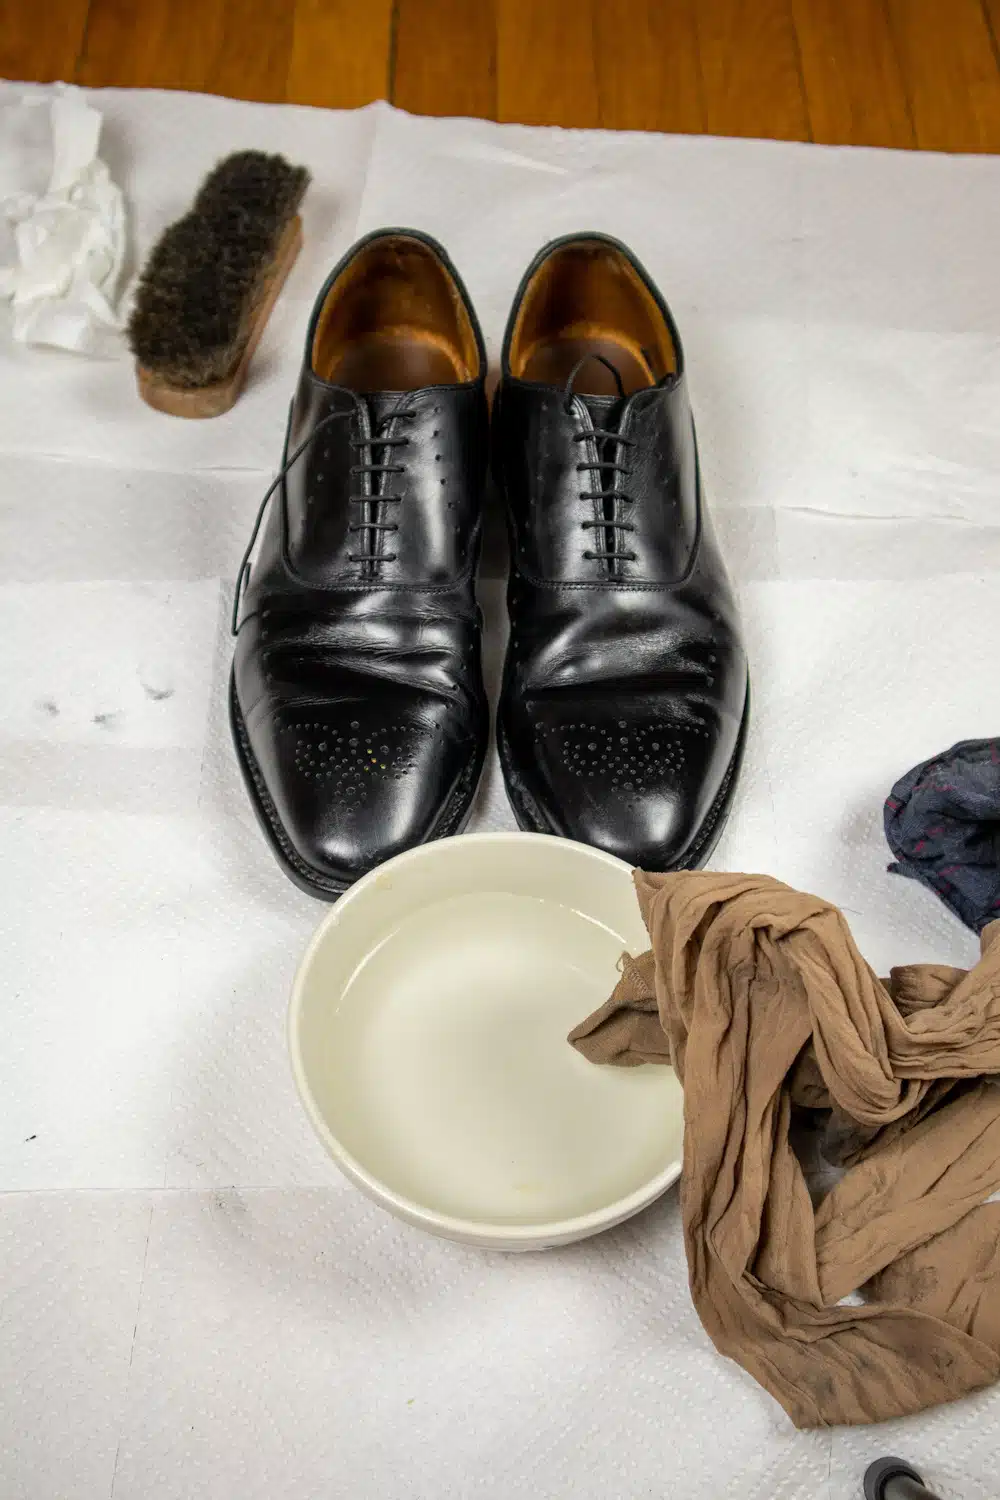
Take clean stockings (pantyhose) and dip them in water. They should be damp but not soaking wet.
Now, shine the shoes vigorously with the stockings. You’ll see a marked improvement in your shine.
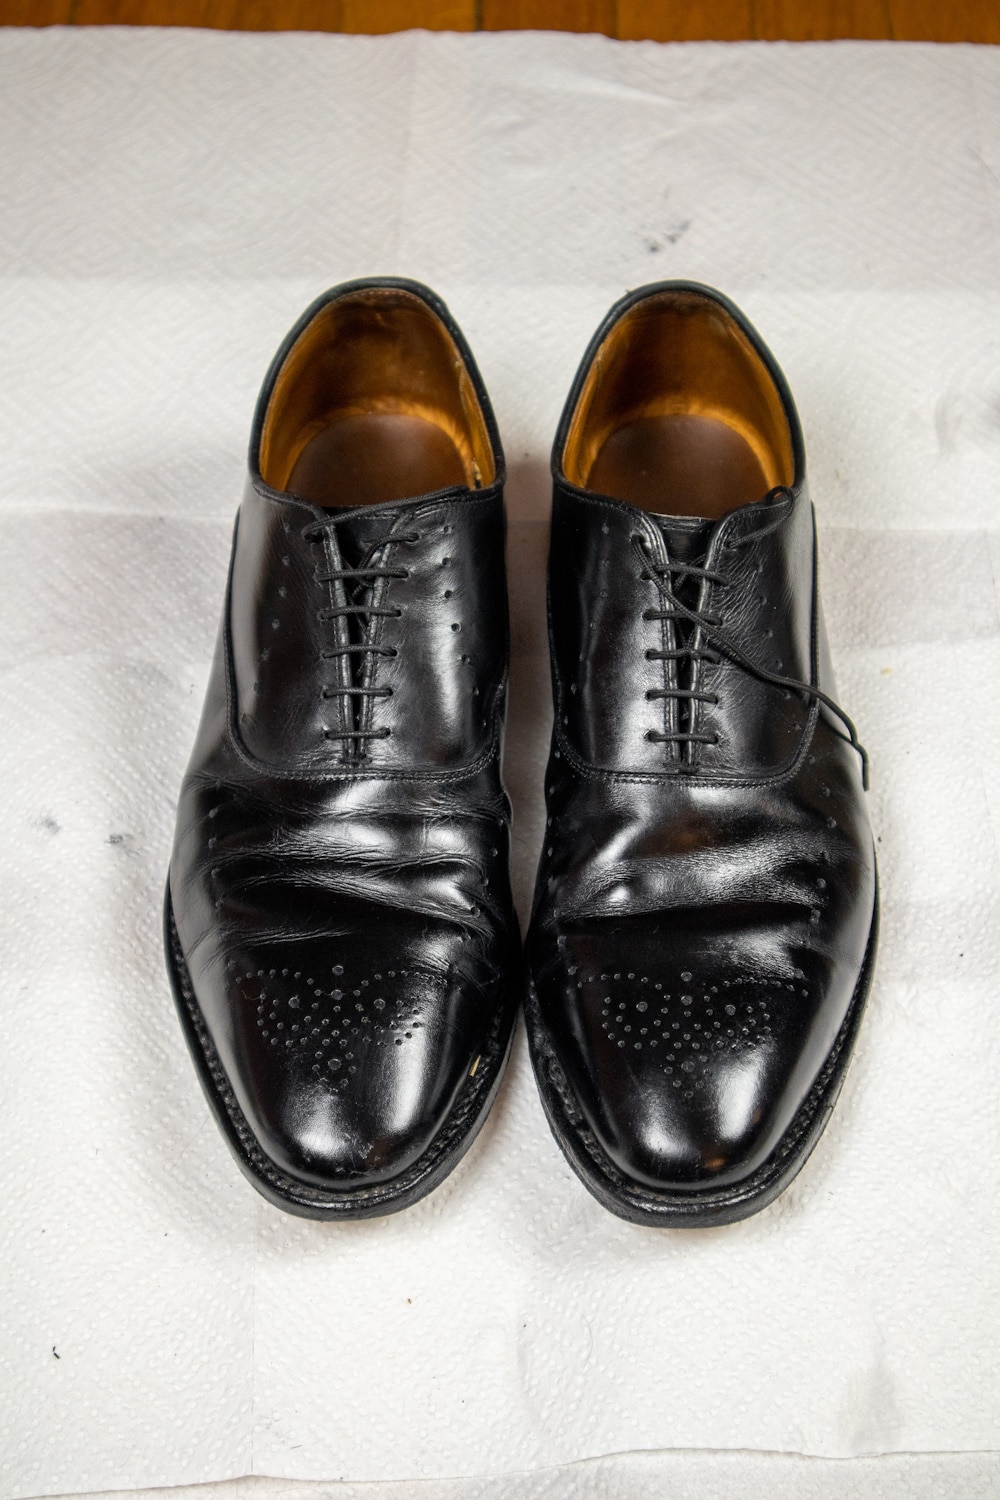
I’m not exactly sure why this works, but it does!
Step #6: Mirror Shine (Optional)
For the vast majority of people, that’s it —that’s all the shine you need. However, if you want a true mirror shine you’ll need to put it a bit (or a lot) more work.
I won’t cover mirror shines in detail, but here’s the full process laid out in full by Preston from The Elegant Oxford:
Personally, I prefer a slightly matte polish. For one thing, it’s easier to maintain and less eye-catching. However, a mirror finish is a fantastic skill that’s especially relevant if you want to wear non-patent leather black dress shoes with black tie.
Step #7: Final Touches
Sometimes after shining you’ll notice an imperfection. Some flaws, like deep scratches in the leather upper, can’t be fixed.
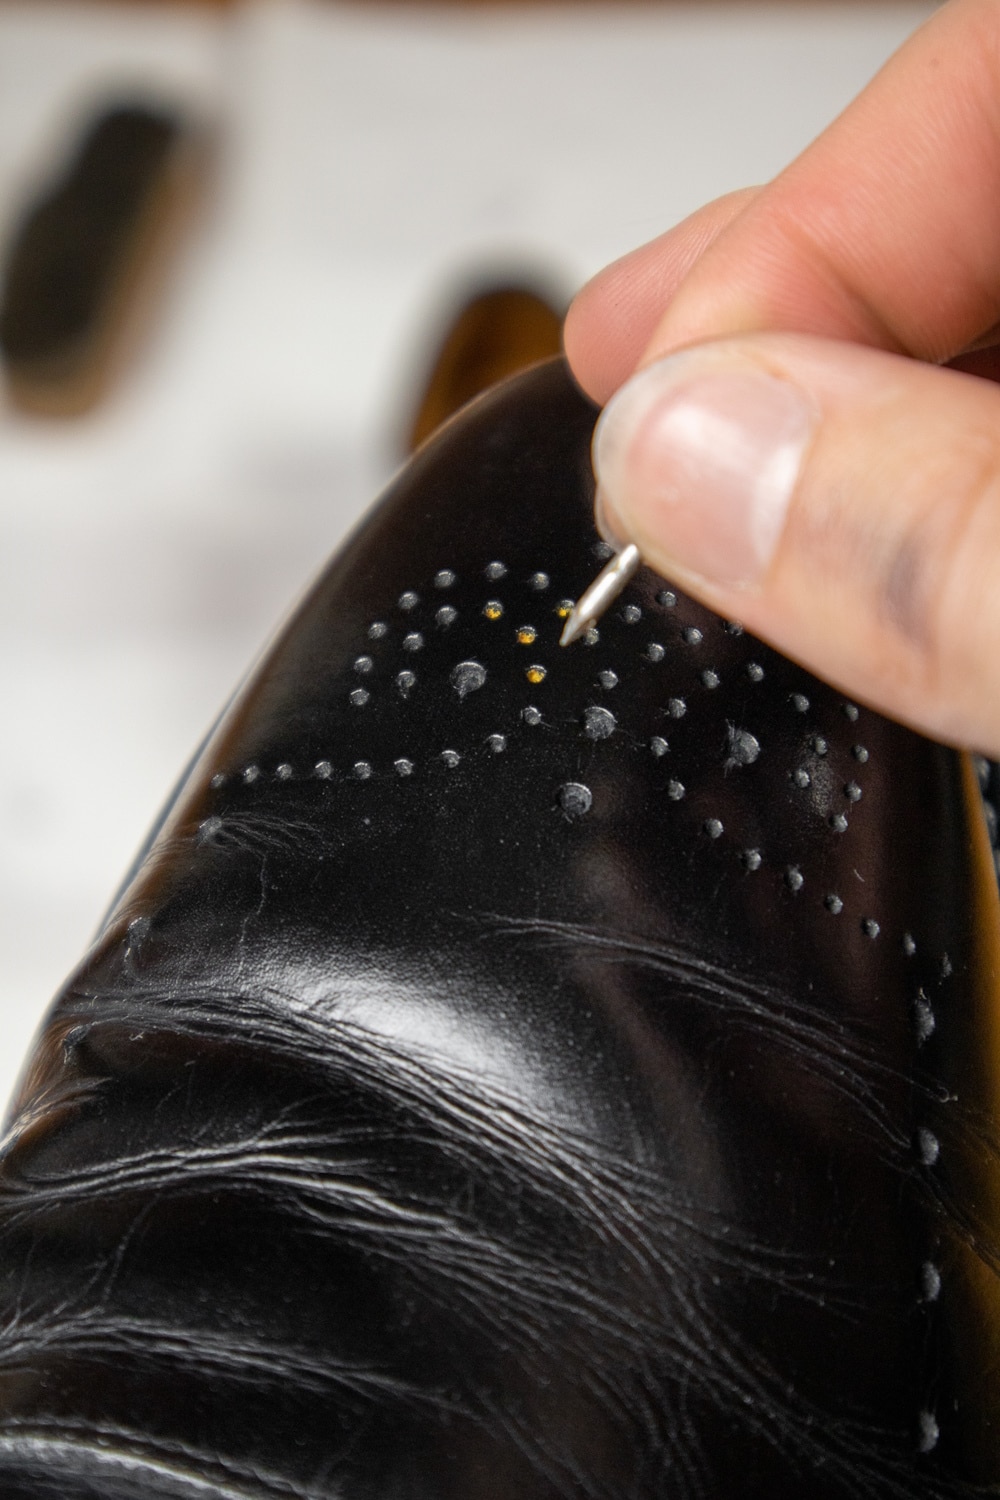
Other things, like dirt or debris in brouging, can be easily remedied. In the photo above you can see how I’m using a toothpick to clean out dirty brouging.
There you have it, how to polish black dress shoes.
Now on to brown shoes!
How to Shine Brown Shoes
G. Bruce Boyer, in his iconic book True Style wrote, “What nuance… brown shoes contain! Black is always black, but that brown is sometimes tan is a notion worth remembering.” (Page 162).
Brown shoes are a bit more tricky to polish than black shoes. That’s because there are almost a limitless amount of shades of brown out there.
Since there’s no standardization of color names within the industry, one brand’s “mahogany brown” might be another’s “coffee.” If at all possible, use the type/color of polish that the shoe manufacturer recommends for your brown shoes.
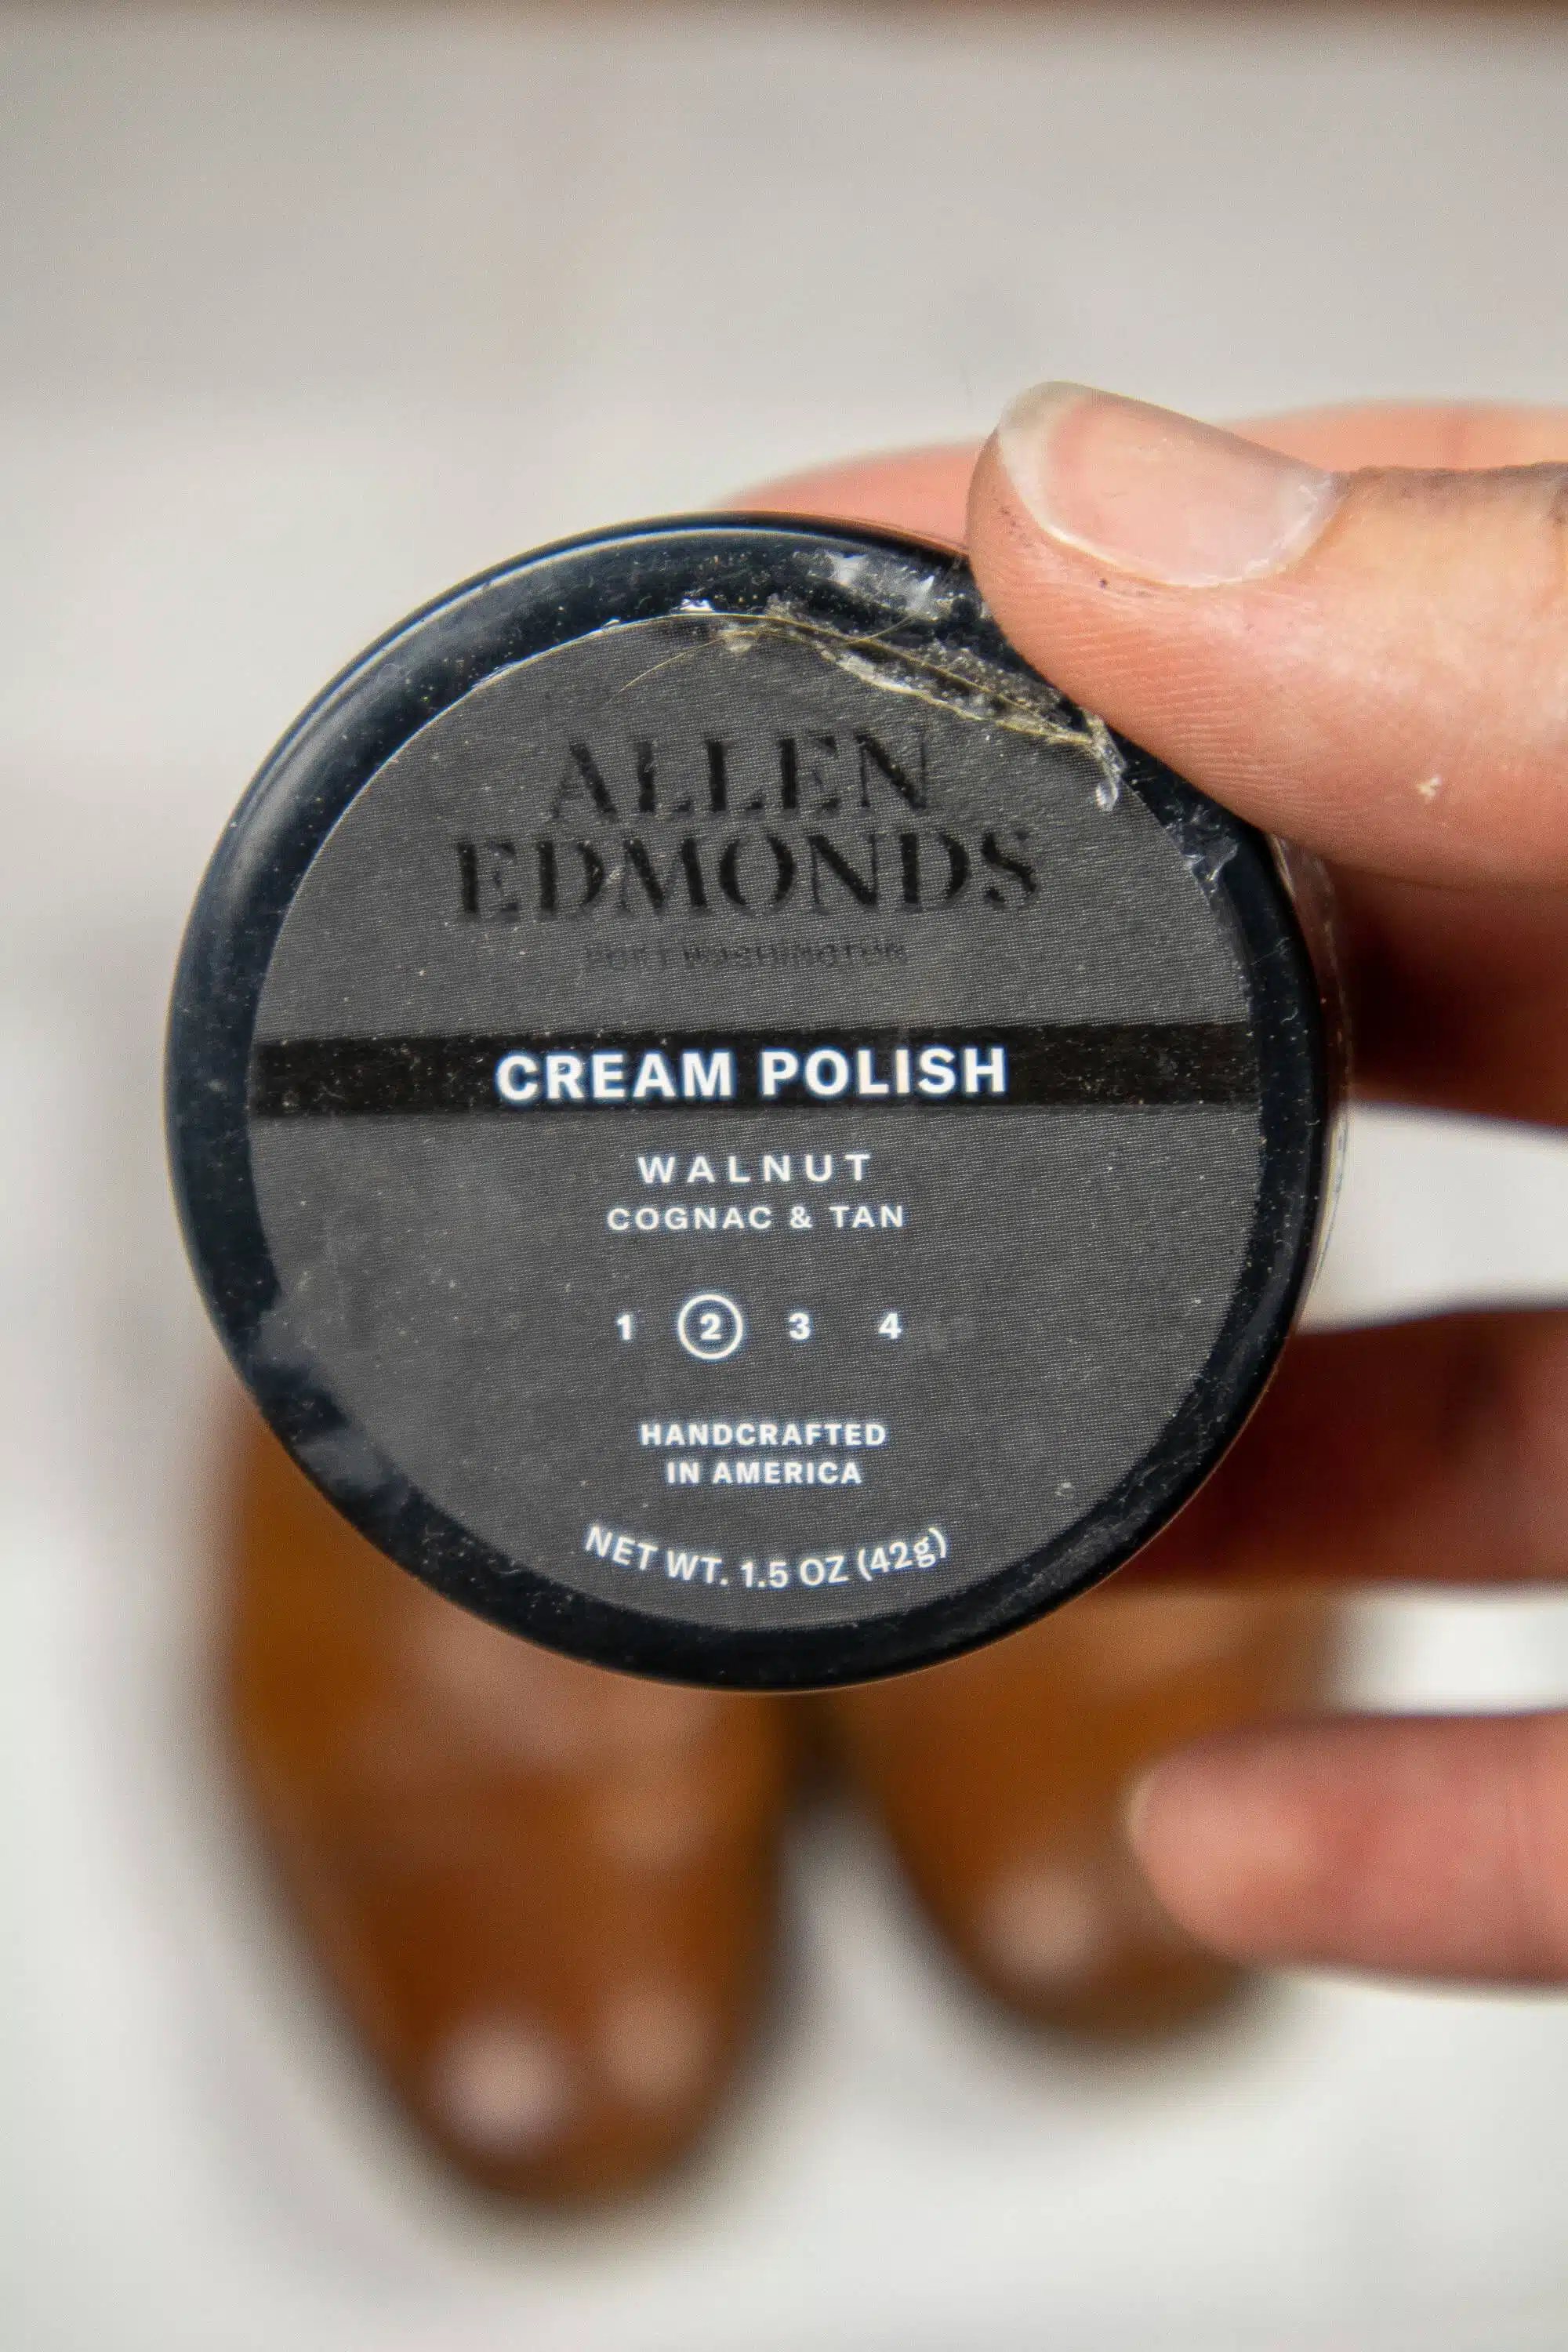
Since my shoes are walnut-colored Cornwallis Oxfords (discontinued) from Allen Edmonds, I use an AE Walnut cream polish followed by a clear (neutral) layer of polish.
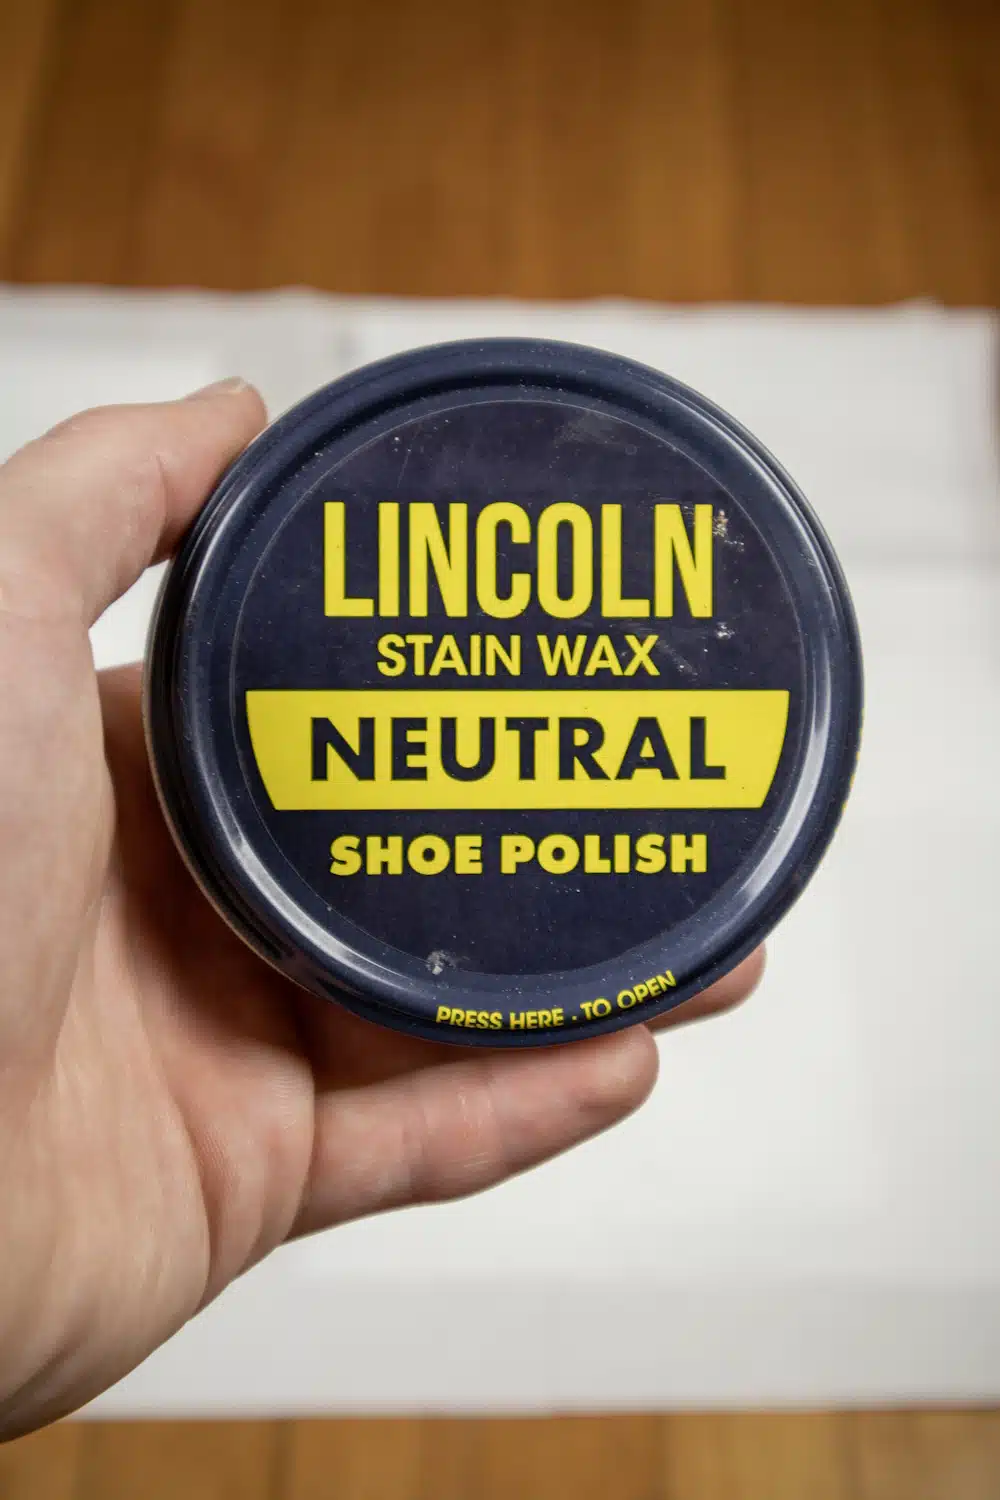
The clear polish not only adds brilliance to the finish, but it also helps to protect the light-colored shoes underneath meaning that scuffs are less likely to show.
I’ve found that if I keep up on the clear finish I don’t need to go through the whole process outlined below as frequently.
Here’s the complete process of how I shine my brown shoes:
Step #1: Clean Off Dirt
You start off shining brown shoes the same way you would black shoes, by cleaning them off. I give them a quick one-over with a clean brush or rag, paying attention to potential problem areas such as scuffs, cuts, or abrasions in the leather.
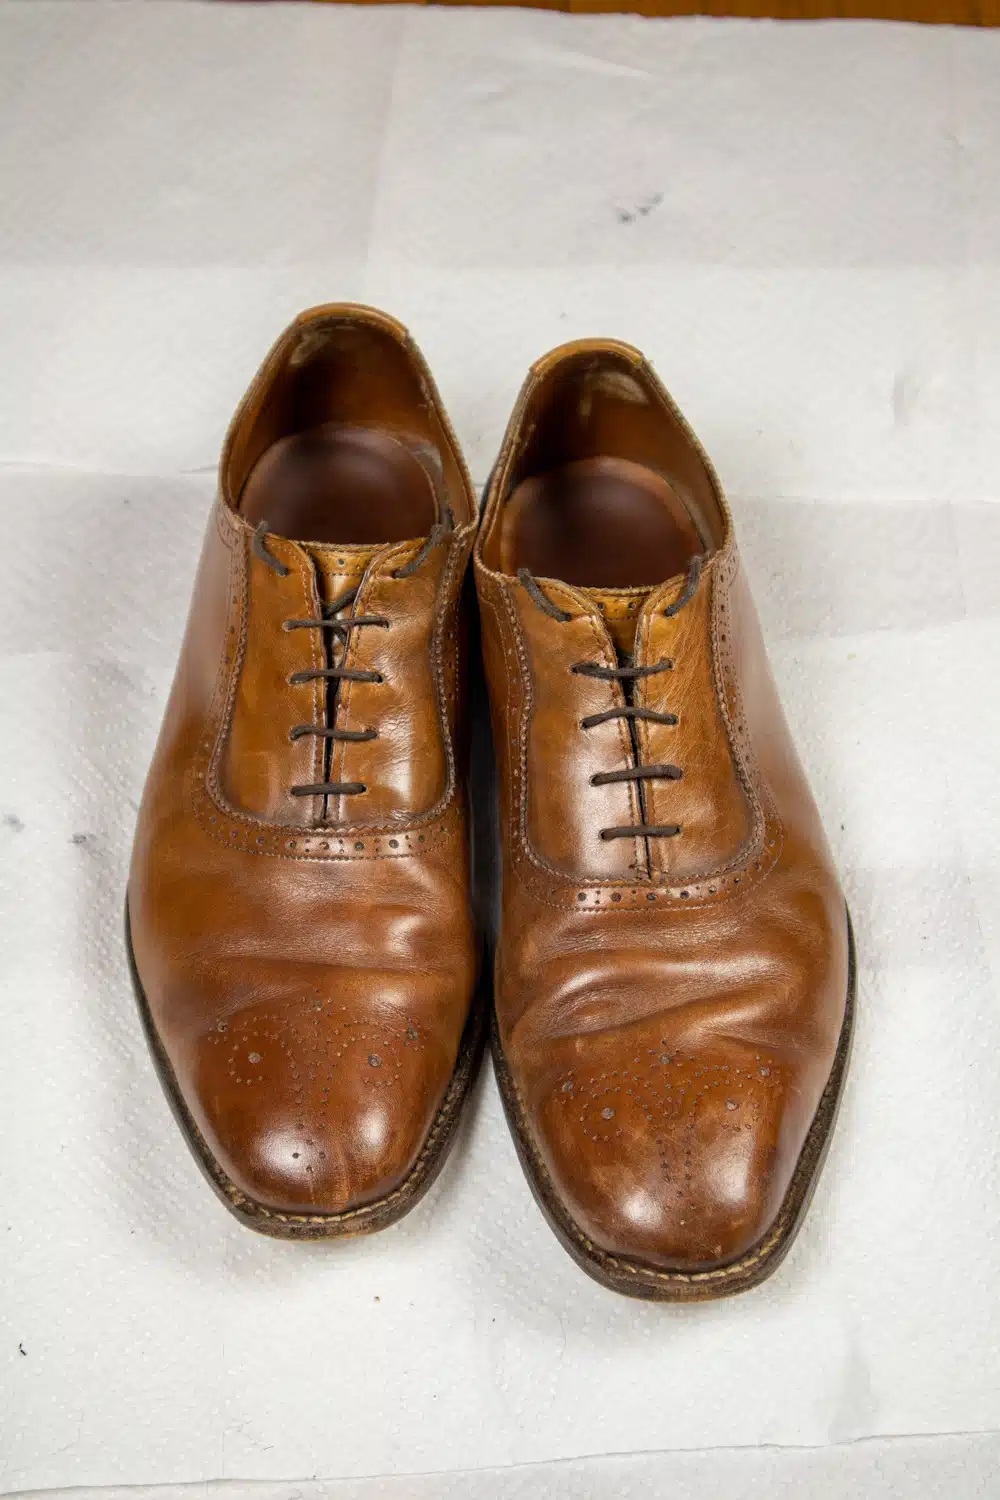
These shoes aren’t in bad nick, but they could look a lot better.
Step #2: Apply Polish
Now that the shoes are clear of excess dirt, it’s time to open up your polish tin and apply a small amount to a rag.
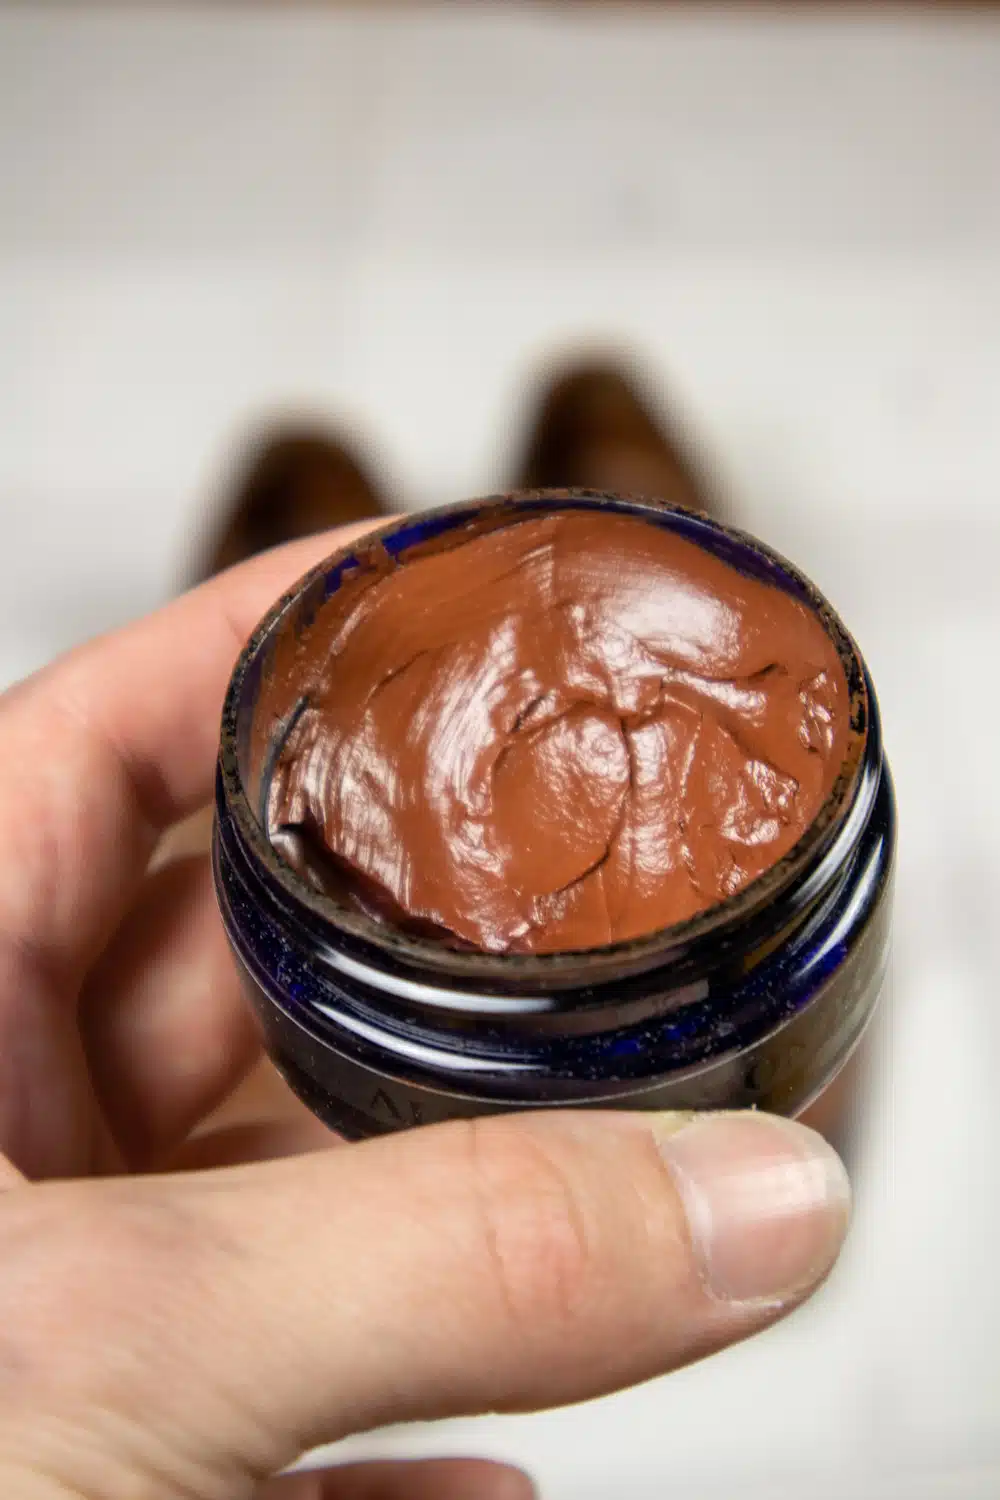
Be careful not to get globs of polish into the brouging that would require tedious work with a toothpick to get out later.
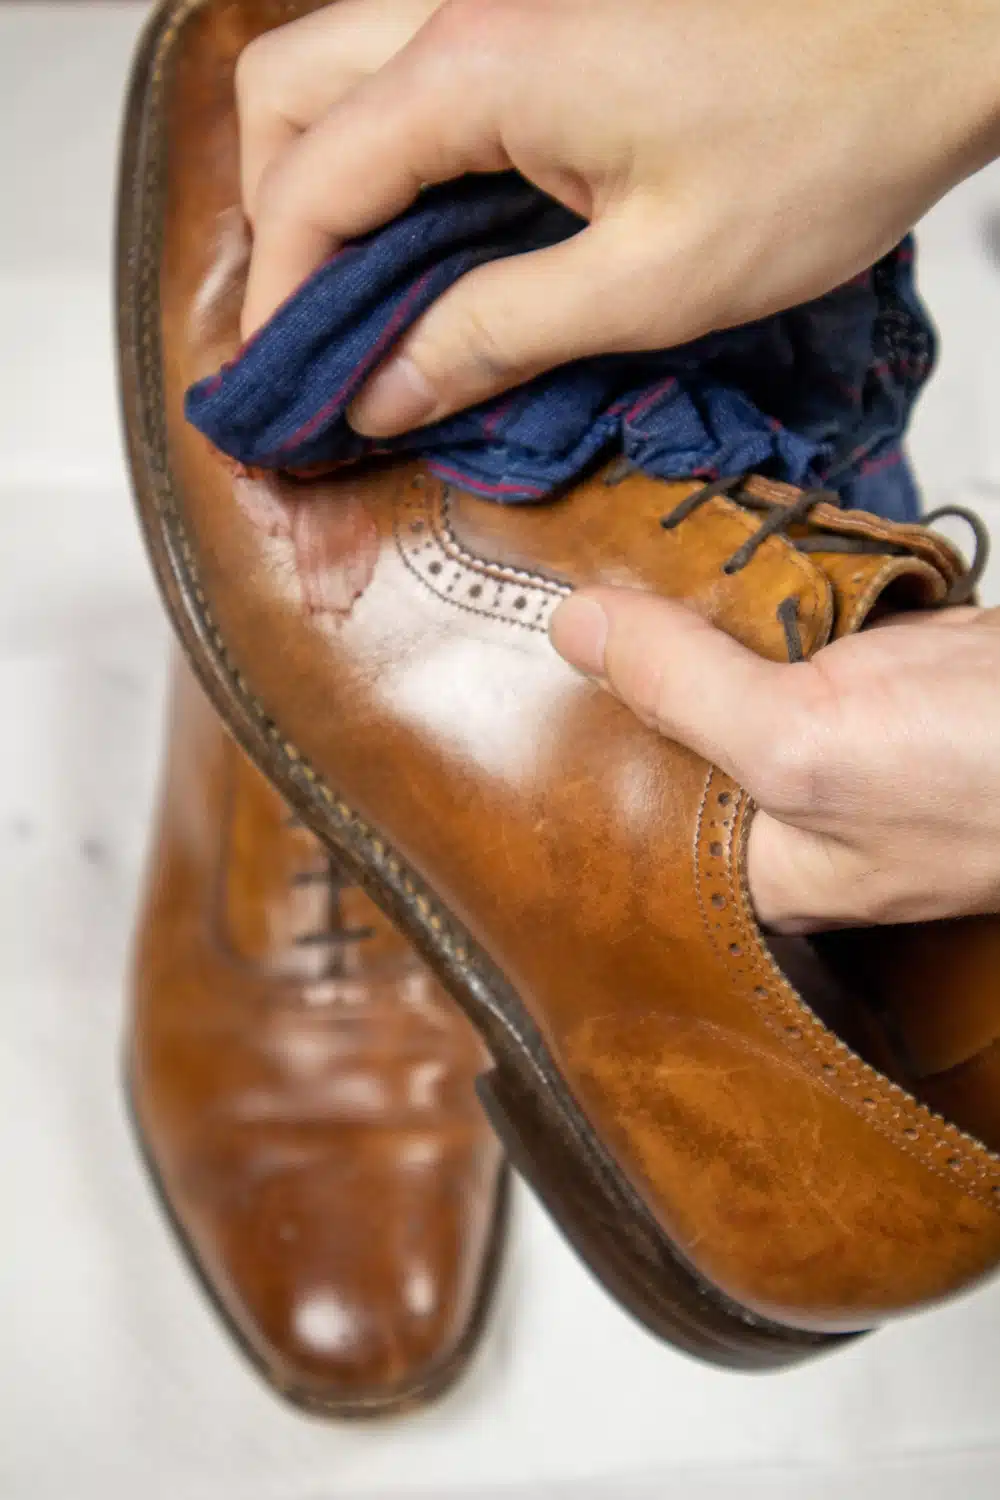
If the shoes are in especially bad shape, take off the laces to more easily apply polish to the shoes’ eyeholes and tongues.
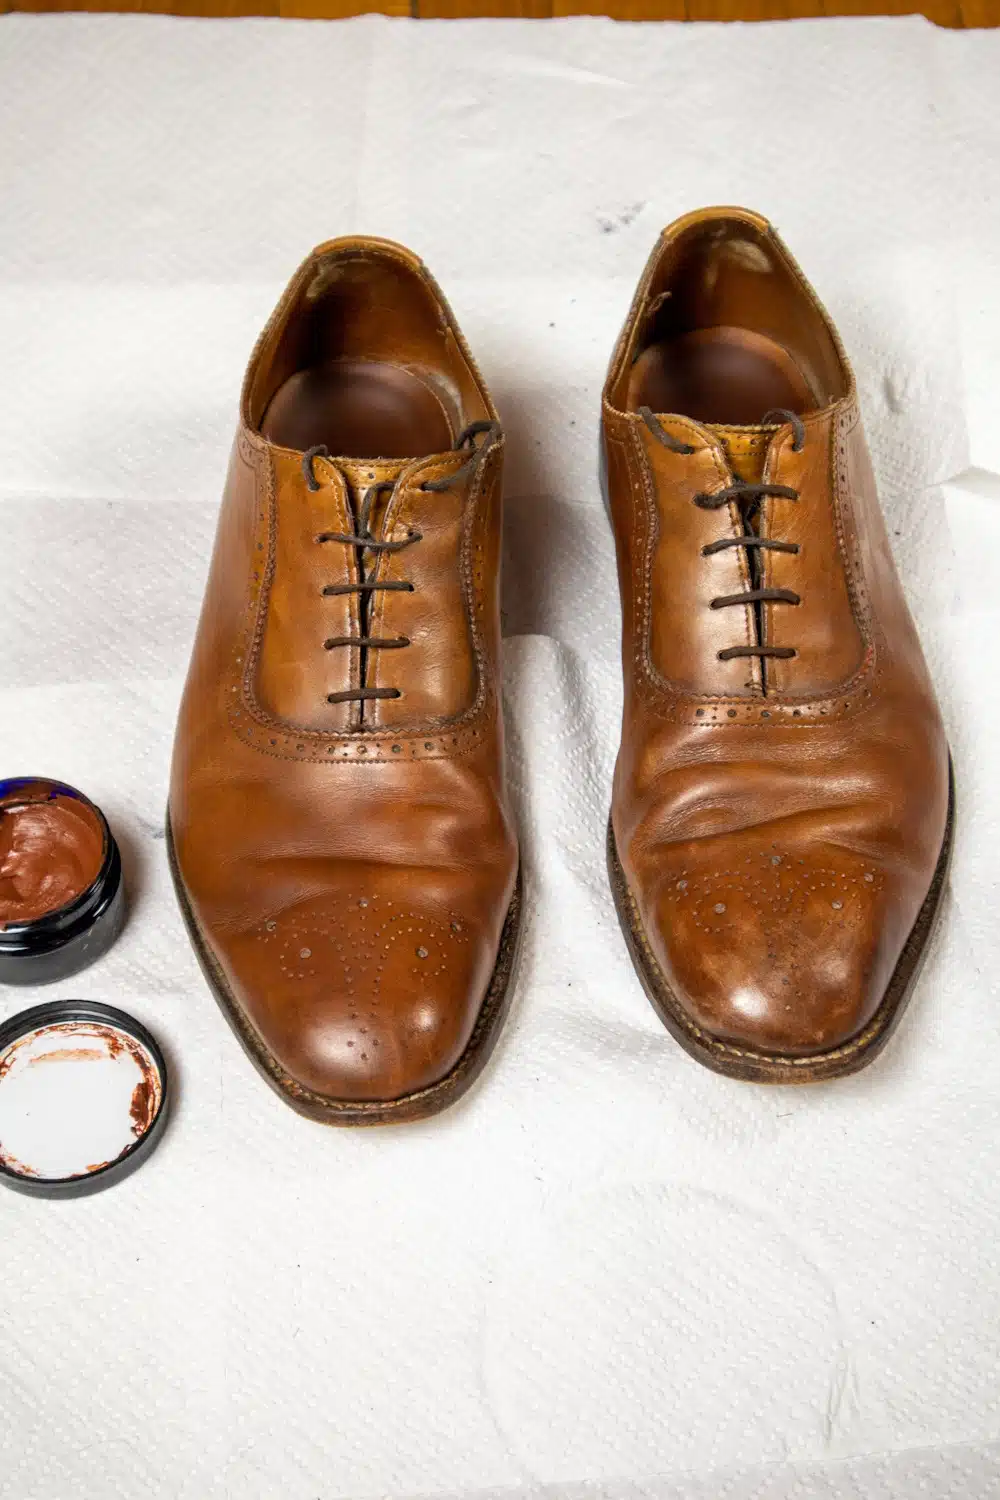
With polish applied it’s time to move on to brushing.
Step #3: Brush Your Shoes
Brushing shoes is my favorite part of the shining process.
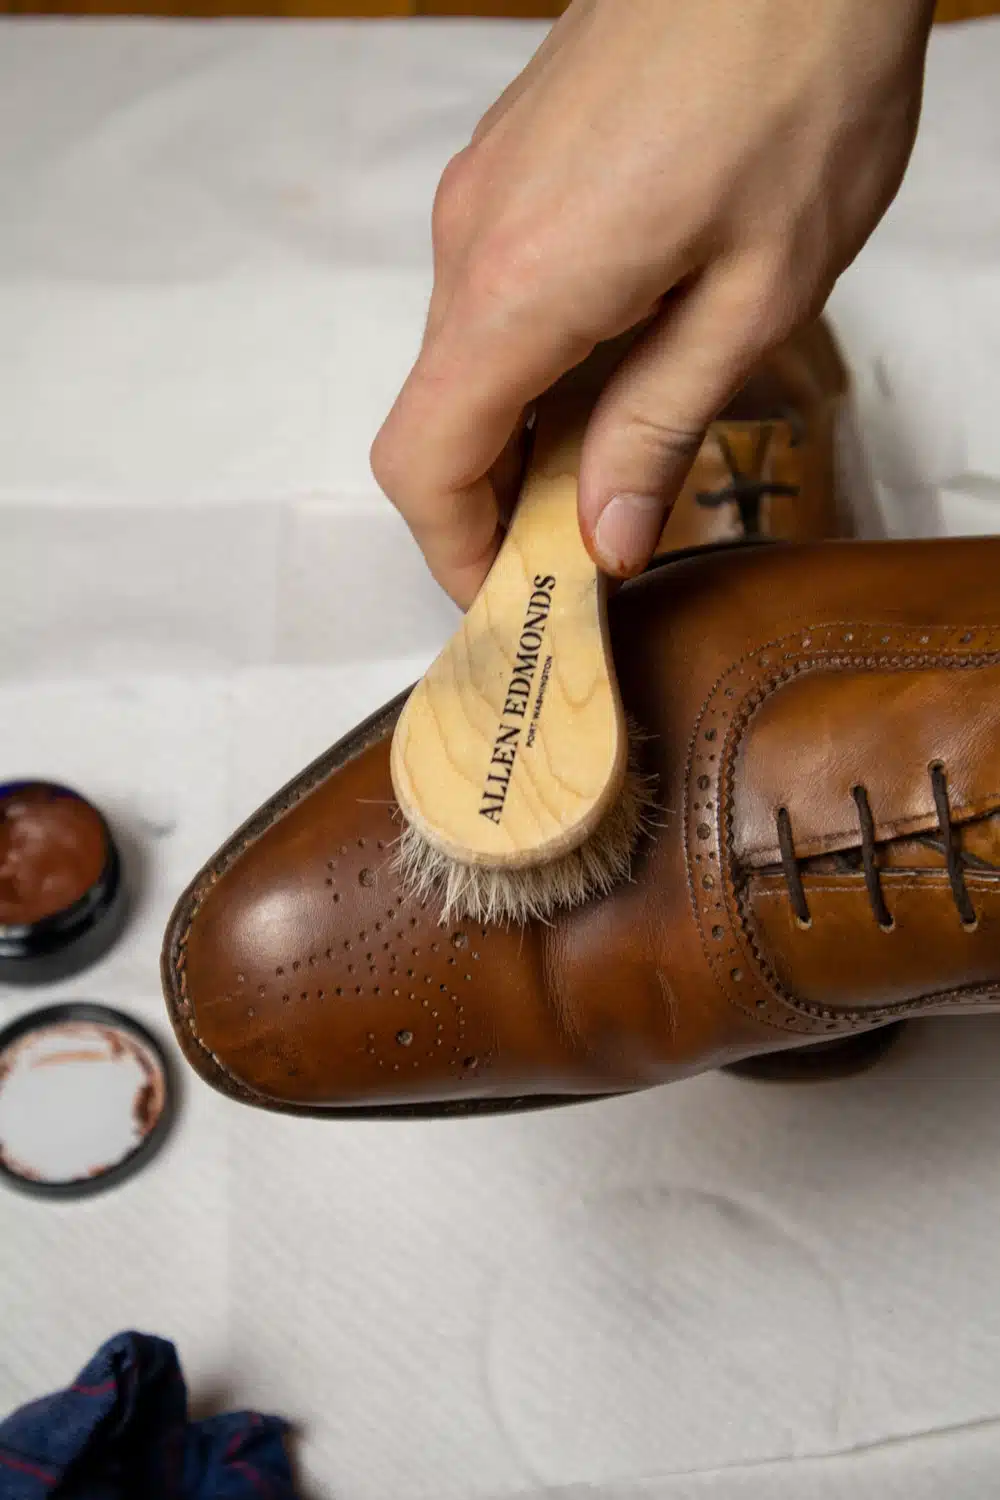
It’s kind of fun to see the shine build.
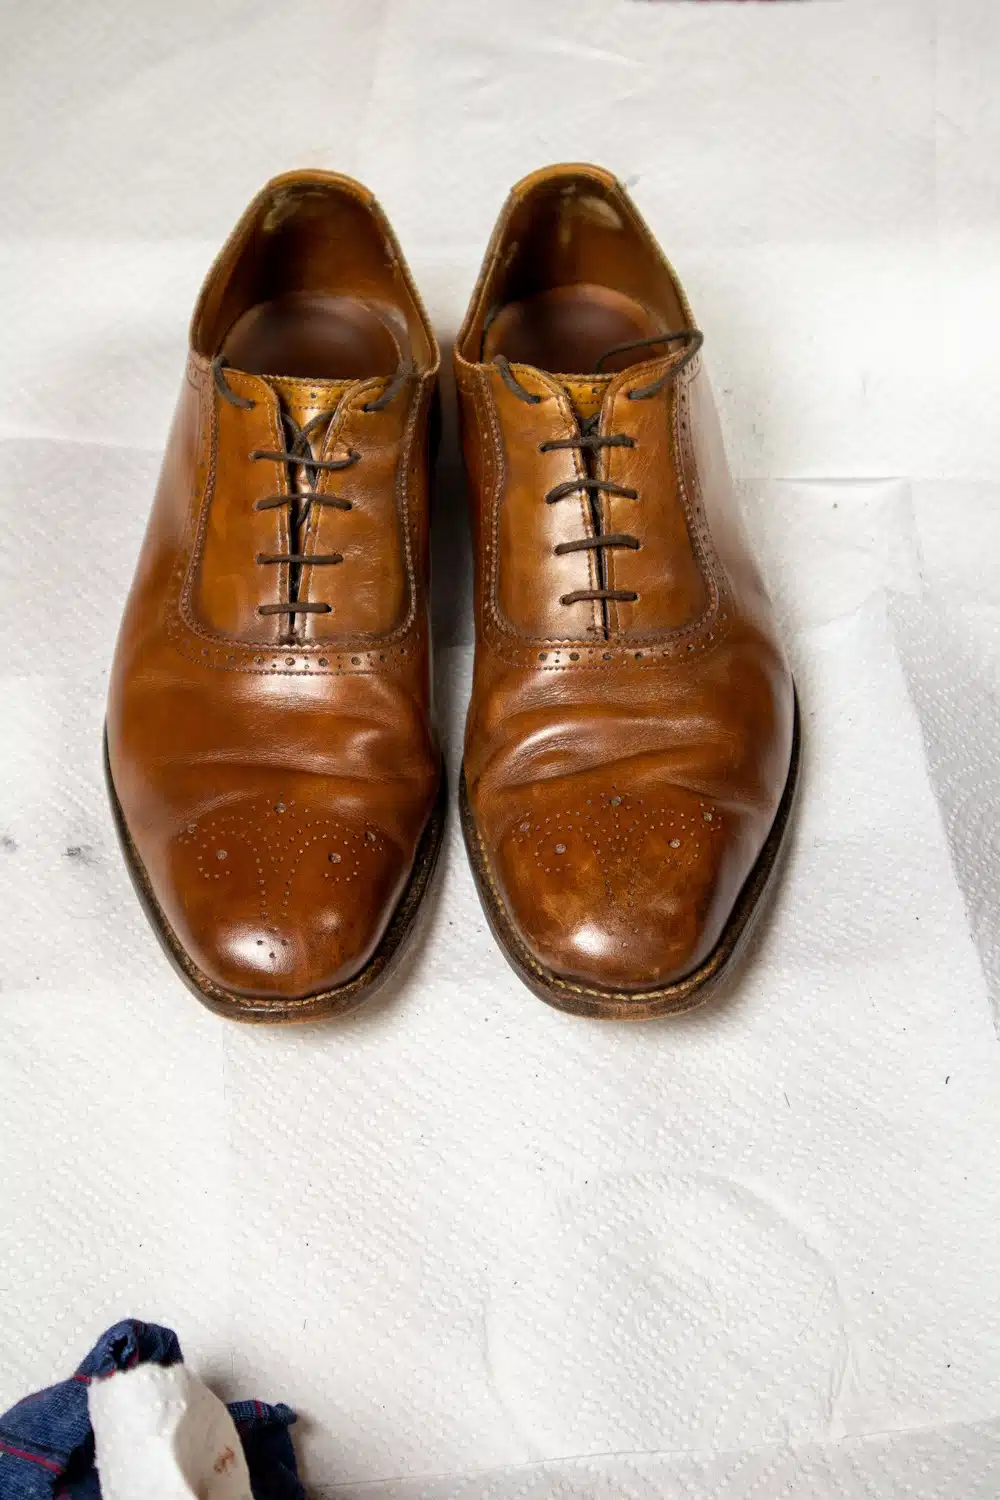
It’s hard to tell from the photos, but by this point, the shoes are already looking a lot better!
Step #4: Repeat Steps 2 And 3 If Necessary
If you can see scuffs and scrapes that still stand out, go ahead and repeat the last two steps.
Step #5: Shine With Stockings
Now take clean stockings (pantyhose) and dip them in water. They should be damp but not soaking wet.
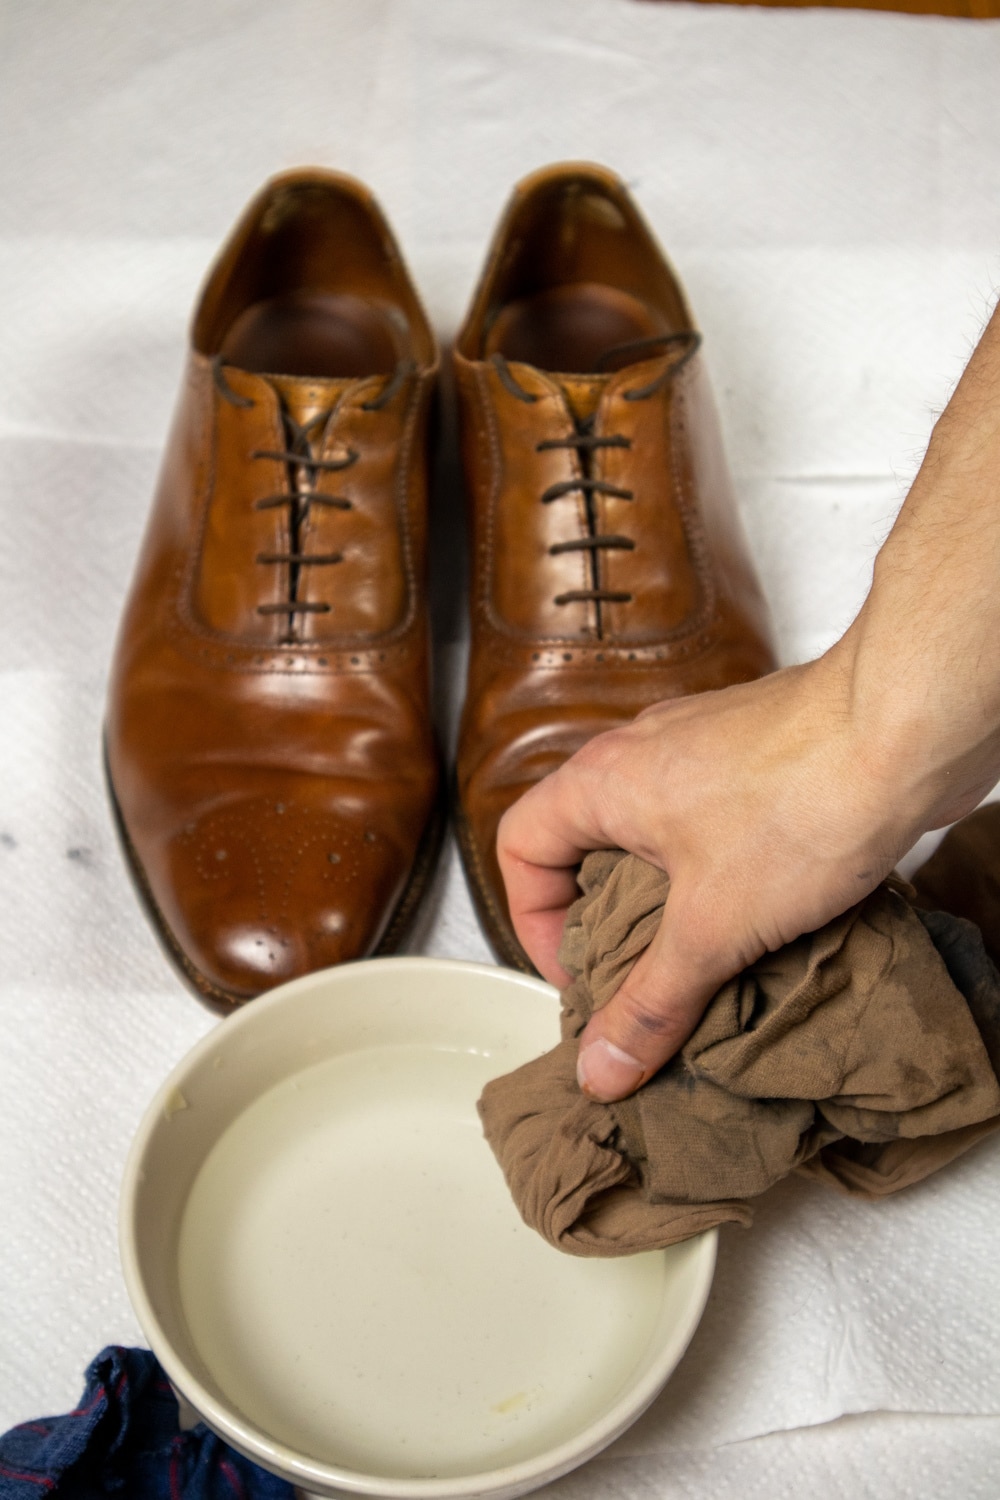
Now, shine the shoes vigorously with the stockings.
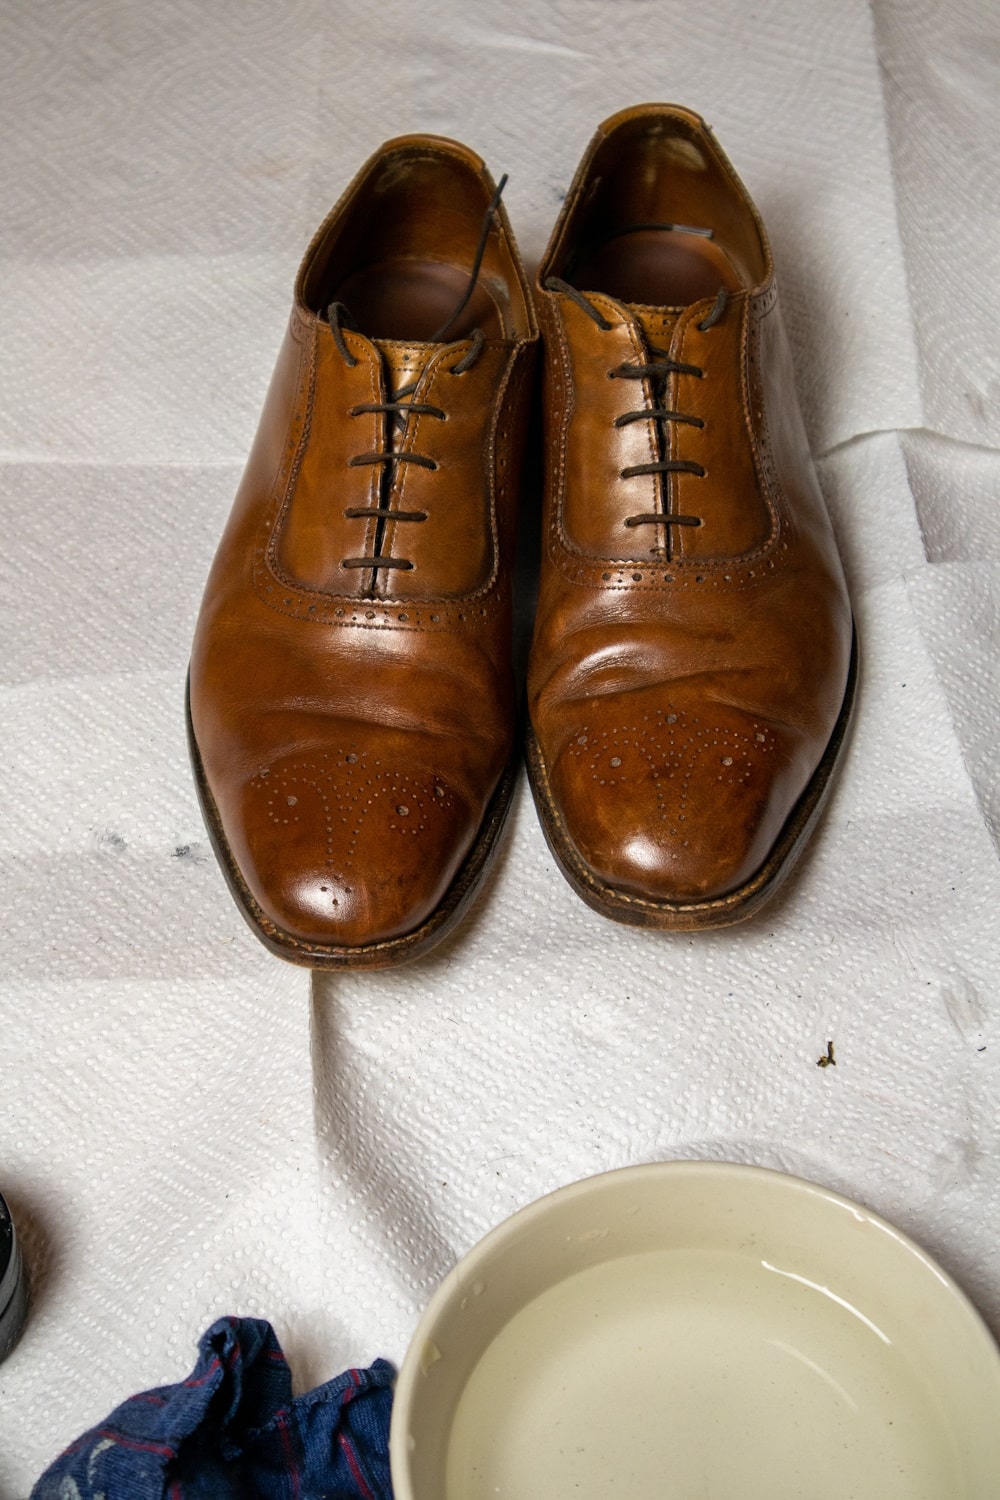
Can you see an improvement yet?
Step #6: Light Your Neutral Polish on Fire (Yes, Really)
Ok, I know this sounds crazy, but hear me out. Neutral polish, at least my neutral polish from Lincoln, is difficult to apply when it’s solid.
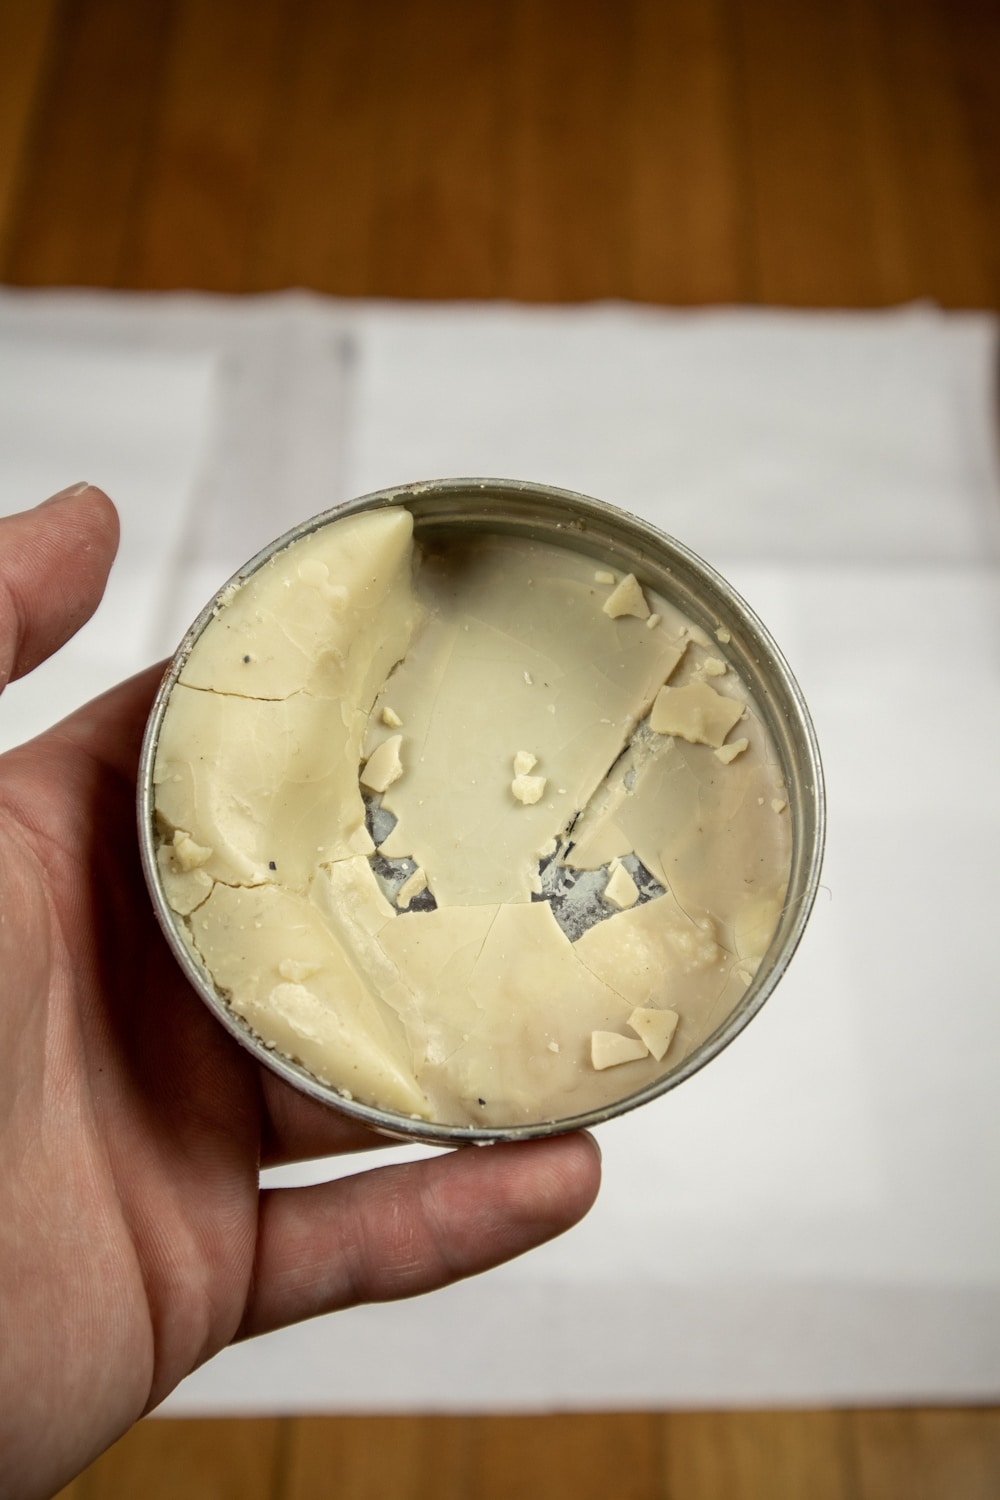
You can light the can on fire for 5-10 seconds before blowing out the flames. By momentarily lighting the polish on fire, it liquefies.
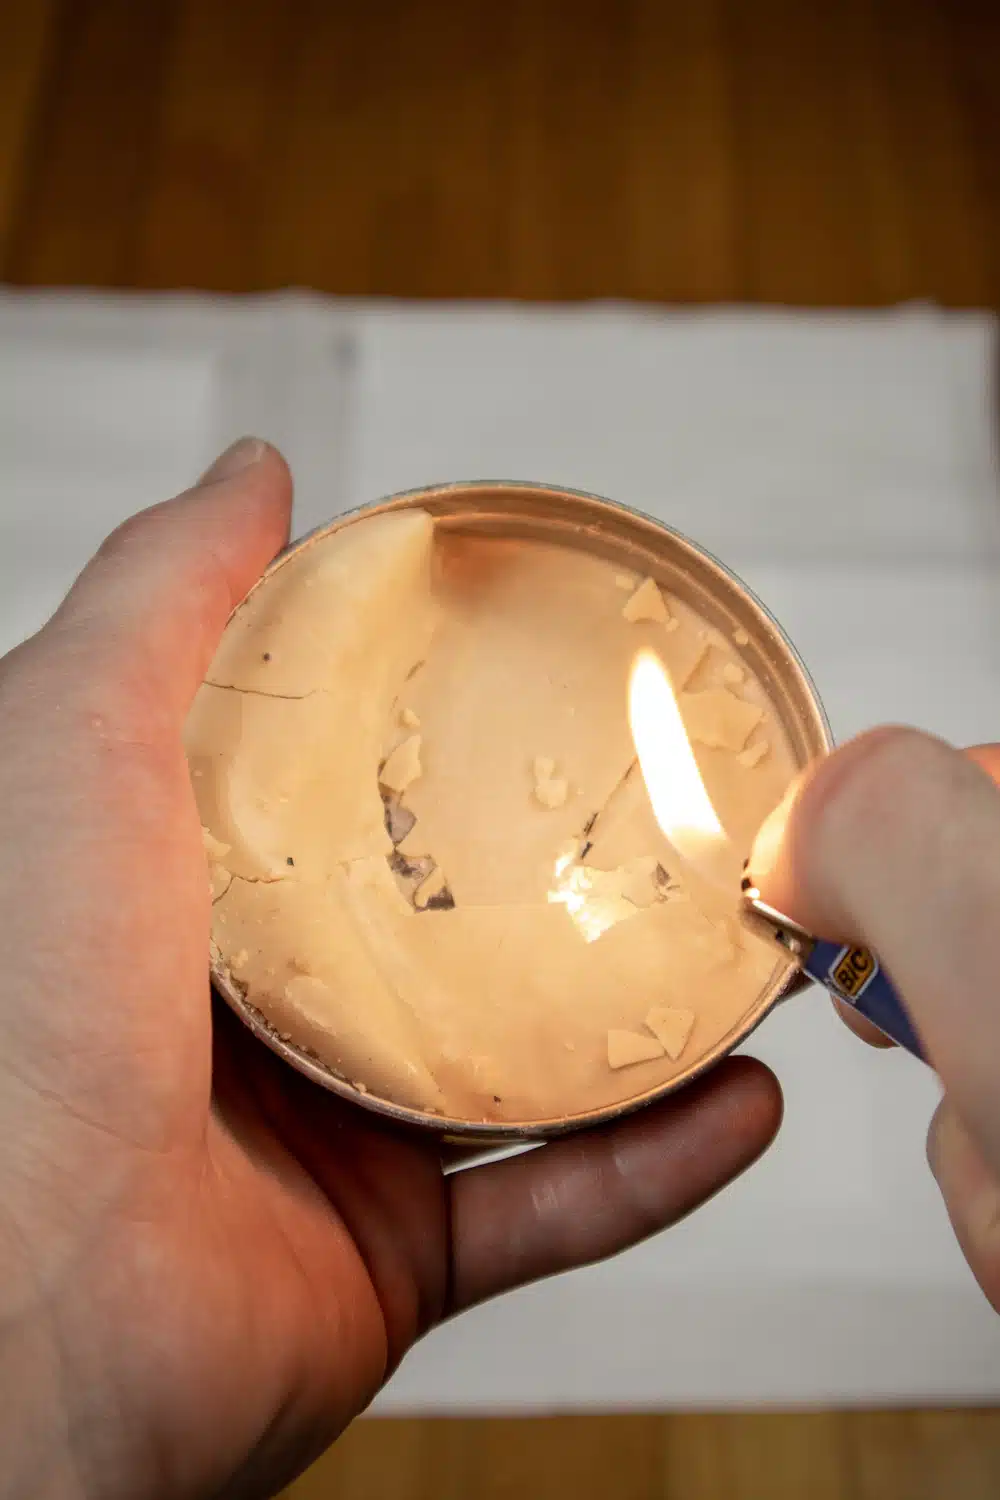
Of course, immediately after lighting the can it becomes hot. I placed my can in an oven-safe bowl and I made sure that my fire extinguisher was right next to me, just in case.
Step #7: Quickly Apply Neutral Polish
Once the polish is a liquid you have to move fast before it starts to coagulate.
Apply the liquid clear polish to your shoes with a clean brush or rag.
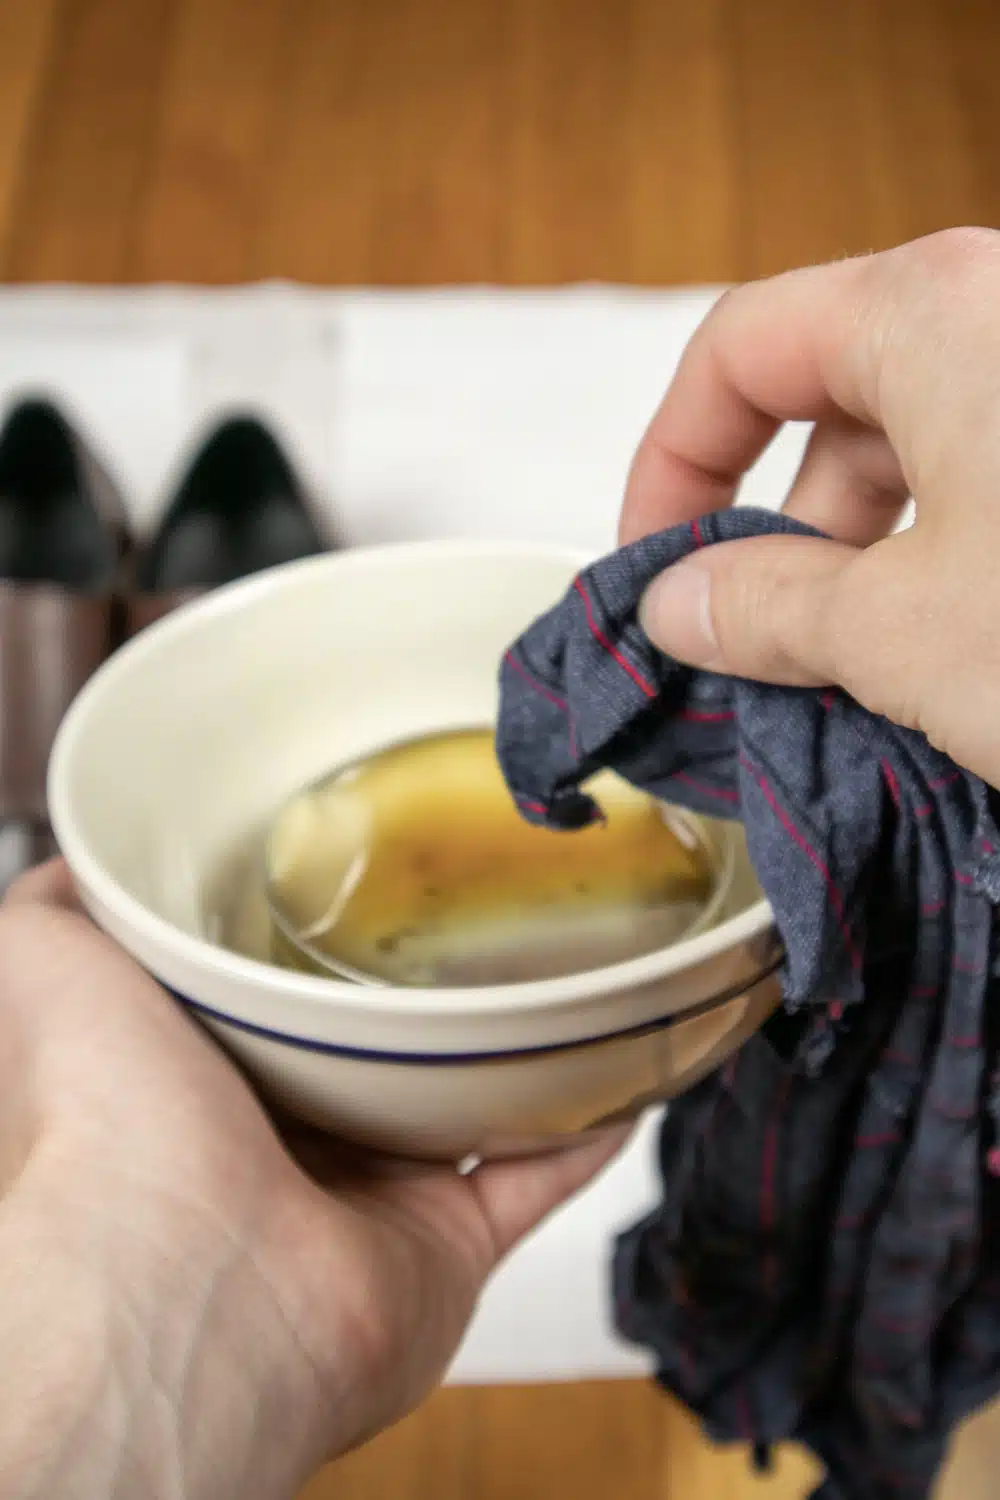
If you don’t want to risk burning your house down, you can apply the solid polish, just know that it can crumble and be messy. Also, it will be more difficult to achieve a stellar polish.
Step #8: Buff Your Shoes With a Brush, Followed by Stockings
Just like you did before with the brown polish, buff your shoes with a brush and then with your damp pantyhose.
Step #9: Carefully Apply Edge Dressing to the Edges of Your Soles
This next step is one that people often overlook. A brilliantly shined pair of shoes can still look shabby if the edges of their soles are scuffed and discolored.
You can use regular colored polish to touch up the edges, but using a specialized edge dressing is best.
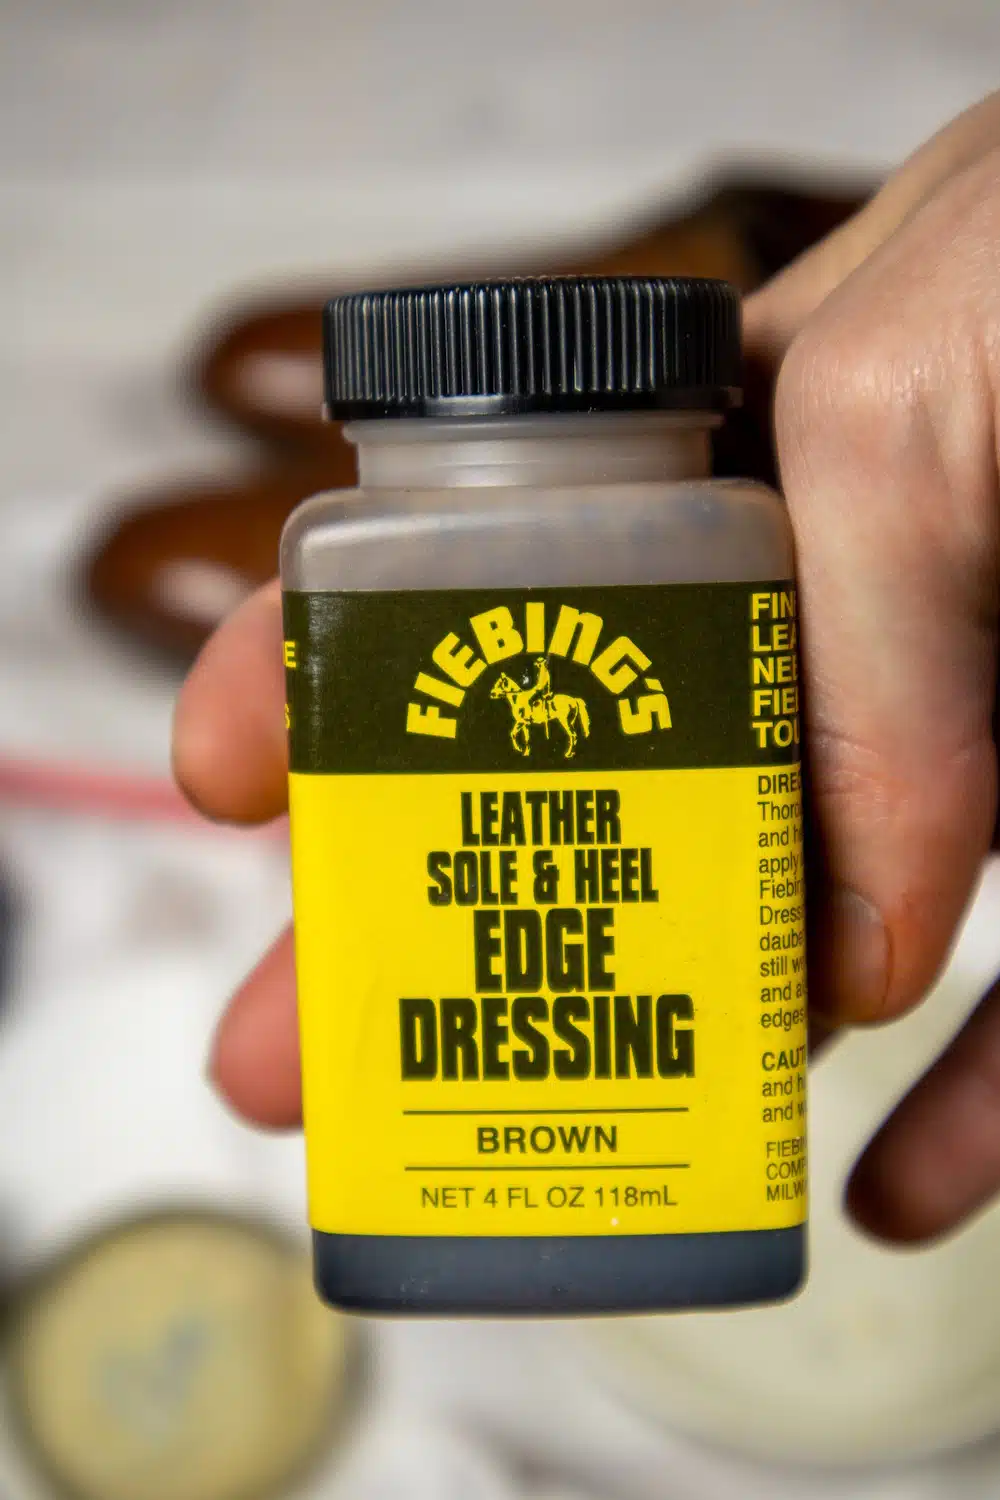
Personally, I like Fiebing’s edge dressing.
To use edge dressing, unscrew the lid and carefully pull it straight up. You’ll see a small sponge applicator attached to the lid. Gently press the applicator to the lip of the bottle to squeeze out excess liquid. Be careful not to spill!
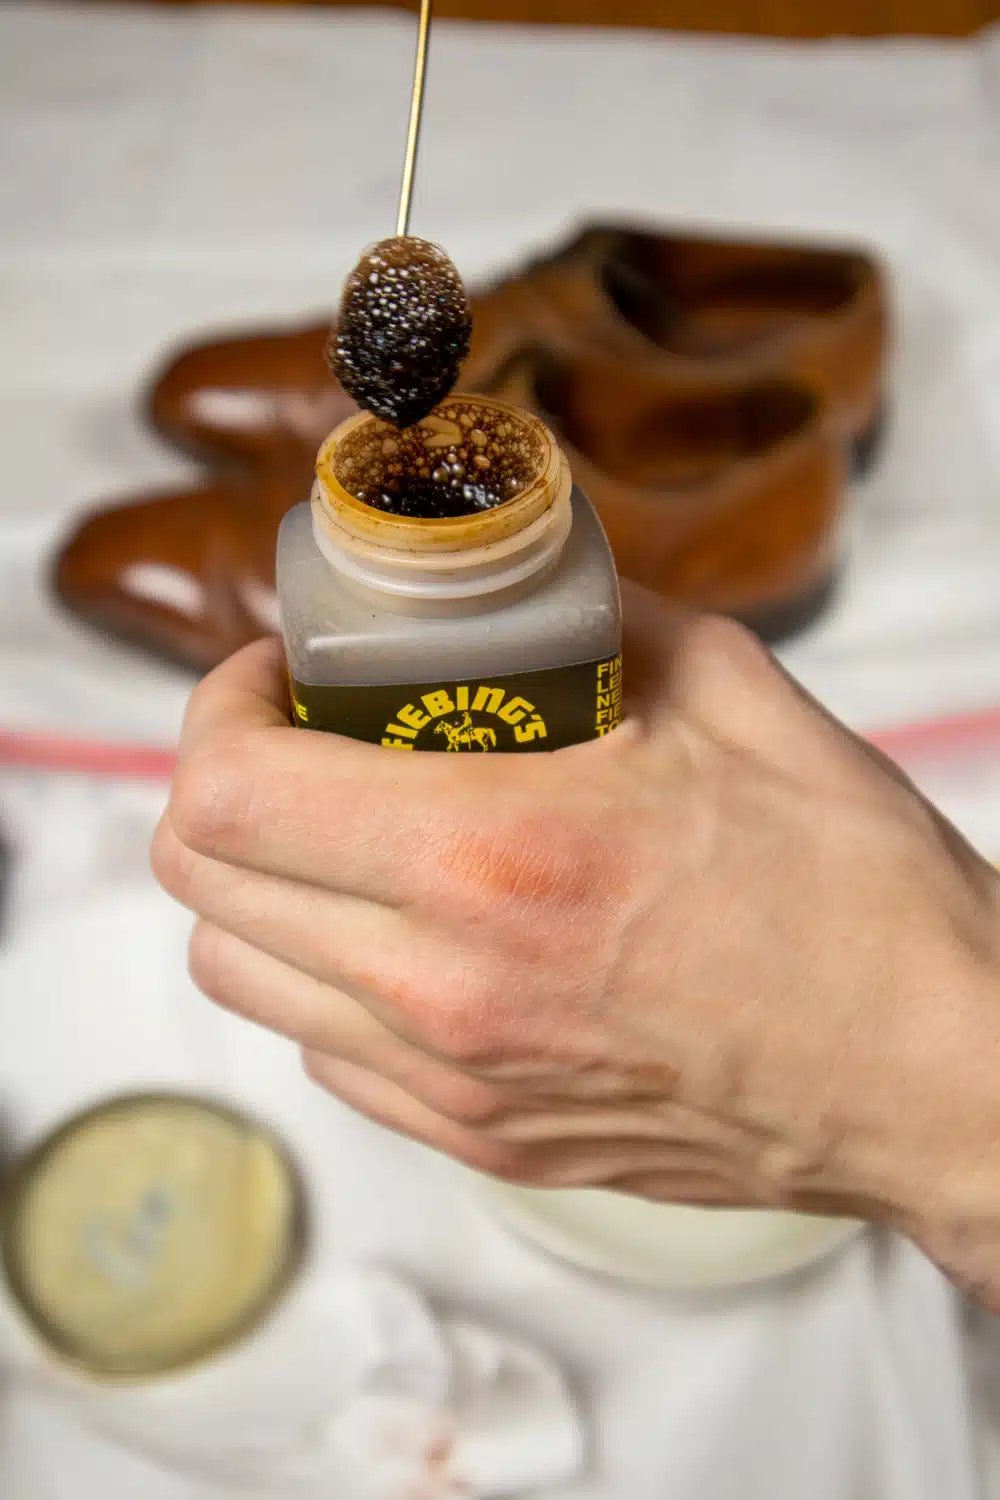
Now, holding your shoe from its collar in one hand and the applicator in the other, carefully “paint” the edge of your shoe soles. Note that it can be tricky to avoid the uppers — you don’t want to stain light-colored shoes!
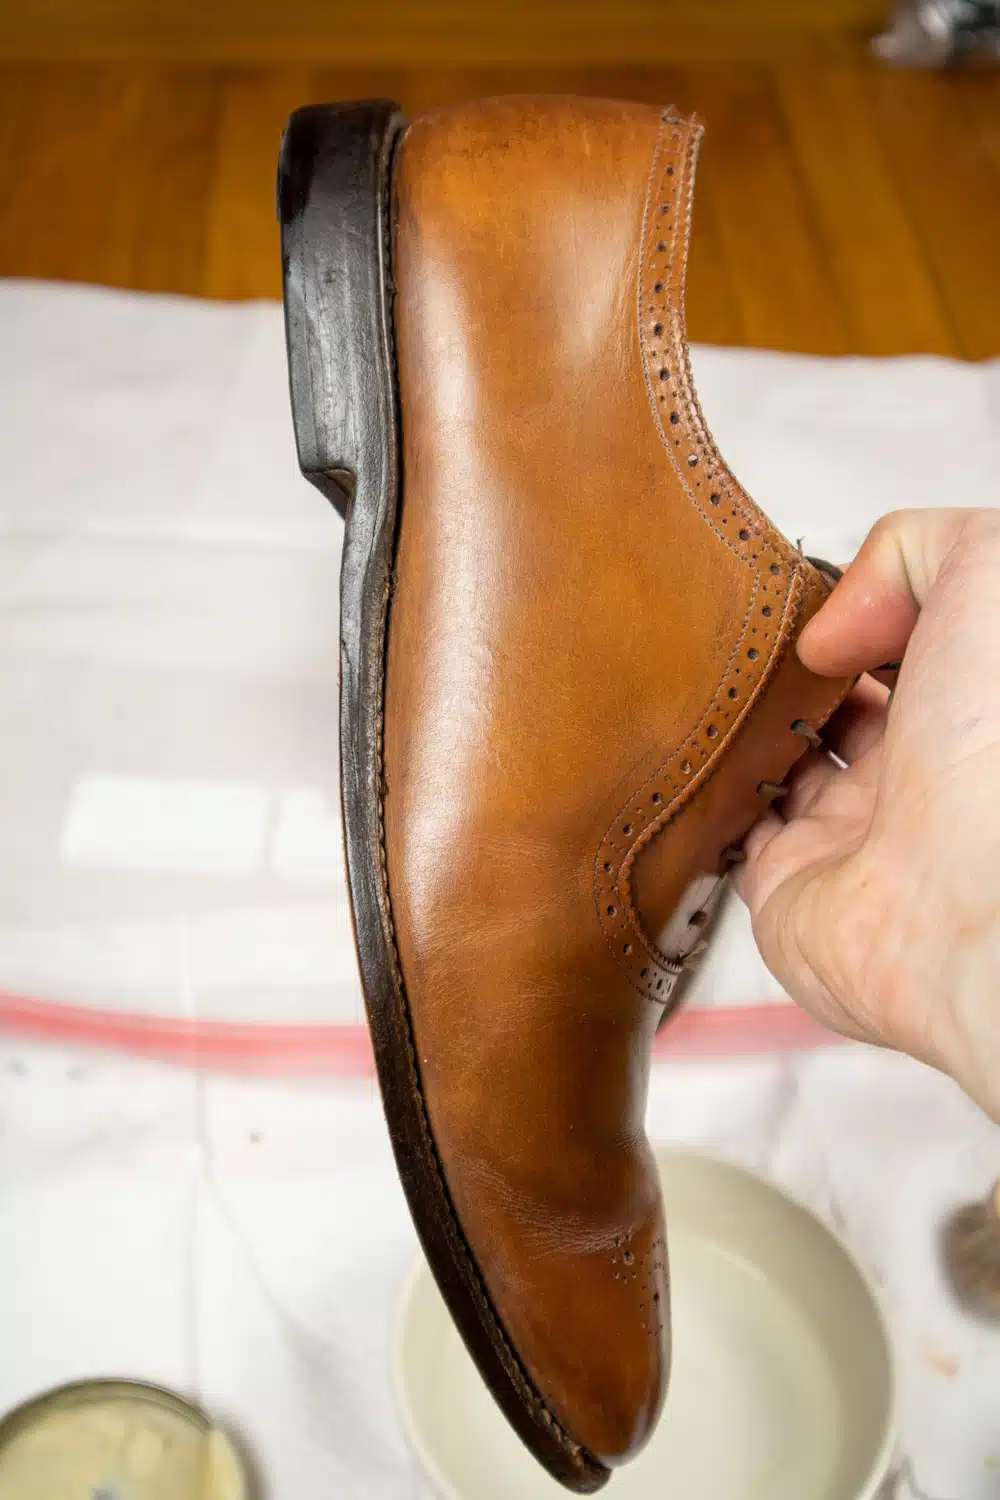
Just look at those nice clean edges!
Step #10: Clean Up and Allow Shoes to Dry
You’re done! Good job, you’ve just spent an entire hour shining one pair of shoes!
It was kind of fun, wasn’t it? You even got to play with fire 😄!
Ok, ok — I admit that this can be a time-consuming process, but if you take good care of your shoes they won’t need the “executive treatment” very often. Also, you’ll get quicker with experience.
After applying edge dressing I let the shoes dry overnight. This time I sat them on a Zip-lock bag and paper towels to prevent any dripping from getting on the floor.
Here’s a side-by-side before-and-after comparison of my brown dress shoes:
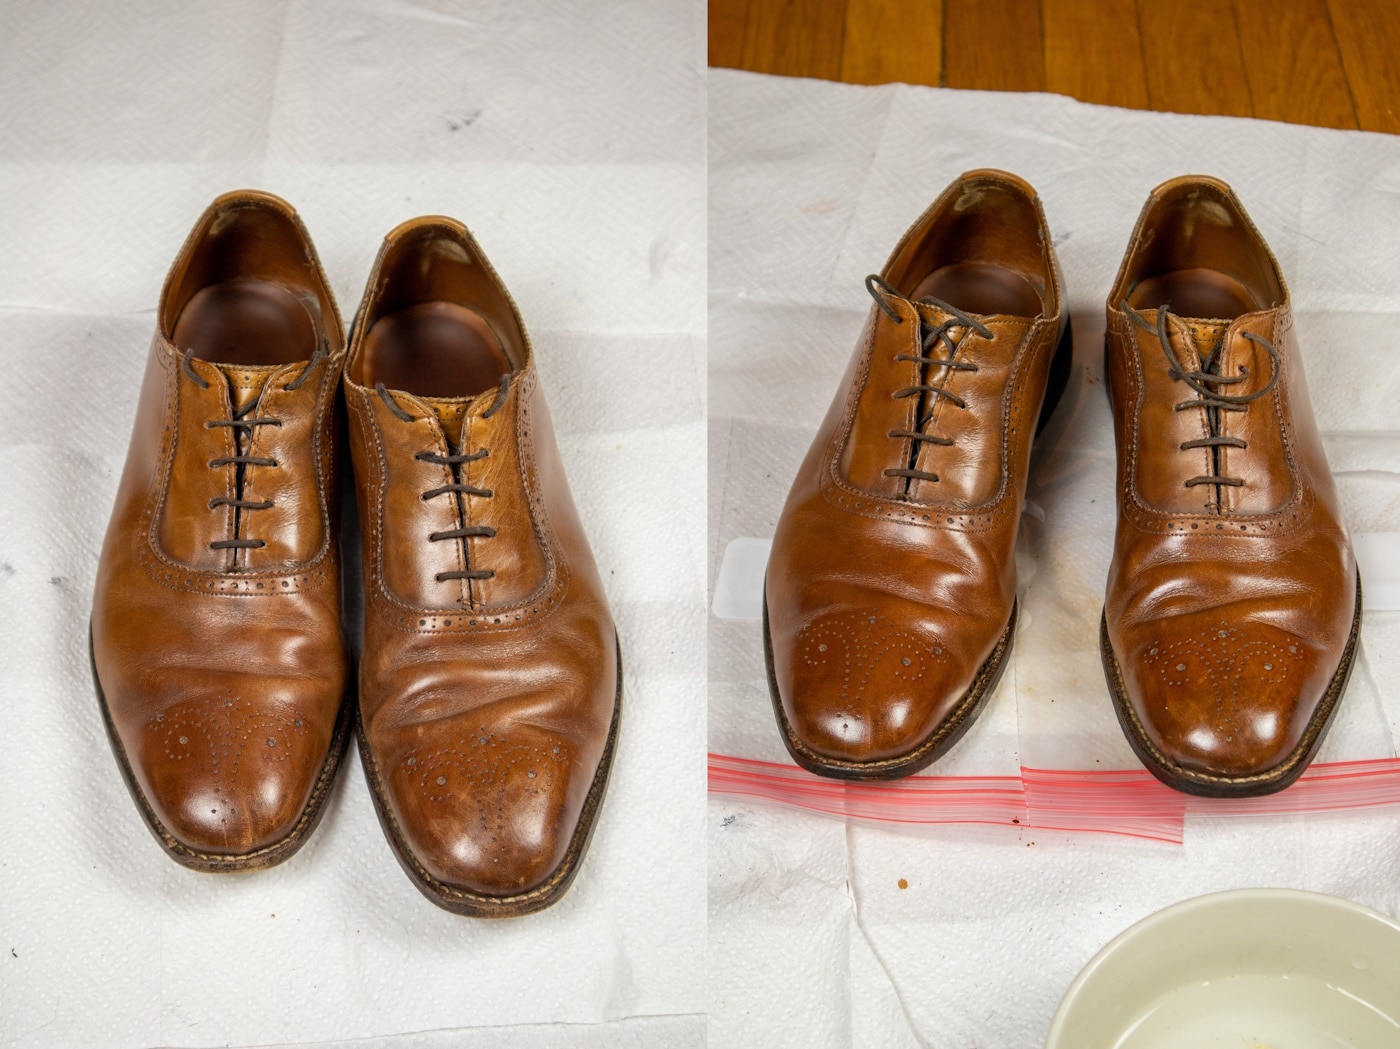
While some minor imperfections are still visible, such as the scrape on the toe of the right shoe, they are much less noticeable.
The edges of the soles also look much cleaner and the leather uppers are protected from the elements by several layers of polish.
Frequently Asked Questions About Shoe-Shining
Still got questions? That’s perfect, there’s more shoe-shining knowledge in the FAQ below:
What kind of leather shoes do I need to shine?
Typically, hard leather shoes are polished. Although other materials such as nubuck are leather, they’re softer and not meant to be shined.
The general rule of thumb is to avoid polishing softer leathers and shoes that had a matte finish when new.
“Shiny” shoes made out of vinyl can be shined, but this is achieved with a different material than leather shoe polish.
Do I need to remove my shoelaces to shine my shoes?
Purists may contend that shoelaces must be removed before shining shoes. However, I’ve found that I can normally polish the tongue of the shoe and hit all other essential areas by simply relaxing the laces. Occasionally, I do remove the laces when my shoes really in need of sprucing up.
How to avoid cracks from dried polish/wax?
Well-constructed leather shoes are meant to bend with your foot. Over time, creases will form on these shoes. Cracks form from dried wax polish when too much polish has been applied to these crevasses. A wet wag can often easily remove the excess polish.
While shining shoes, it’s important not to treat these natural creases as scuffs or defects and over-apply wax.
How do I match polish color to my shoes?
For best results, use the polish that the shoe manufacturer recommends for your particular model/color.
You can also use clear polish to provide shine and protection while maintaining the original color underneath.
Otherwise, you could try taking a picture of your shoes in natural light with your phone and use the same phone to shop online. Honestly, though, color matching is tricky and usually it’s best to visit a shoe shop in person.
When trying a new polish you might want to first test it on an inconspicuous area, such as a shoe tongue, in case you don’t end up liking the result when the polish dries.
Is liquid shoe polish any good?
Liquid shoe polish is more of an inky material than wax. Liquid polish is more useful to recolor deep scars and scuffs rather than to achieve the best everyday shine.
Can I use black polish on red or burgundy shoes?
No. Everyone will notice you, but not for the reasons you want (i.e. you’ll look like a bloody mess). Buy polish in the same neighborhood of color as your leather and you should be okay.
Can I use shoe spray polish?
Technically, you could. However, spray cheese also exists.
If you want a mirror finish polish that lasts, nothing beats a wax shine. Some spray polishes tout water resistance. However, a decent wax polish is decently water-resistant already. A wax shine can create a bright polish, while a spray polish simply locks in the current state of your shoes.
Can I use instant-shine sponges instead of spit-shining shoes?
Instant shine sponges are liquid polishers trying to be a wax shine. I’ve seen these instant shine kits end in disaster and regret one too many times.
Should I use liquid shoe polish or wax shoe polish? What’s the difference?
Liquid shoe shine can be useful to restore color and disguise deep scuffs and scars. Wax polish can be polished to a brighter shine.
Why do nylon stockings and pantyhose create a better shoe shine?
Nylon has a high tensile strength, while stockings create an extremely thin lattice in a sponge-like pattern. These qualities make this material ideal for achieving the best shoe shine with wax polish.
Final Thoughts
Shining your shoes is a great skill to have under your belt to help you look your best.
Congratulations! By following this guide you now have shoes bright enough to blind passing traffic. Polish at your own risk!
Don’t hold me responsible for any accidents caused by drivers distracted by your iridescent kicks 😉.
Still have questions? Want to share your shoe-shining process? Let me know in the comments!




Ask Me Anything