Do you want to take your training to the next level? Does the idea of building raw, functional strength in the comfort of your own home sound appealing to you?
If the answer is yes (and it should be), then you’re going to love this full-body sandbag workout routine.
What Are Sandbags?
Sandbags are exactly what they sound like: bags full of sand, sometimes with sewn-on handles.
I discovered sandbag training when I was fresh out of college. I had no disposable income at the time, so going to the gym and paying a monthly fee was not an option and neither was putting my workouts on hold.
So I purchased an empty sandbag online and filled it with all-purpose sand from a local home improvement store. It was incredibly simple and cost-effective to create my own versatile training tool, and you can do it too!
Why Sandbag Workouts Are Effective
The biggest benefit of sandbag training is the development of functional strength. ‘Functional training’ or ‘functional conditioning’ refers to exercises that have real-world applications and that translate to everyday activities, outside of the gym.
For example, many boxers jump rope because it translates to nimble footwork within the ring.
When it comes to working with sandbags, the strength developed translates to picking up and/or moving irregular or awkward objects, such as large pieces of furniture on moving day and cars that are broken down on the side of the road.
Sandbag workouts are also perfect for first responders, as increased stamina and endurance makes lifting and carrying other people much less taxing.
Can You Get the Same Results With Free Weights?
I’m not saying that traditional training with free weights isn’t functional. It most certainly is, but training with sandbags offers a new variable: the shifting of the weight itself. This is known as dynamic resistance.
What’s Dynamic Resistance?
With every rep of a given exercise, different amounts of sand constantly shift from one side of the bag to the other. This engages stabilizer muscles that would not be worked as strenuously when using barbells and dumbbells.
You will also significantly improve your balance and coordination because your core will be taxed throughout the duration of the workout.
In addition to building functional strength in your day-to-day life, the same strength will transfer over and improve your free weight numbers, which makes sandbag training an excellent supplement to your normal gym routine!
Where to Get Your Own Sandbag
Sandbags come in different sizes, with different load capacities and at varying levels of quality. You will want a bag that is tough. It will need to endure hundreds if not thousands of workouts without ripping and spewing a million grains of sand all over your face and floor.
The good news is that sandbags are not very expensive, especially when compared to the cost of a barbell and individual plates.
You May Also Like…
Are you enjoying this article? You might want to read this one next:
The 6 Shortest CrossFit Athletes Who Dominated the Games
Don’t worry, it opens in a new window 😉
If you are on a tight budget, however, you can always make your own sandbag by taking a decent duffel bag—military duffels are great—and stuffing it with filler bags. Filler bags are used to adjust the weight within your sandbag, and many come in increments of 25 pounds.
Alternatively, you could stuff your duffel with heavy-duty trash bags to save a few bucks. Whichever you choose, you can fill them with sand, gravel, wooden pellets or rubber granules from Home Depot, Lowe’s or any other home improvement store.
The only downside to making your own sandbag is the lack of multiple handles. Many pre-made sandbags have dual handles on the tops, bottoms, and sides to make certain movements (like the clean and press) more convenient to perform.
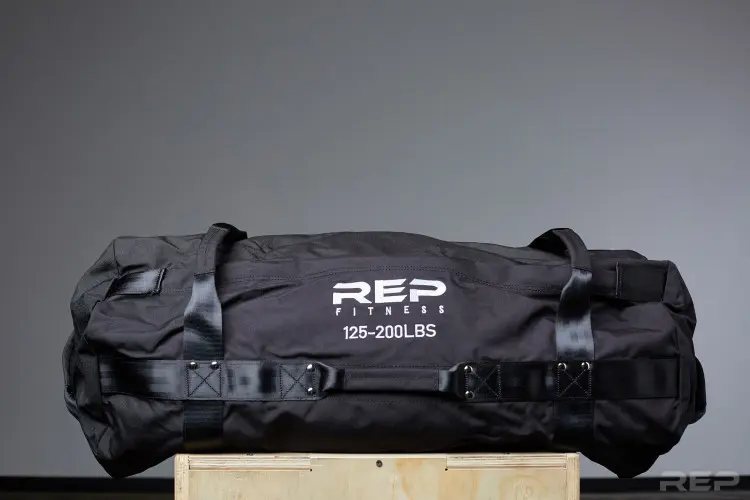
If you’re anything like me and are willing to spend a little more on a well-designed and durable sandbag, but also don’t need the top-of-the-line, most expensive option, my personal recommendation would be ones made by Rep Fitness.
In my experience, they offer the best bang for buck, and their sandbags come in a variety of different sizes and colors, all at a more affordable price point. You can find their bags on Amazon, as well.
Which Sandbag Size Should You Choose?
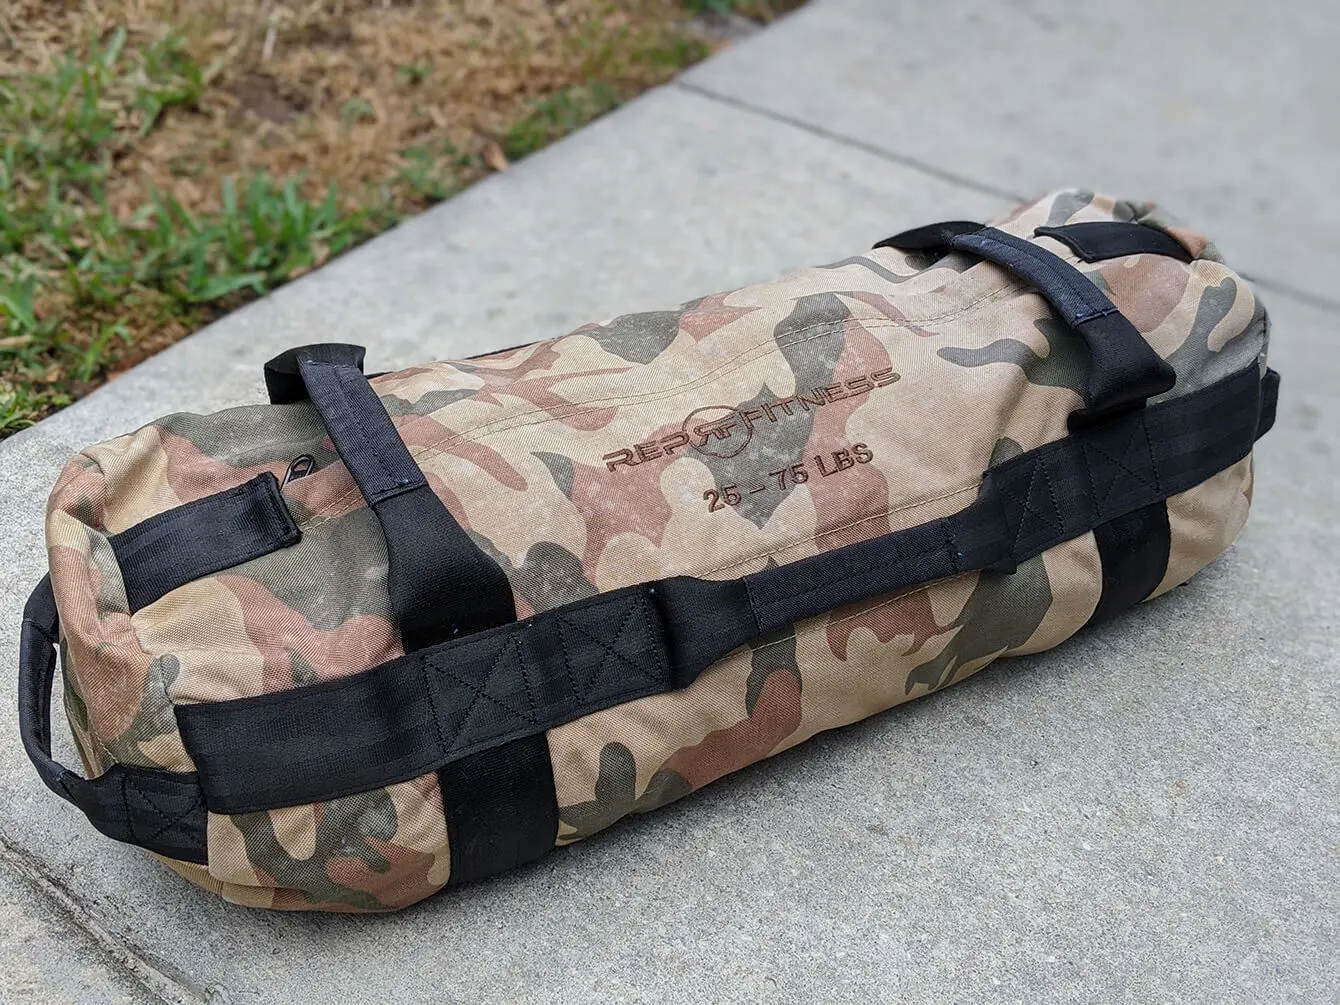
When I first began training with a sandbag, I chose one that was medium-sized. It holds 25 to 75 pounds, and I found it gave me enough resistance to get accustomed to new movements while still providing a serious challenge.
XL bags can weigh up to 200 pounds. When combined with the instability of the sand, they can provide some of the most brutal workouts out there!
Full-Body Sandbag Workout Routine
If you are looking to spice up your training with a sandbag workout, the following workout routine is simple, effective and perfect for beginners.
Before you start, in order to optimize your training and reduce the risk of injury, it is imperative that you master what is arguably one of the most crucial sandbag movements: the clean.
This is the movement that will get the sandbag from the floor to your upper chest—the position where most sandbag exercises begin—safely, especially when using heavier weights.
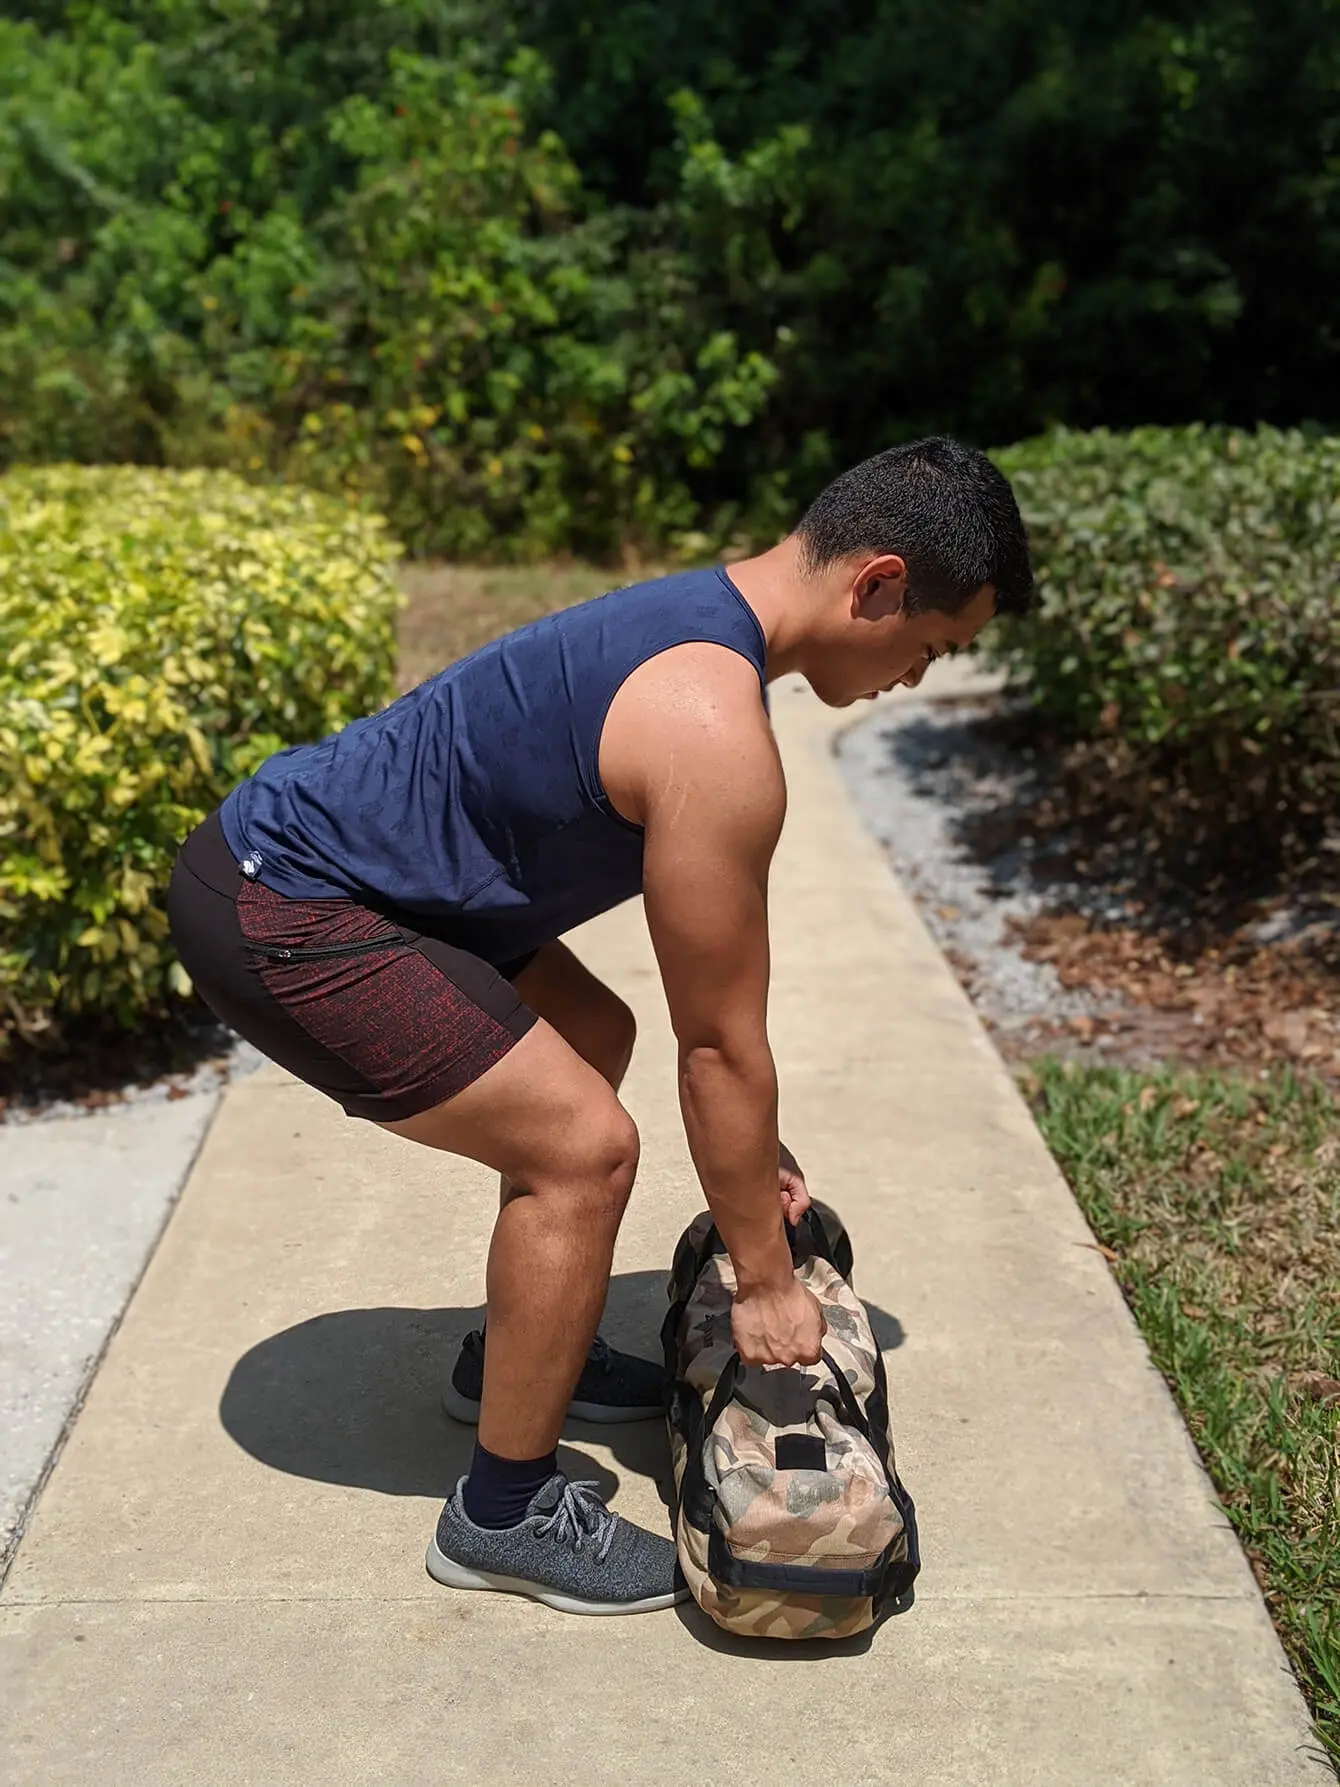
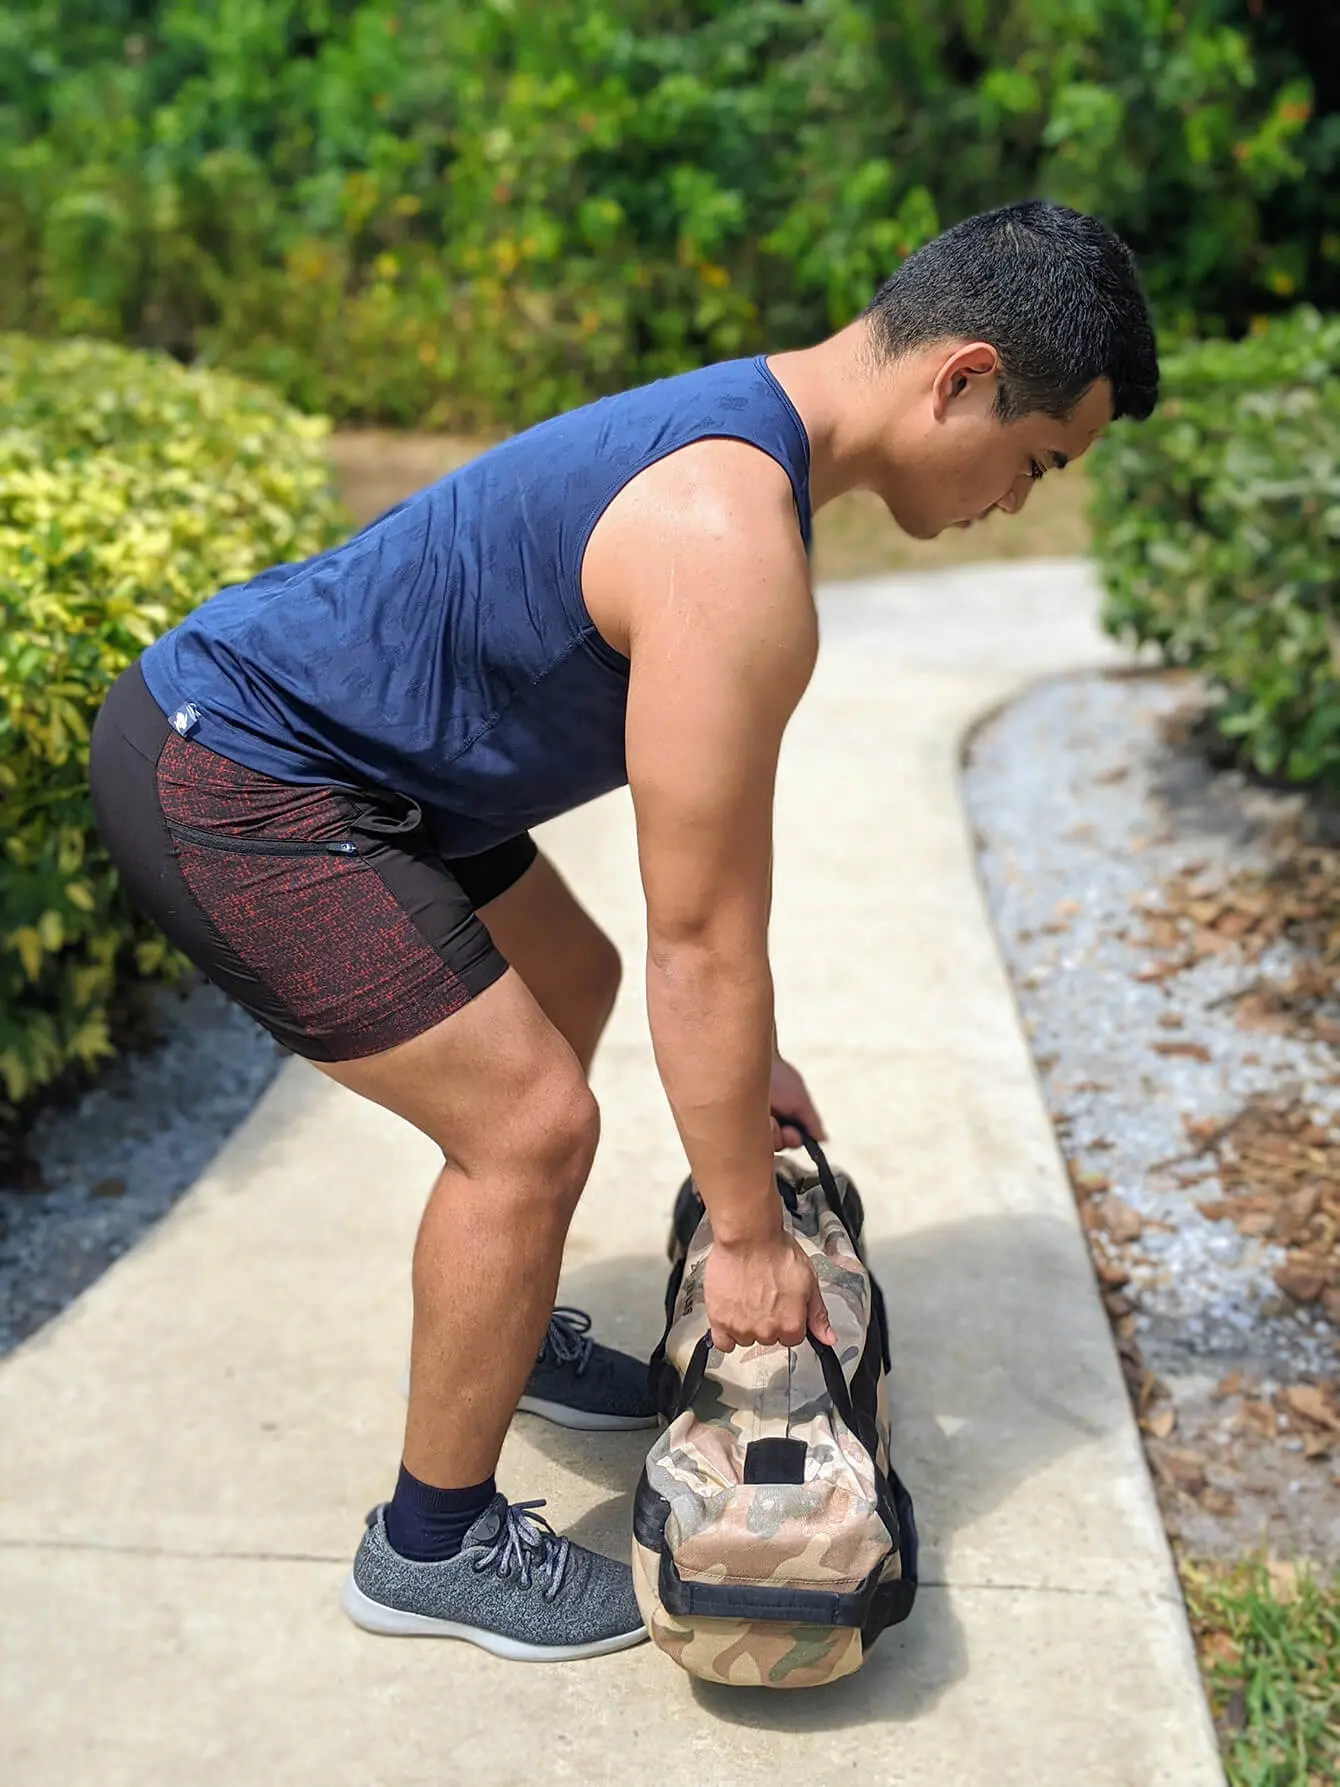
Stand with your feet shoulder-width apart, with the sandbag positioned at your feet.
Slightly hinge at the hips, bend at the knees while keeping your back straight (like a traditional deadlift) and grab the sandbag handles.
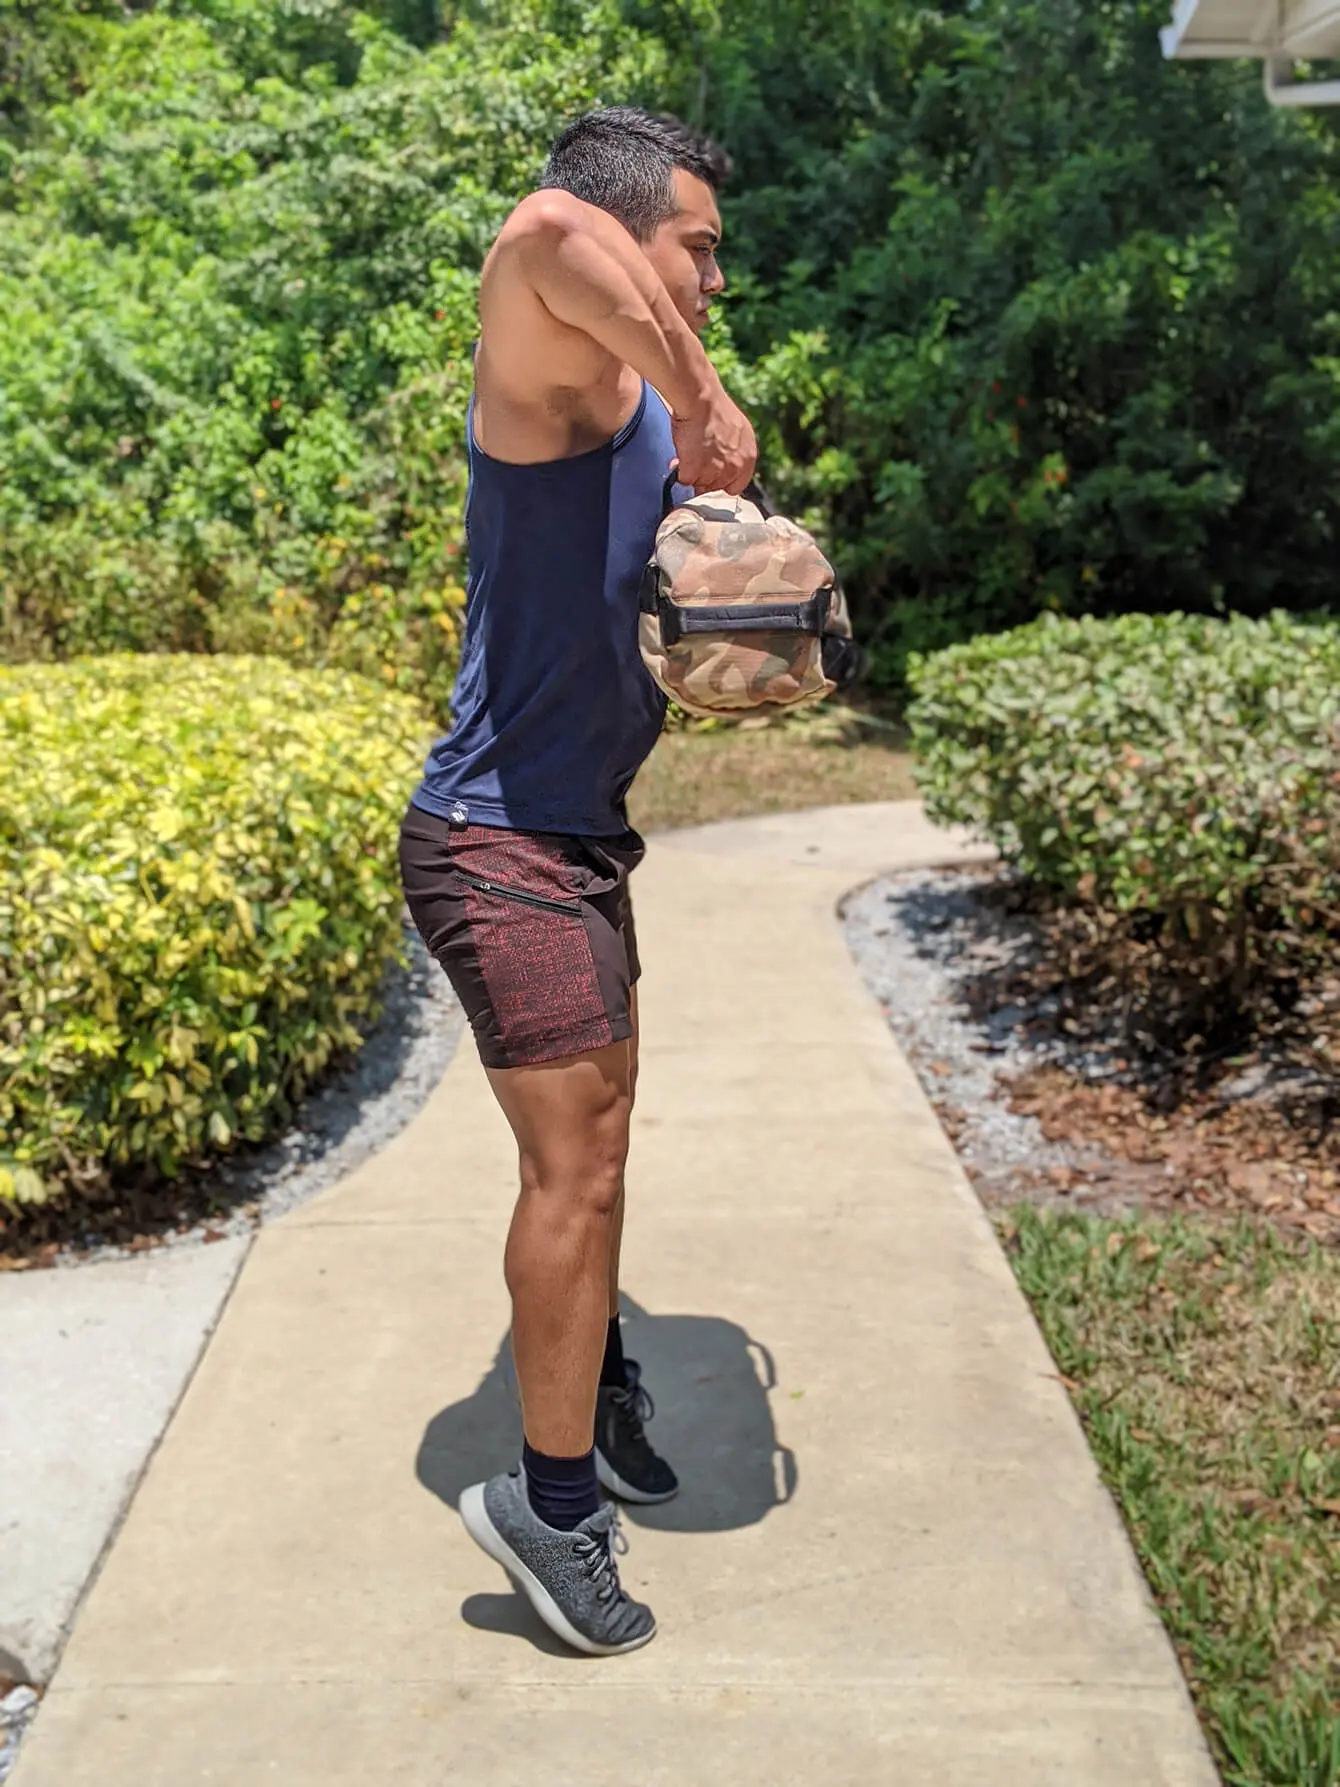
Drive through your heels, rise on your toes and pull with your arms like you are performing an upright row.
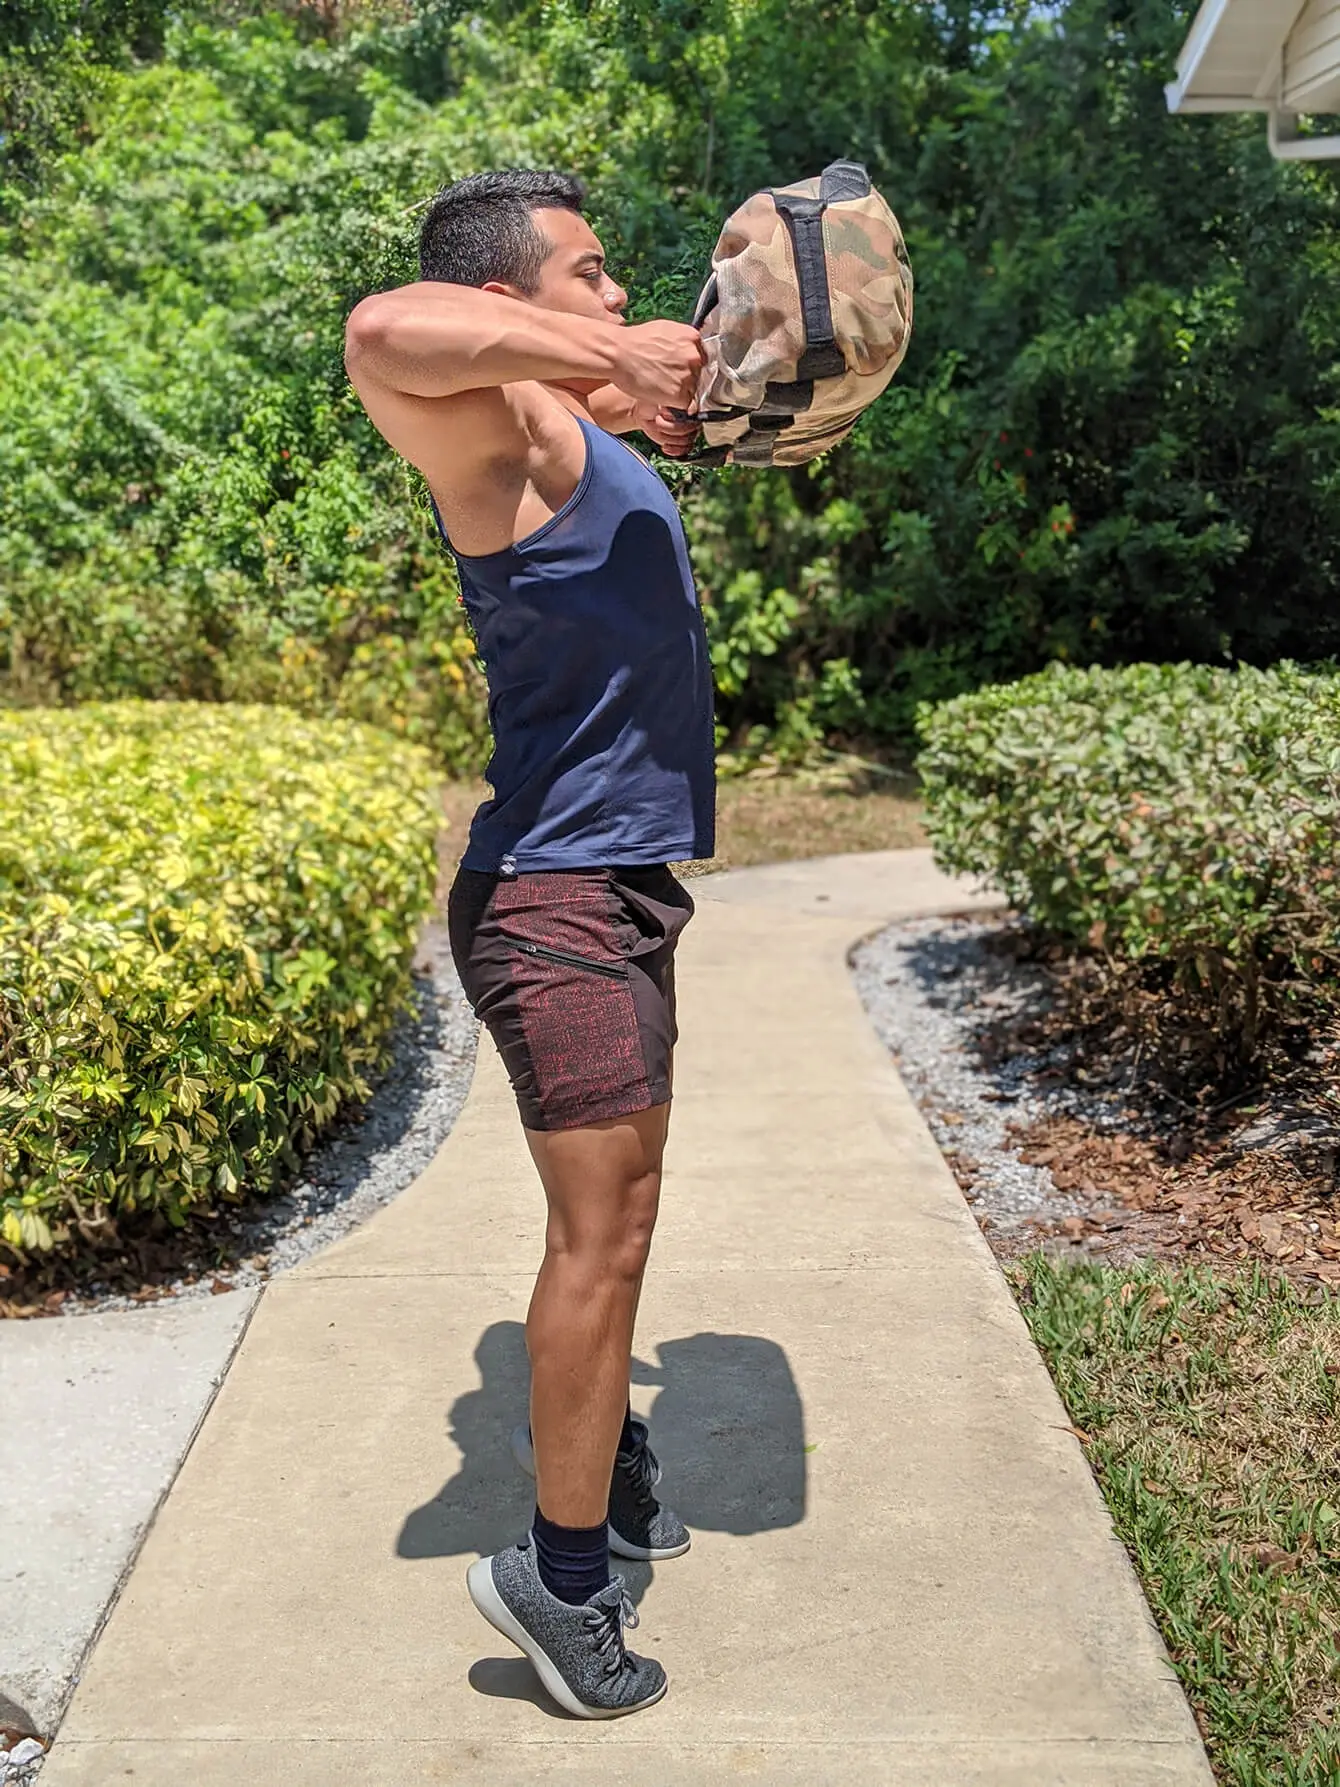
When the sandbag passes your body’s midpoint, dip and rotate your elbows so that they end up underneath the sandbag. This motion will look like a semicircle.
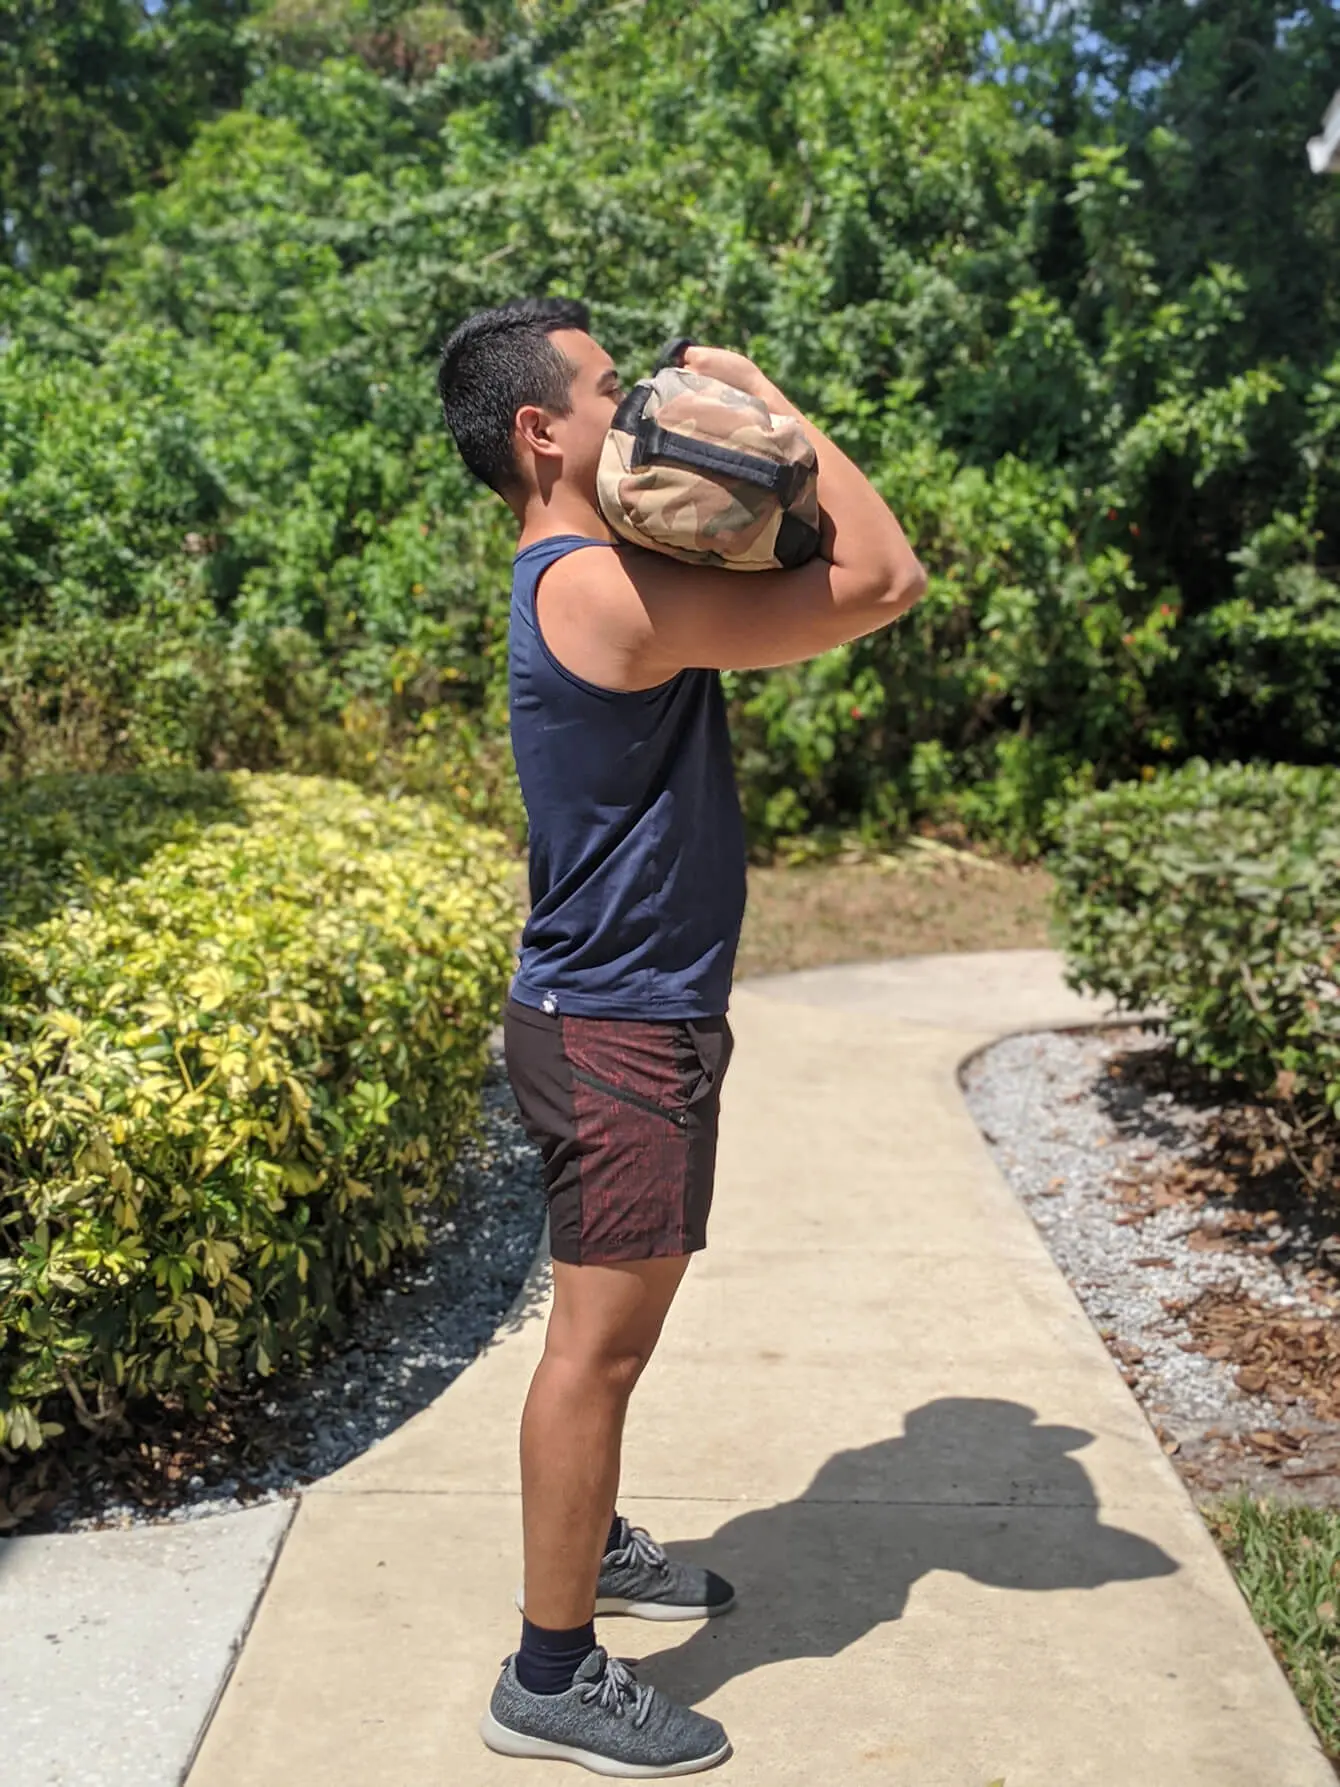
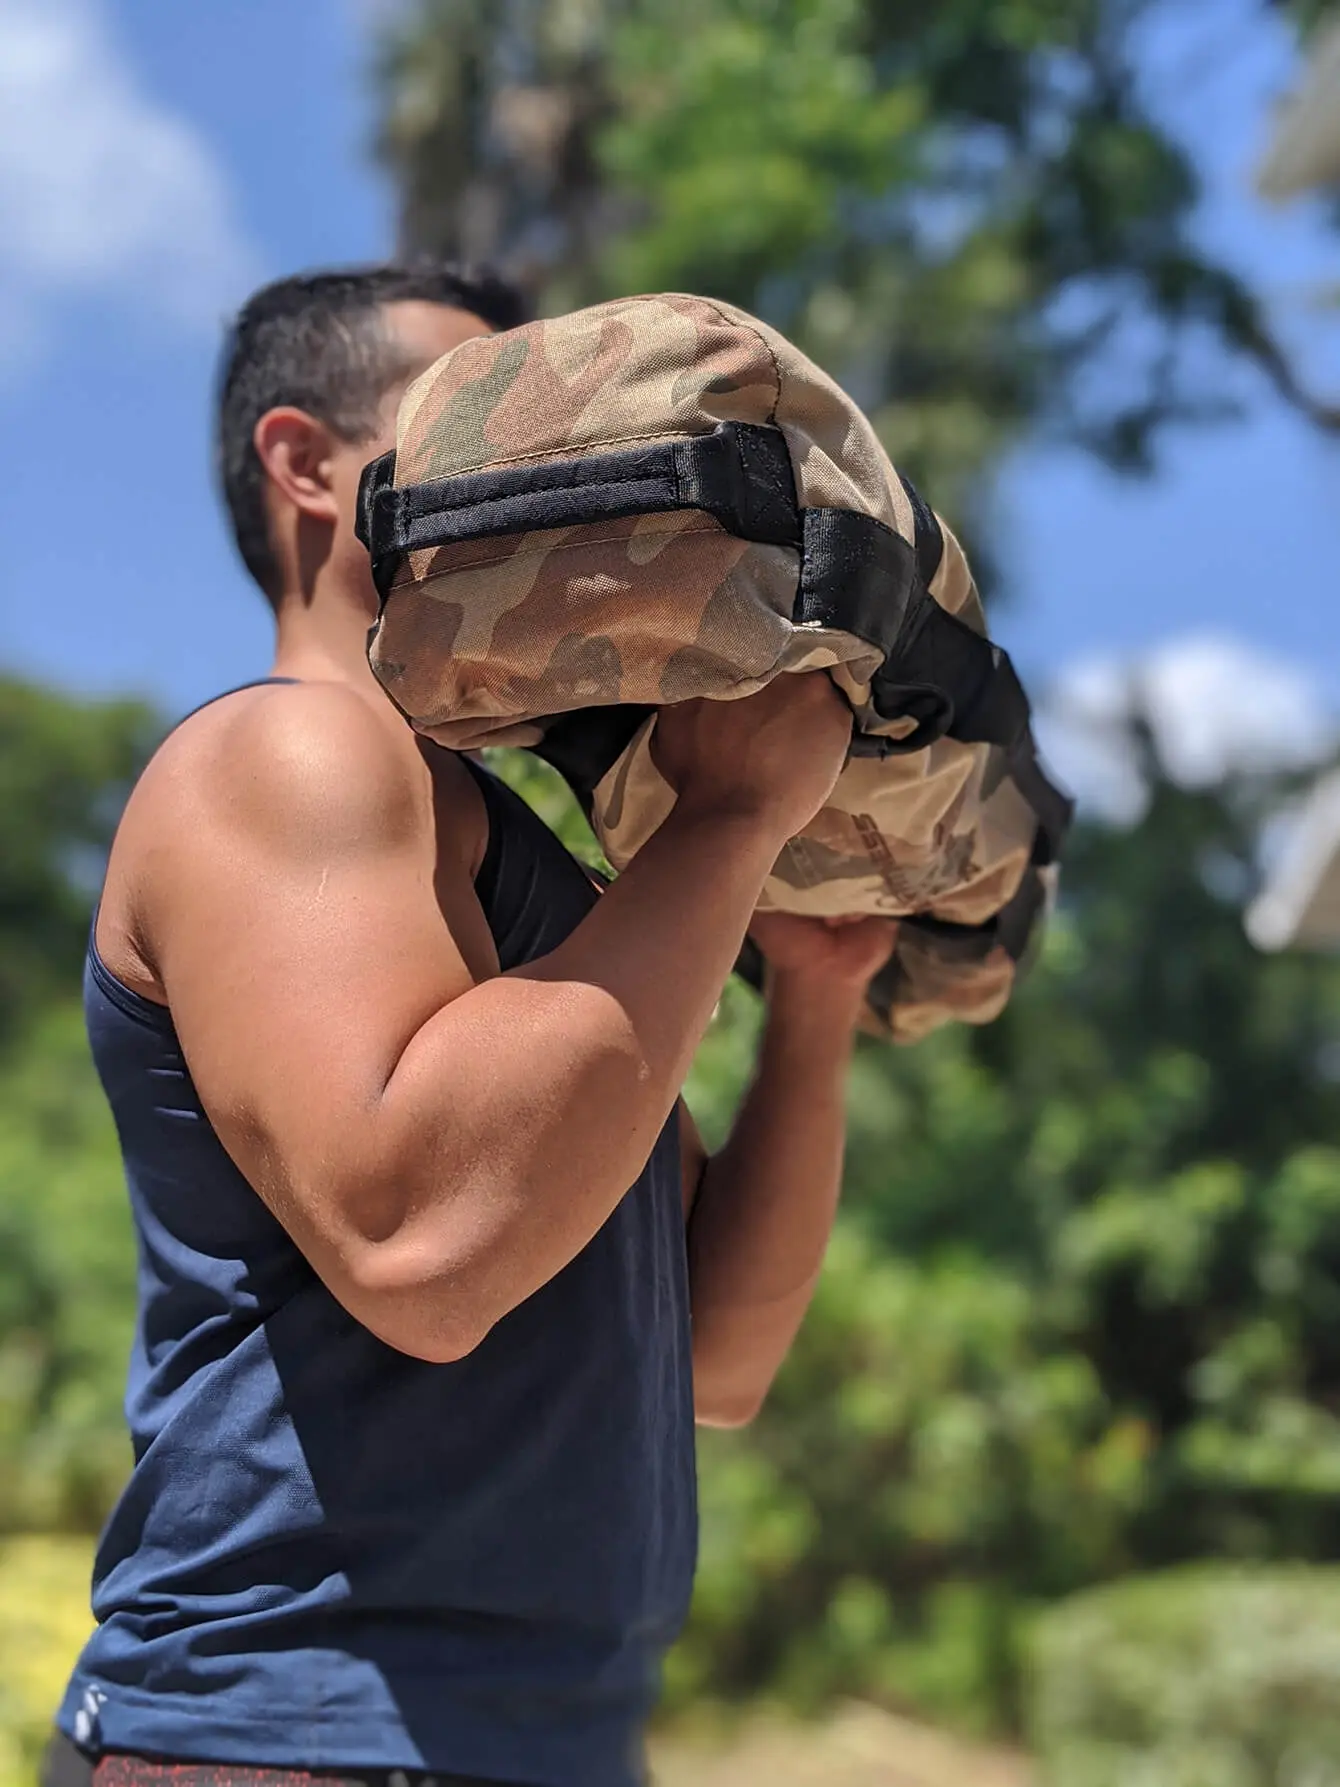
Catch the sandbag in the crooks of your elbows, with your elbows pointing upwards, forearms wrapped around the bag and upper arms parallel to the floor. Reverse the movement to complete one rep.
Now without further ado, here is the workout!
Tip: For each exercise, keep your core actively engaged and move the sandbag in a controlled manner.
1. Sandbag Front Squats
- 3 Sets of 8-12 Reps
- 1-2-Minute Rests Between Sets
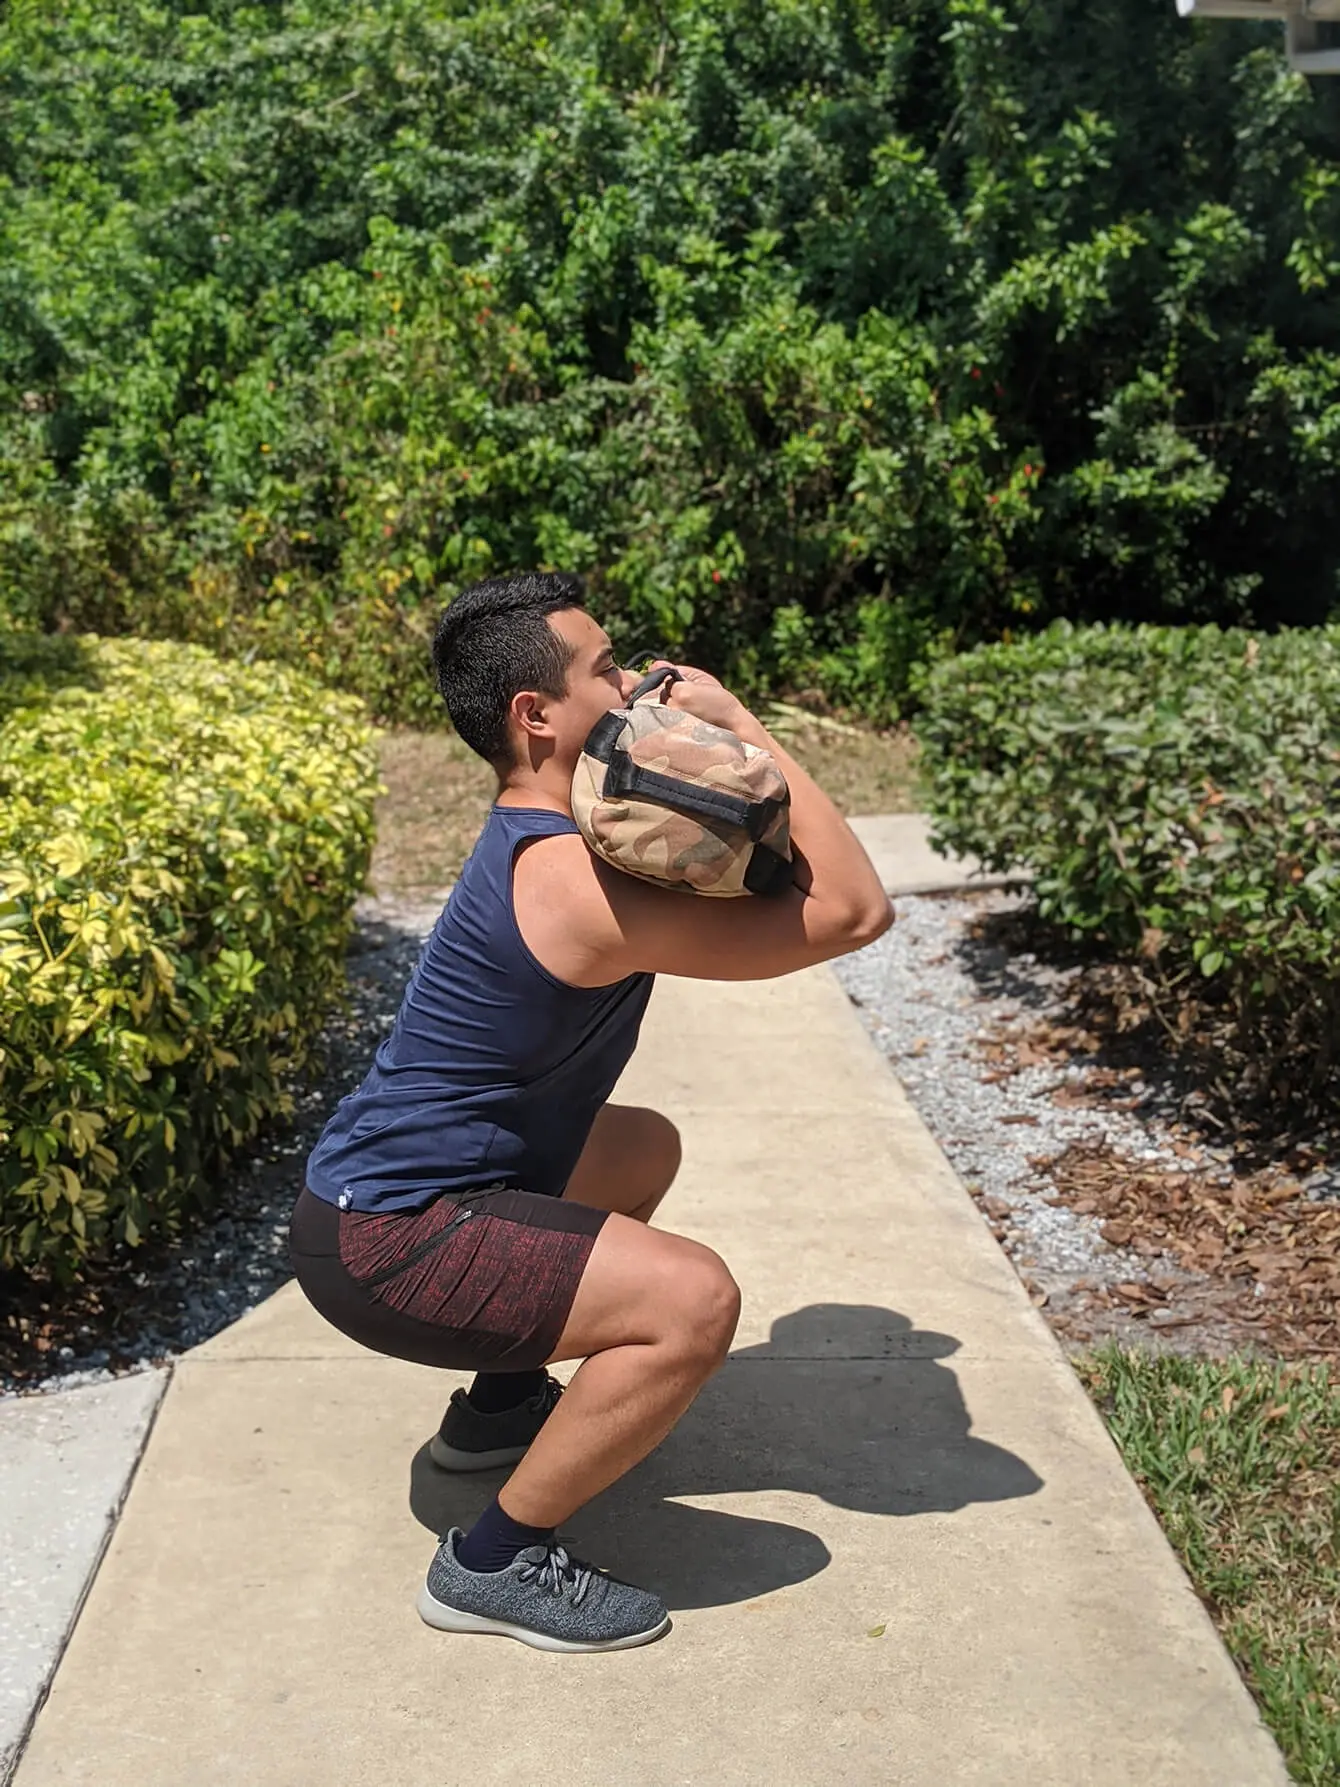
Clean the sandbag to your upper chest, and while keeping your chest up and back straight, squat until your hip joint is at least past your knee joint (past parallel).
Drive through your heels and return to the top position to complete one rep.
2. Sandbag Lunges
- 3 Sets of 10 Reps per Side
- 1-minute Rests Between Sets
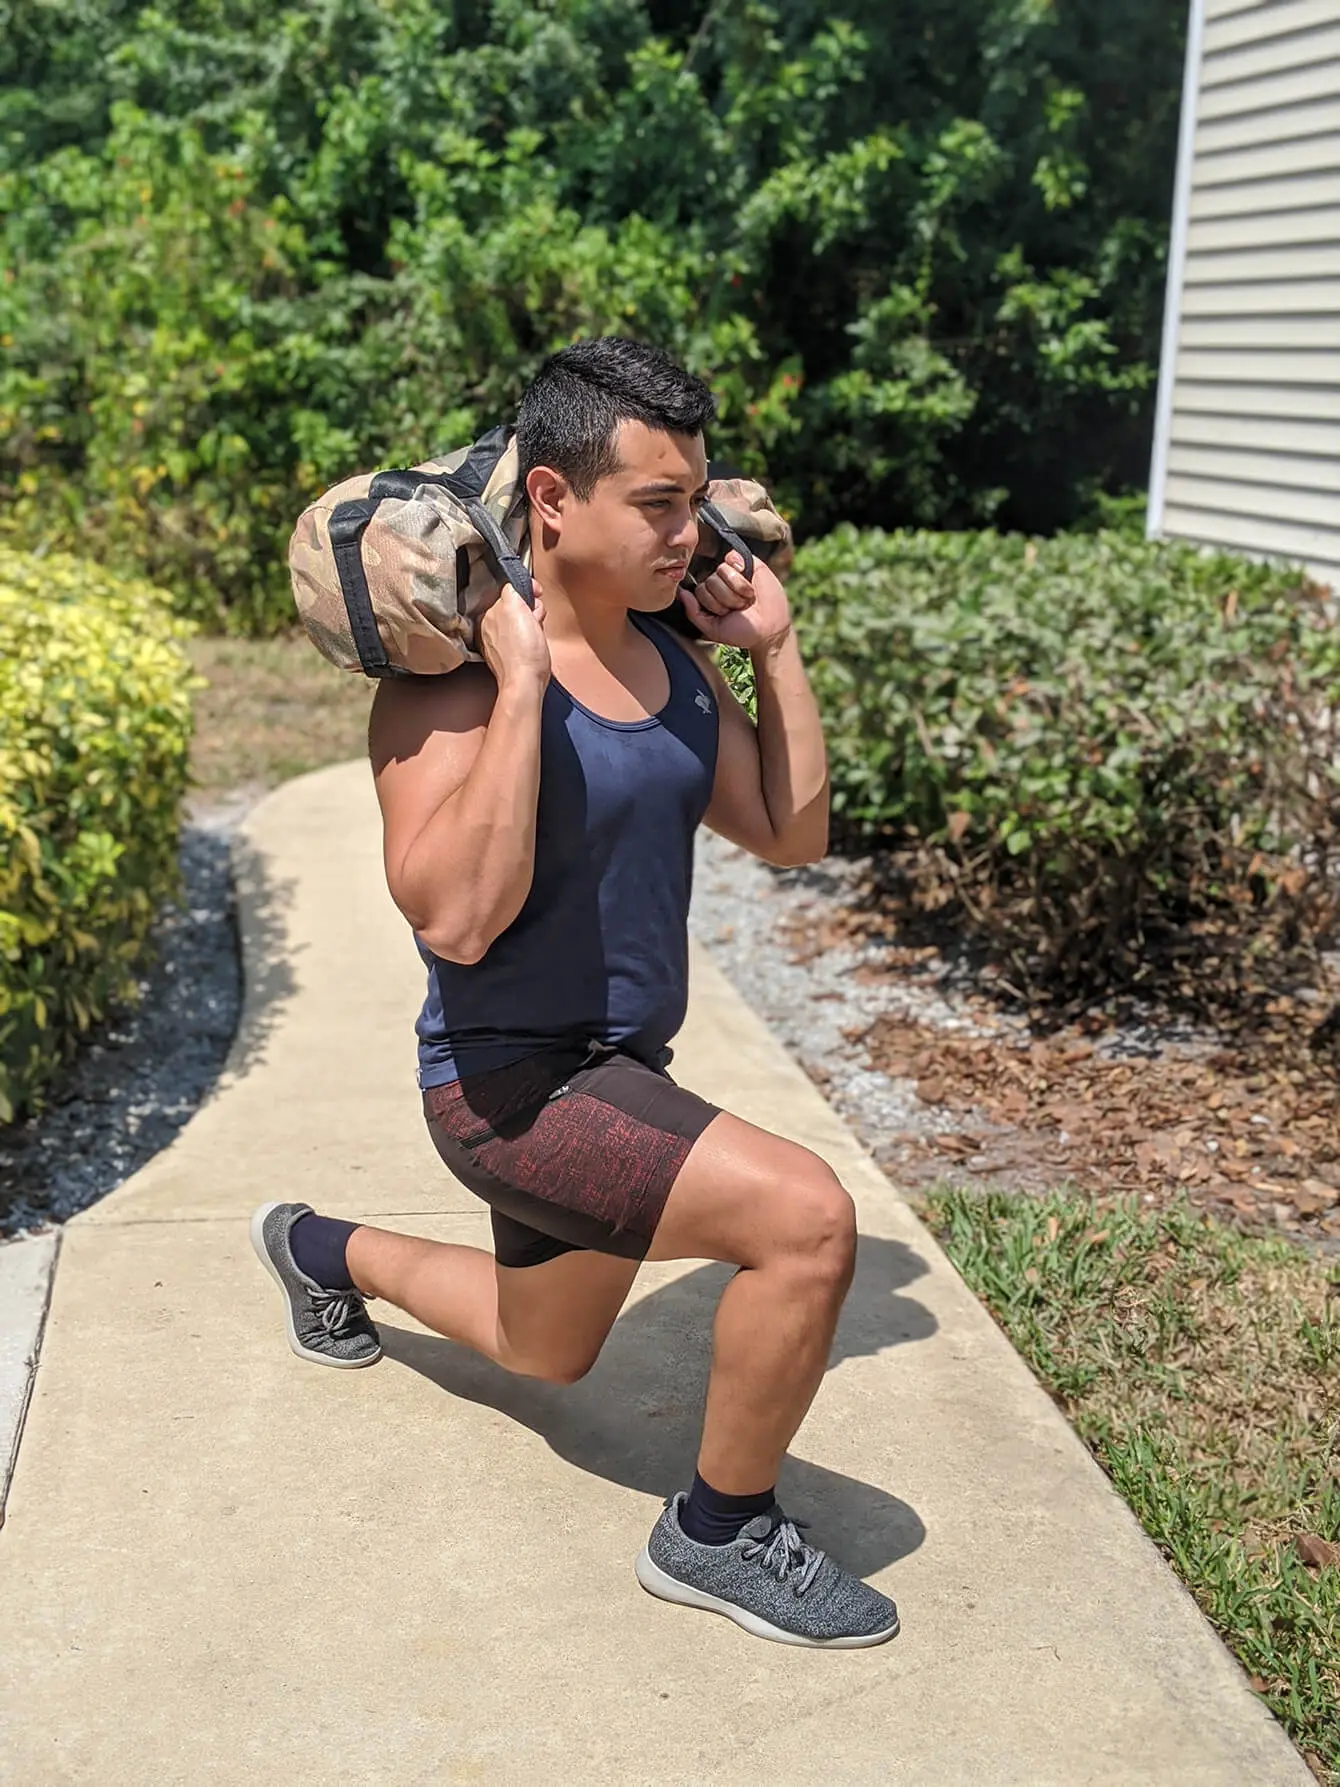
While keeping your shoulders back and maintaining a straight torso, step forward with one foot until both knees bend to about a 90-degree angle (your lower knee should barely touch the floor).
Return to the starting position and repeat on the opposite leg. 10 reps per side means 20 reps per set.
If you’d like to emphasize your quads, keep the sandbag on your chest. To tweak the exercise to be slightly more glute-focused, press the bag over your head and rest it on your traps.
3. Sandbag Shoulder Press
- 3 Sets of 8-12 Reps
- 1-2-minute Rests Between Sets
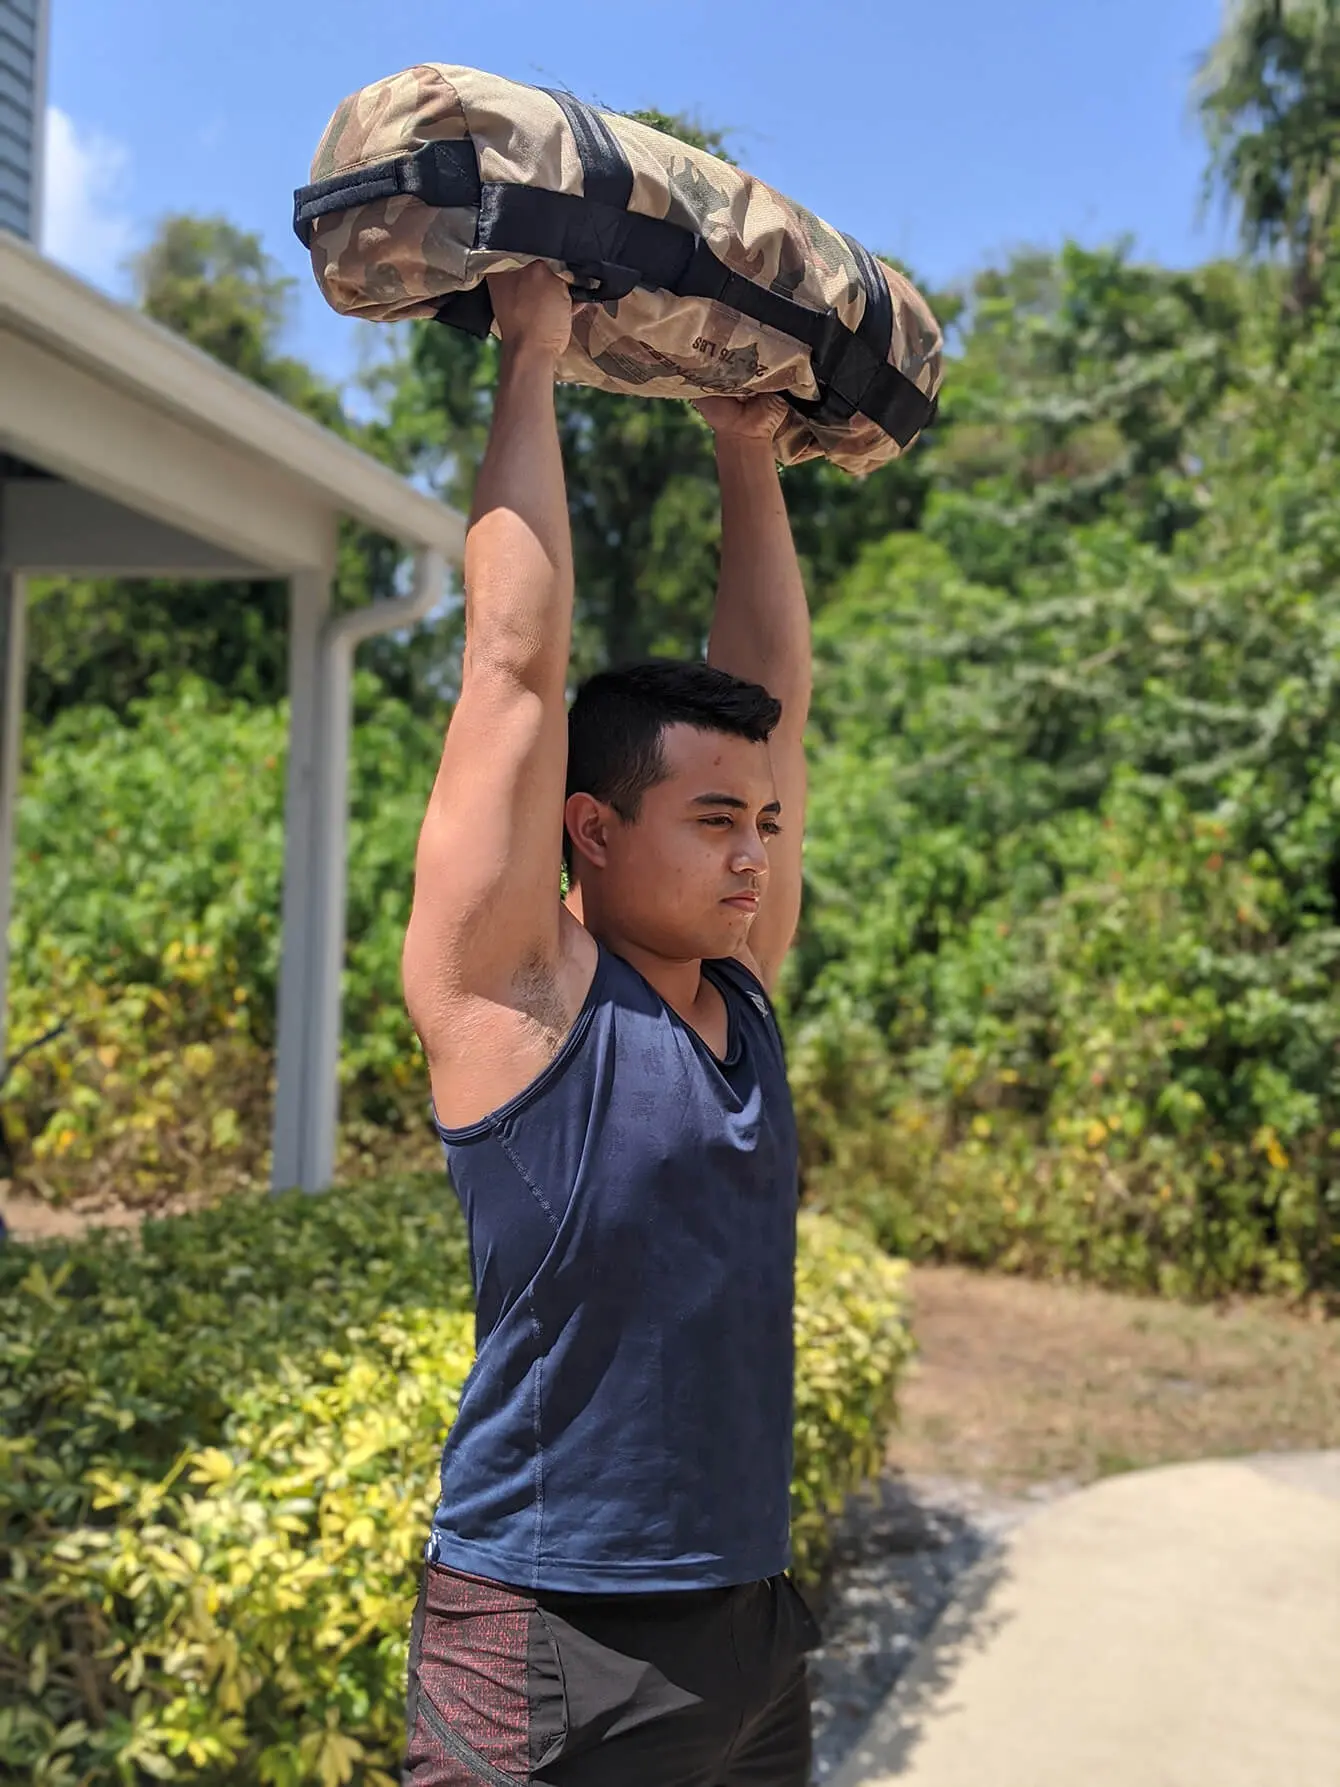
The clean for this exercise is slightly different. Instead of the sandbag landing in the crooks your elbows, instead get the bag to land on the tops of your fists.
After cleaning the sandbag, press it until your arms are fully extended above your head. You will have to lean your head out of the way to give the sandbag clearance, but make sure you push your head back through once your arms are extended.
Be sure to keep your abs engaged to avoid hyperextending your lower back.
4. Push-ups + Sandbag Lateral Drag
- 3 Sets of 10 Reps
- 1-minute Rests Between Sets
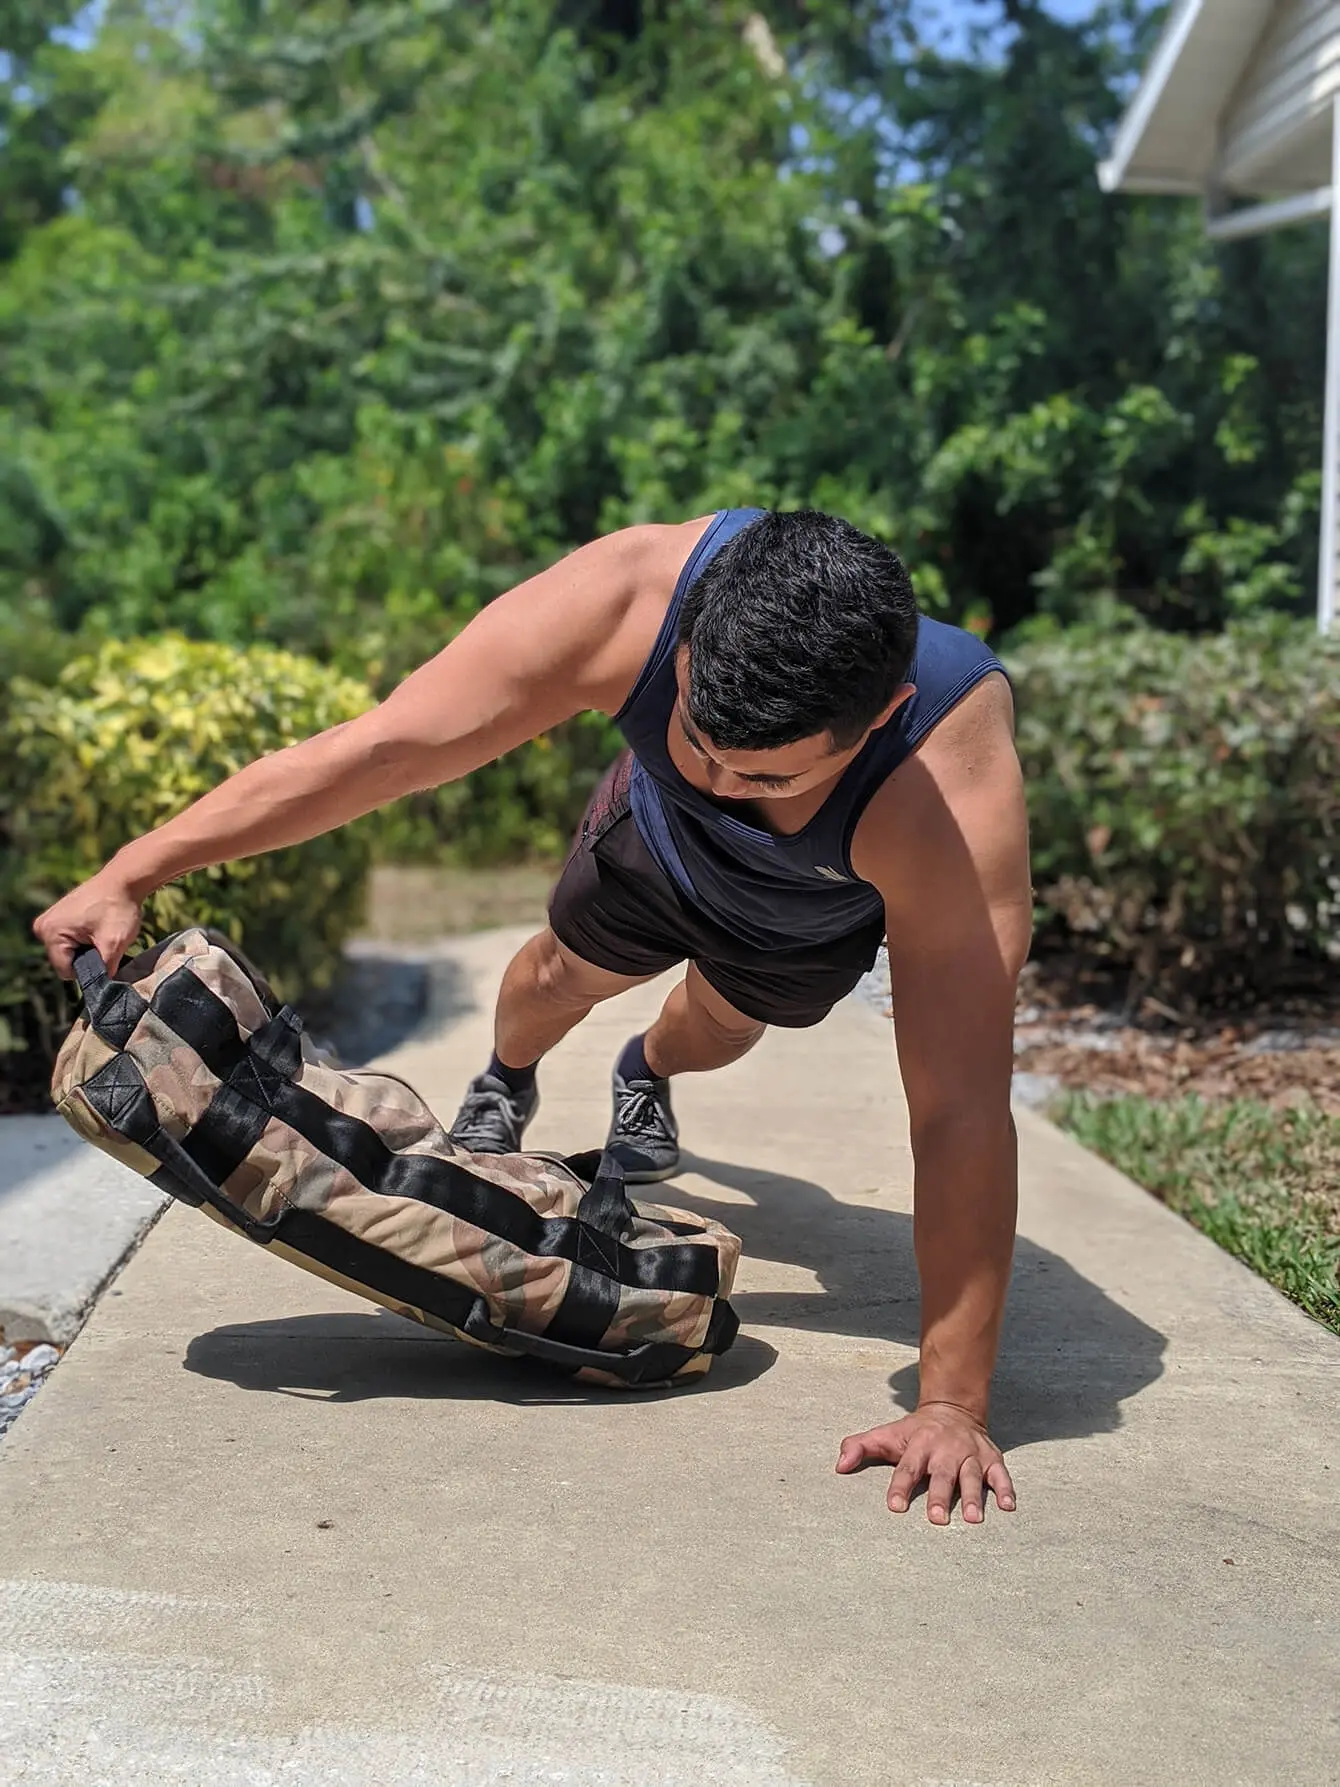
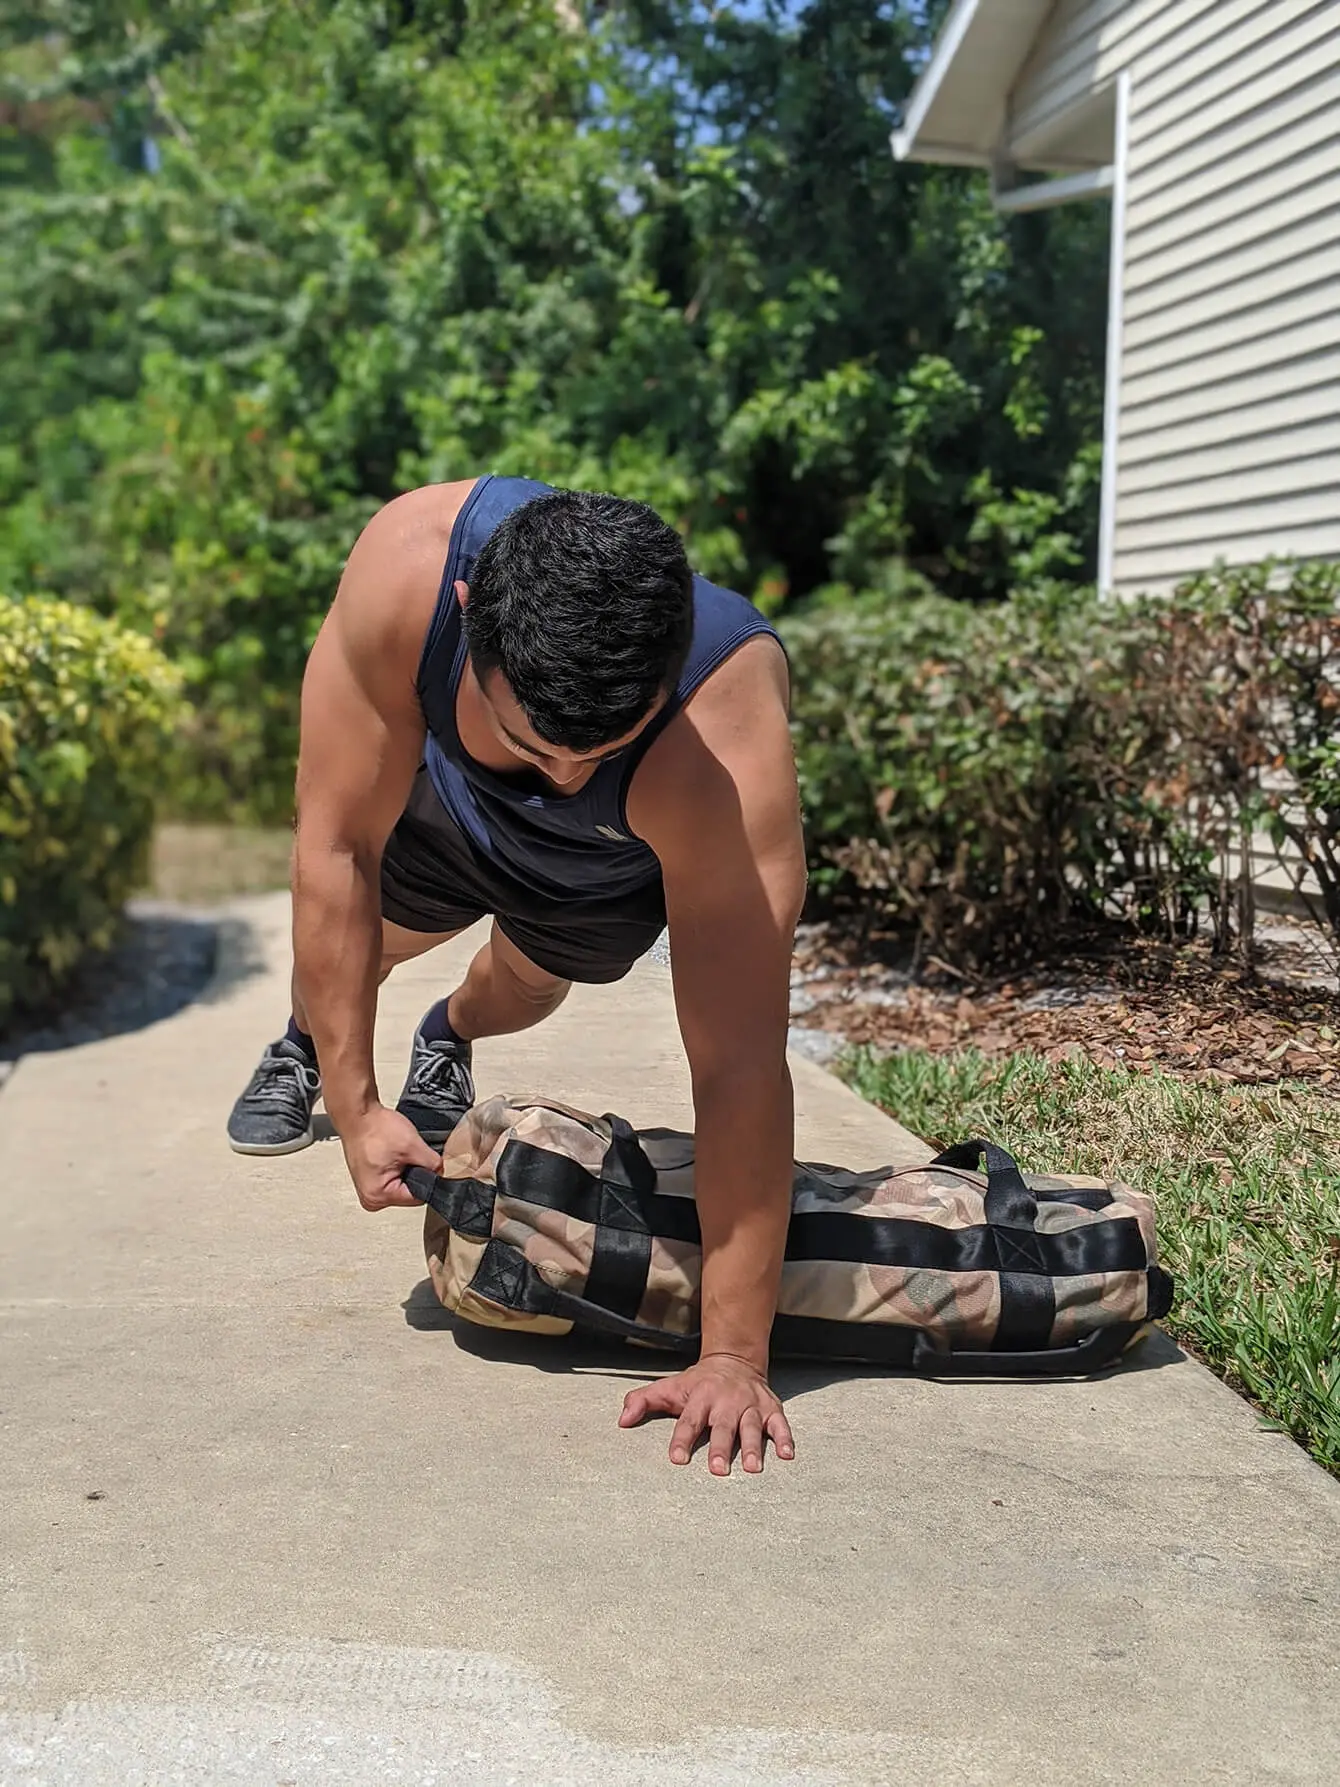
Get into a push-up position and orient the sandbag horizontally on the ground to your left. Lower your chest to the floor and complete one push-up.
Using your right arm, reach across your chest to grab the sandbag and drag it to your right-hand side.
Repeat on the opposite side.
5. Sandbag Rows
- 3 Sets of 8-12 Reps
- 1-2-minute Rests Between Sets
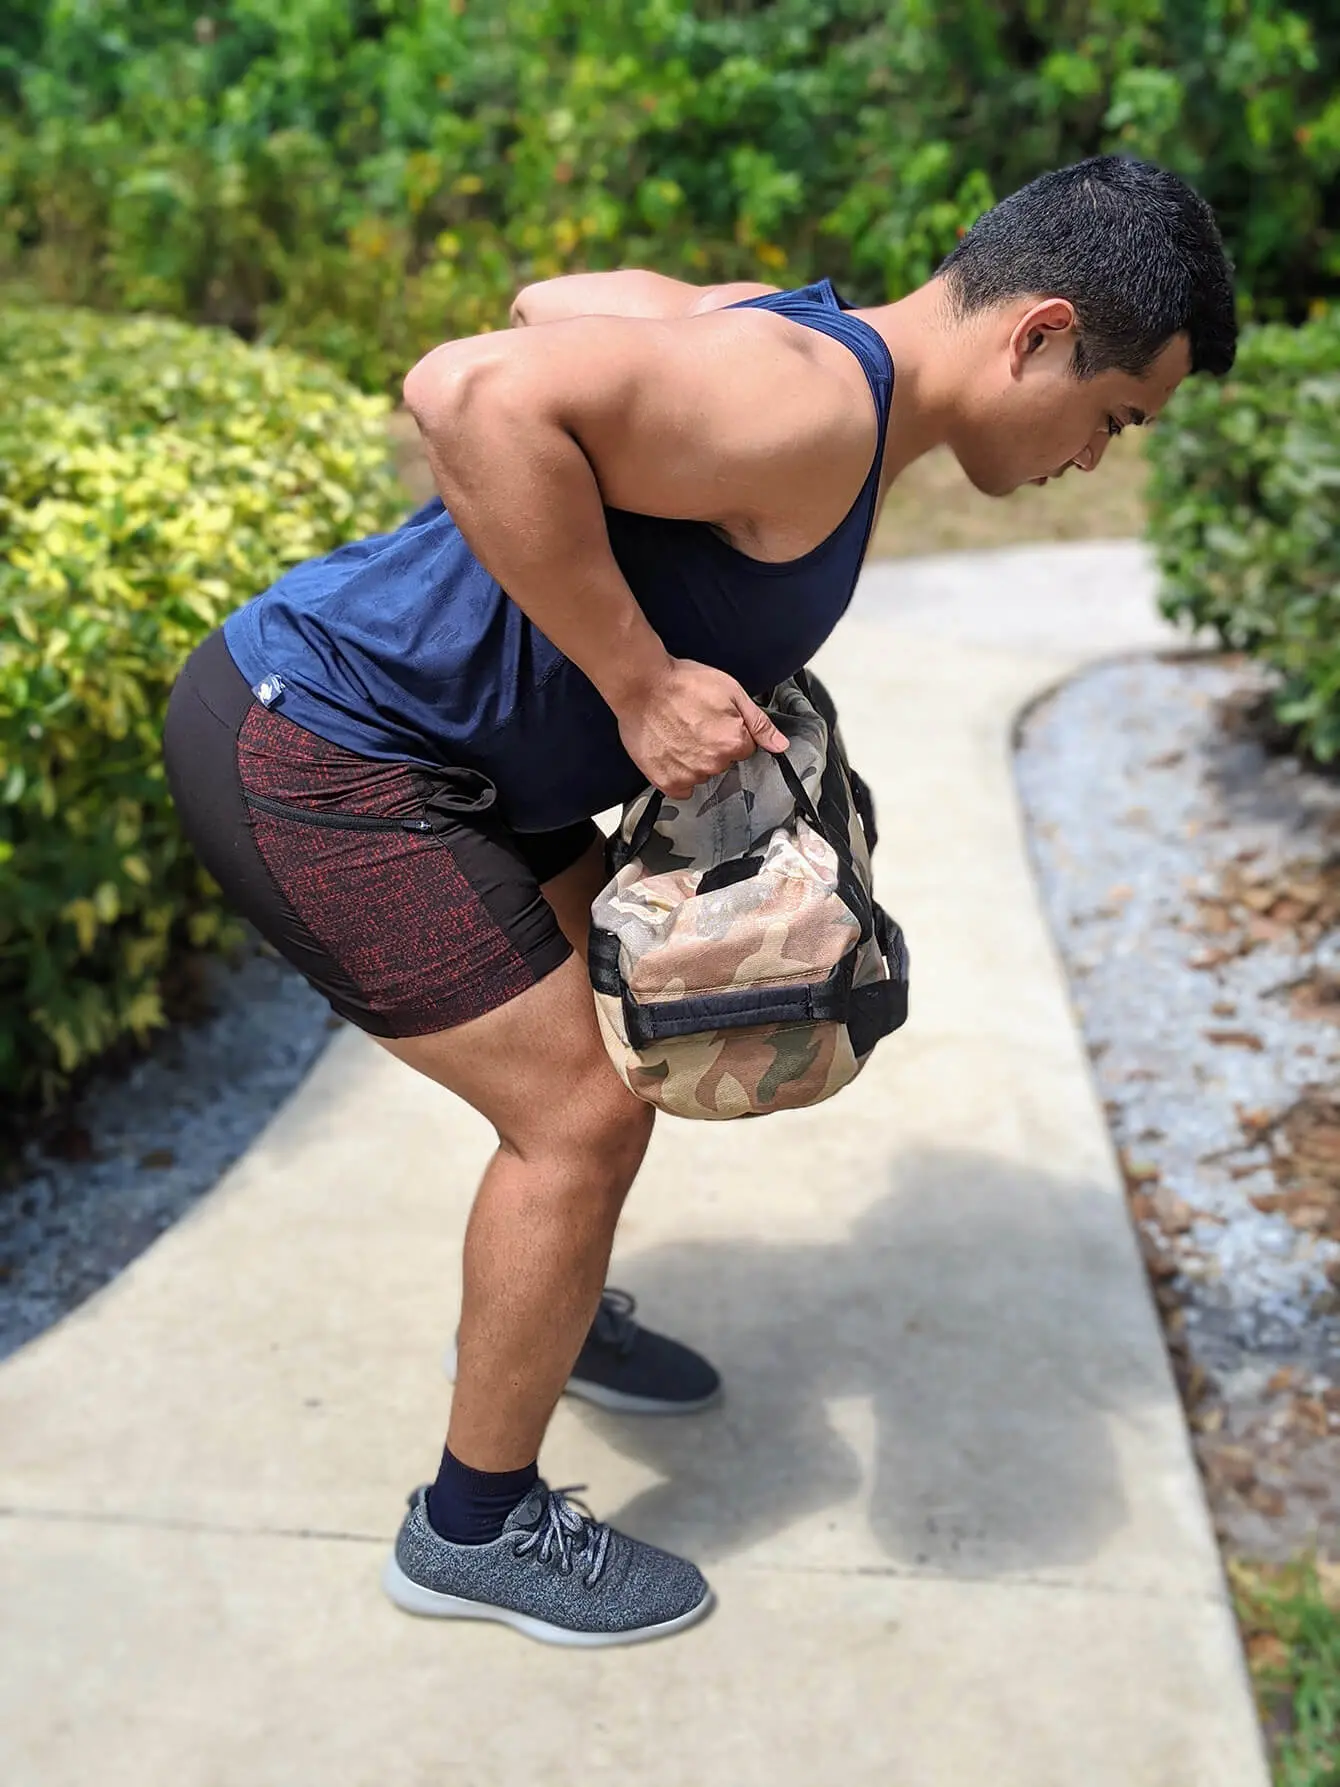
Hold the sandbag straight down and just below your knees. Hinge your hips and bend your knees while keeping your back flat. Pull with your elbows first and row the sandbag to your upper abdomen/lower chest.
Hold at the top for a second before returning to the bottom position.
And that’s it! If you have access to a pull-up bar at home, I would recommend adding pull-ups to get some extra back work in, as well.
Note: If you are seeking an even greater challenge, run all prescribed exercises in a circuit. Rest 2-3 minutes after each circuit and complete a total of three rounds.
Conclusion
Sandbags are incredibly versatile tools that will undoubtedly supplement your workout goals. They’re also perfect for at-home workouts if you don’t have access to a gym.
Training with them will improve your balance, coordination and core musculature, all of which will help you become more athletic. Sandbags are inexpensive and do not require a gym membership to use, which makes them one of the most underrated pieces of equipment out there.
So, give this full-body sandbag workout routine a try and see what you’ve been missing. I guarantee that you won’t regret it!




I modified this a smidgen by adding a lap around the fire station before and then between each set, then added 20 get ups, and finished with 2 more laps. I’m dead. It was a great workout though. Thank you
You’re a beast 😂 💪🏻
Hi all,
Great article and inspired me to finally get sandbags. Got a decent (empty) option at a reasonable price hut then realised that it would cost 1.5 times the price I paid to get sand for it (I live overseas).
Little bit of searching and I discovered that cat litter is an extremely cost effective alternative.
Just finished my first run though this workout and will be doing it again!
Great introduction to sand bag workouts. Thank you.
The most helpful post on sandbag workouts that I have found so far.
Glad to hear that!
Great idea! I like the ‘matter-of-fact’ straight forward simplicity of the style. This is a fantastic way to work out! Forget about expensive gyms.
Hats off to you Brandon 🤗
Georgia HoShin-Bray
Hi
After reading your ‘sandbag’ article I was thinking: ‘what a old school and yet refreshing new idea’
I live near the beach.
I could not pass these thoughts any further for now.
Thank you for this
Regards.